eCapture™ Advanced uses OCR functionality for Credit Card Receipts.
This means you can take a picture of a Credit Card Receipt. By clicking the  icon, the Secondary Vendor, Transaction Date and Transaction Amount fields are systematically "read" and entered. This will speed up your Credit Card Receipt entry process.
1.Log into eCapture™ with User Name and Password.

2.Click Login.
The main screen displays.
3.For the Client field that displays, use the dropdown scroll wheel to select your pVault® server.
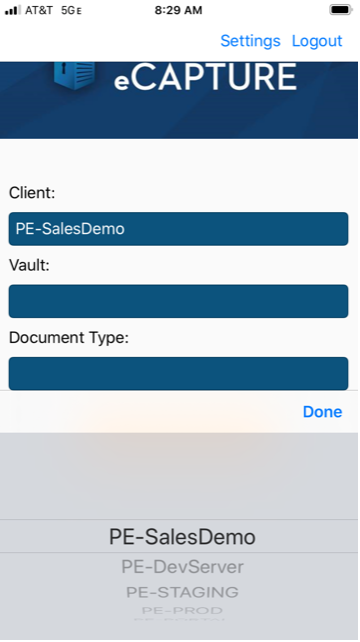
Note: Once selected, this will be the Client field default until you change it.
4.Click Done.
5.For the Vault field, use the dropdown scroll wheel to select the vault where your documents will be submitted.
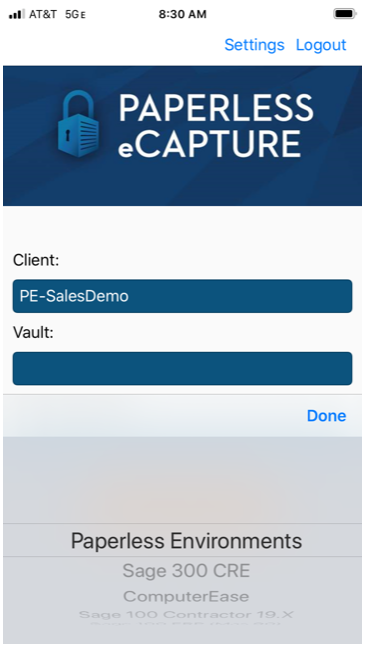
Note: Once selected, this will be the Vault field default until you change it.
6.Click Done.
7.For the Document Type field, use the dropdown scroll wheel to select Credit Card Receipt.
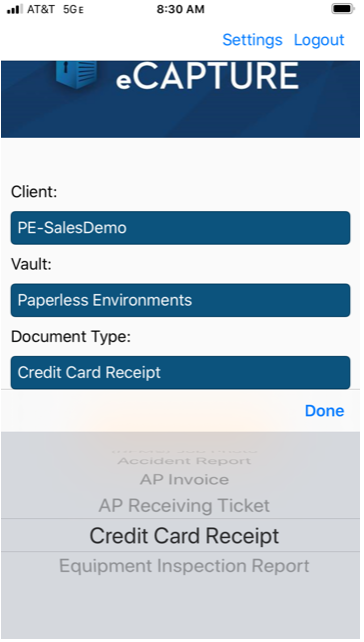
8.Click Done.
The completed main screen displays:
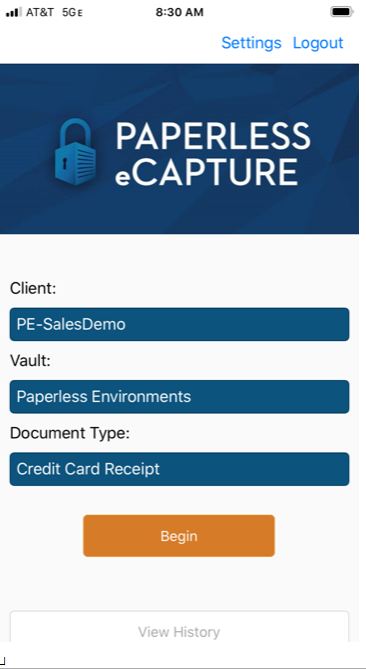
9.Click Begin.
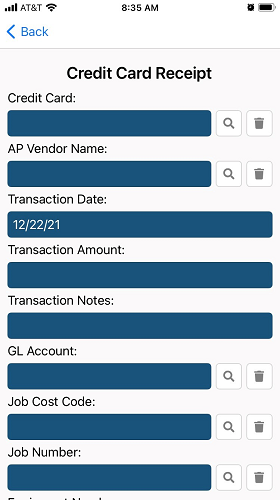
The following Credit Card Receipt screen displays with the Transaction Date field populated with the current date:

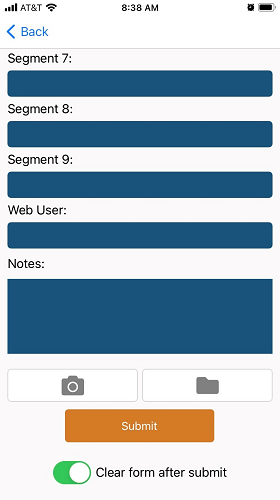
10. Scroll to the bottom of the screen and locate the camera icon.
11. Take a picture of the receipt.
The following picture of the receipt displays in the window:
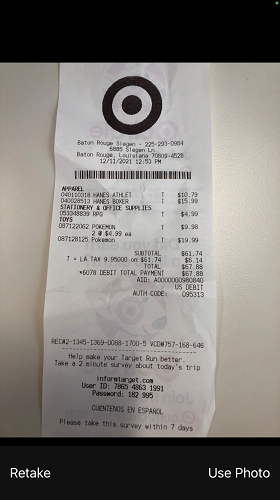
12. Click Use Photo.
The picture of the receipt will display in the window:
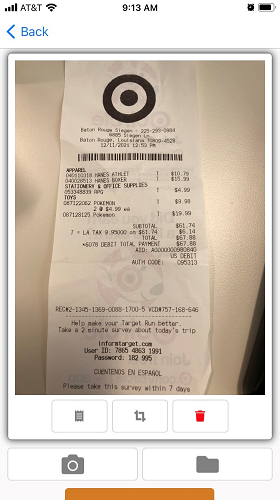

13. Click .
This "reads" the receipt and populates applicable fields.
To manipulate the photo, click  . The following picture of the receipt displays:
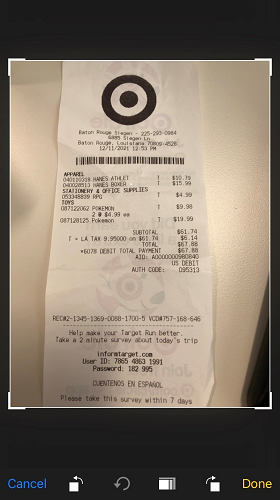
Click Done when finished with the receipt photo changes.
To delete the photo, click 
14. Scroll up to the top of the screen.
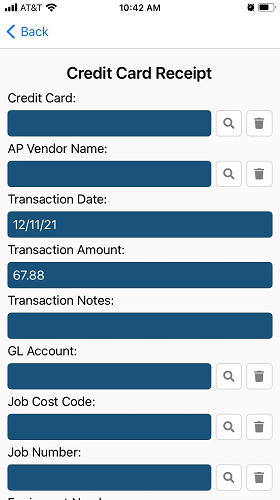
In this example, the Transaction Date field was populated with the actual date of the purchase. Initially the Transaction Date field displayed the current date. The Transaction Amount field was populated with the total amount of the purchase. Because of the receipt layout, the Secondary Vendor Name field was populated.
15.Click Submit,  .
.
The following dialog box will display to confirm that your credit card receipt was successfully submitted:

16.Click OK.