To use the eCapture™ app, the user must first download the app from the Apple Store for iPhones and iPads, or from the Google Play store for Android devices.
Once installed, the app will display with the following app icon:
![]()
Log into eCapture™
1.Tap the eCapture™ icon to launch the app.
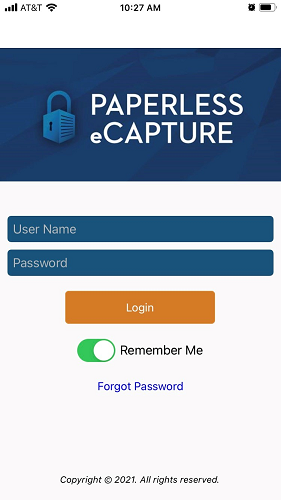
The eCapture™ login screen will display:

2.In the User Name field, type in the user's email address as it was setup in the Web User Configuration.
3.In the Password field, enter the password set by the user when they confirmed their address.
4.For the Remember Me slide, move the slide to the right to store the user's name on the device so re-entering it in the future will not be necessary.
5.Click Login to log into the app and begin processing.
Note: Click Forgot Password to generate an email link for resetting the forgotten password.
Vault and Document Type Selection
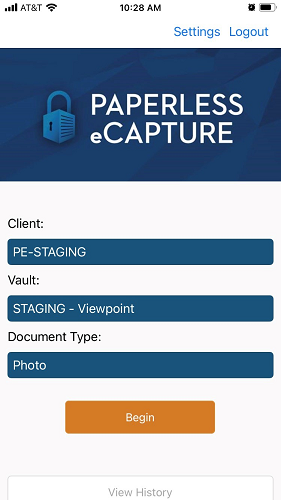
Once the user is successfully logged in, the second eCapture™ screen will display:

1.In the Client field, use the dropdown to pick the pVault® server to connect to.
Note: Once selected, the client will default every time for the user until it is changed.
2.In the Vault field, select the vault where the documents will be submitted.
Note: Once selected, the vault will default every time for the user until it is changed.
3.Click Begin.
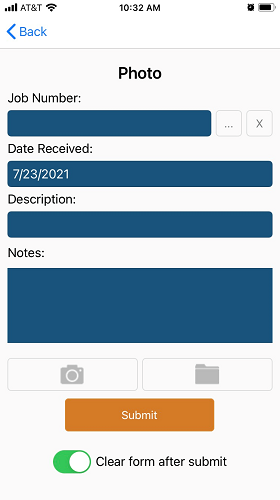
The following screen displays:

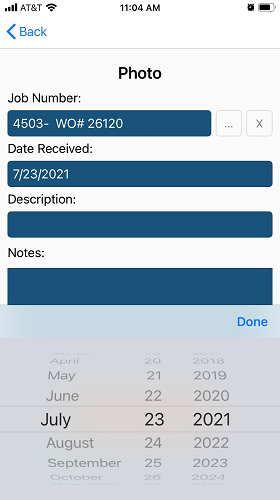
4.For the Job Number, click the ellipsis to display a list of jobs from which to select the appropriate job.
5.The Date Received field is system-populated with the current date. Click the field to view a date "wheel" from which to select the proper date.

6.In the Description field, type a brief description of the photo.
7.If appropriate, add a note in the Notes field.
8.Click either the camera icon to take a photo or click the file folder icon to attach a file.
9.Click Submit.