The selections that display in this dropdown are directly related to the bridged accounting system.
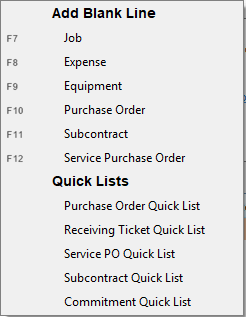
1.For the Add Blank Line section of the dropdown, click the assigned function key or use the dropdown.
Note: Dropdown selections will vary based on what is supported by the accounting system as well as any additional advanced bridge settings configured where applicable.
A new line based on the blank line type selected displays in the center pane, similar to the following:

Icon |
Label |
Description |
|
New Line |
Add a new line of the same line type. |
|
Copy Line |
Click to add an exact duplicate of the line type where the Copy Line icon is being clicked. The replication includes all the fields in the Detail pane. |
|
Change Line Type |
Click to display the Lookup Utility, Line Type list. |
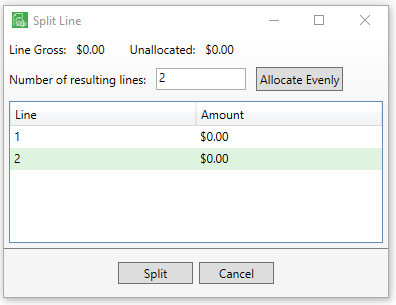
Split Line |
Use this to split the amount on a single line to multiple new lines. 1.To split a specific invoice line, click this icon. 2.Enter a number in the Number of resulting lines field. 3.To split the number evenly across the lines, click Allocate Evenly. 4.Click Split. Note: Processors may split a debit line into a mixture of credit and debit lines. |
|
|
Remove Line |
Click to remove the line where the X was clicked. |
|
Match Receipts |
This icon changes, based on the receipt match status. Refer to the Match Receipts table, below, for more information. Note: Line Level matching is not limited to just Invoice Entry. It is available in Approve Invoices and Credit Card Importer too. |


2.After adding a line, the bottom pane containing fields in which to code the invoice displays.
Based on the selected line type, different fields will display to input the coding details.
3.Click to close the Invoice Entry screen.
A dialog box asking if the invoice changes should be kept (Yes), not kept (No), or if closing the Invoice Entry screen should not occur (Cancel) displays.
4.Continue adding and coding lines as needed.
Important: The Unallocated amount that displays between the two panes must equal $0.00 before the invoice can be routed and approved.
|
Indicates a single receipt was matched. No further receipt matching is necessary for this invoice line. |
|
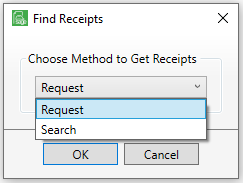
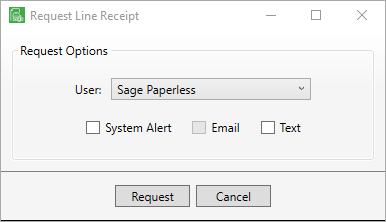
Indicates no receipt is matched. Request 1.Click the icon to begin the match receipts process. 2.In the Choose Method to Get Receipts field dropdown, select Request. 3.Click OK. 4.In the User field, use the dropdown to select the appropriate user to whom the receipt request will be sent. 5.From the 3 check boxes (System Alert, Email, Text), click to select the best method for sending the receipt request. 6.Click Request.
Search
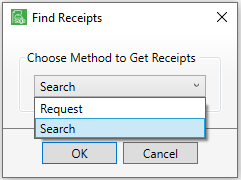
1.Click the icon to begin the match receipts process.
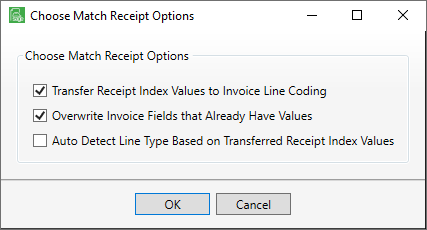
2.In the Choose Method to Get Receipts field dropdown, select Search. 3.Click OK. 4.Click to select the Document Types entries in the list and update the Index Criteria grid as appropriate. 5.Click Search. 6.Highlight the appropriate receipt. 7.Click Send, 8.Select the option(s) that apply or keep the defaults (as listed). 9.Click OK. |
|
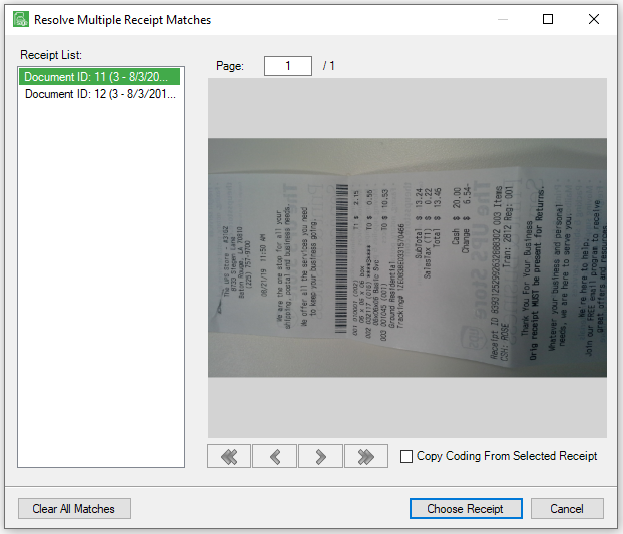
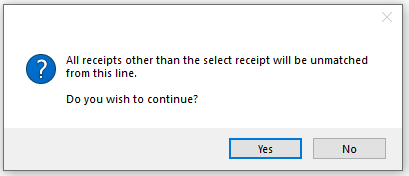
Indicates multiple receipts were matched. 1.Click the icon to generate a Resolve Multiple Receipt Matches dialog box similar to the following: 2.Click the entries in the Receipt List pane. An image of the selected receipt displays. 3.If none of the receipt entries are a match, click Clear All Matches. 4.Click Choose Receipt. 5.Click Yes. |


 .
.