Some documents may require additional information before storing or routing them to other people.
Important: The Annotations toolbar displays at the bottom left of the Main Viewer when a document displays.
The Annotations toolbar allows explanatory notes to be added quickly, and highlight important areas of an image with tools that include emphasis pointers and a variety of stamps such as Received, Approved, and Paid.
This toolbar provides quick access to most of the same functions found in the Annotations tab. The only functions in the menu not provided in this toolbar are Show Annotations, Burn-in Annotations, and Clear all Annotations.

|
Annotation selector |
|
Hilite tool |
|
Line tool |
|
Note tool |
|
Rectangle tool |
|
Sticky Note |
|
Ellipse tool |
|
Stamp Tool |
|
Pointer tool |
|
Redaction Tool |


Drawing Annotations
To insert annotations, click on an annotation tool in the toolbar to select it. Once an annotation tool is selected, hold down the left mouse button and drag the mouse to draw the annotation. When the annotation is the desired size, release the mouse button.
Shape Annotations
For shape annotations (line, rectangle, ellipse, etc.), look for the "handles" on the annotation when the mouse button is released. Use these handles to change the shape or move the annotation.
▪To change the shape of the annotation, click on the selected tool and move the mouse over one of the handles until the mouse pointer resembles a target. Left click and drag the mouse over the handle to change the shape.
▪To move the annotation, place the mouse pointer over the outline of the annotation until the mouse pointer turns into cross-hairs. Drag the mouse while holding down the left button to move the annotation.

For shape annotations, border and background color and transparency attributes can be changed.
1.Right click directly on the current annotation in use.
The following dropdown menu displays:
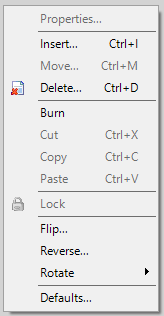
2.Click Properties.
The Annotation Properties window displays with the Annotation tab active:
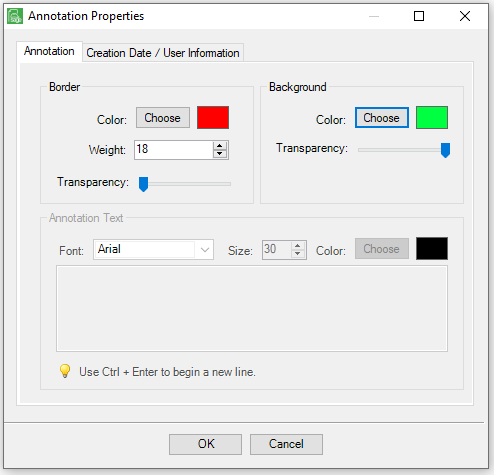
The Annotation tab contains the following properties:
•Border - Choose the color, line weight and transparency level of a border drawn around the annotation.
•Background - Choose the color and transparency level of the annotation's background color.
3.Click OK.
4.Click the Create Date / User Information tab.
The following window displays:
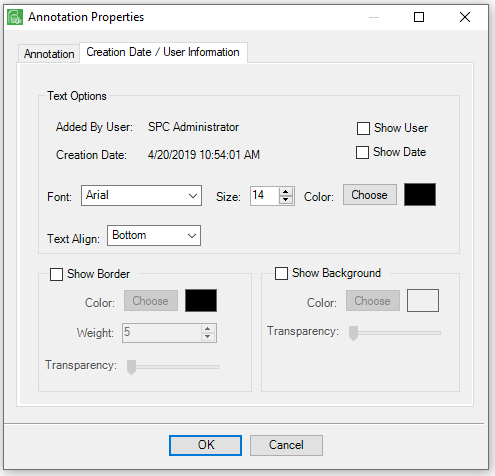
The Creation Date/User Information Tab contains the following properties:
Text Options |
Show User |
Check the box to display the Sage Paperless Construction user name of the person who added the annotation. |
Show Date |
Display the date stamp of when the annotation was added. |
|
Font/Size/Color |
Choose the text properties of the Show User or Show Date text. |
|
Text Align |
Choose whether the text should display at the top or bottom of the annotation. |
|
Show Border |
Check the box to put a border around the Show User / Show Date text. |
|
Show Background |
Check the box to color the background of the Show User / Show Date text. |
|
5.Click OK.
Text Annotations
Text-based annotations such as Text box tool, Note tool are available. This is where to enter the text to display in the annotation, as well as change the font size and color, border size and color, and/or the background color.
1.Right click directly on the current annotation in use.
The following dropdown menu displays:
2.Click Properties.
The Annotation Properties window displays with the Annotation tab active:
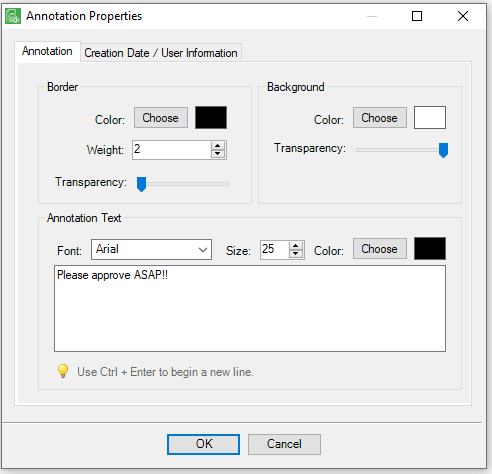
The Annotation tab contains the following properties:
•Border - Choose the color, line weight and transparency level of a border drawn around the annotation.
•Background - Choose the color and transparency level of the annotation's background color.
•Annotation Text - Choose the font type, size and color of the text. Type the annotation text in the bottom text section.
3.In the text box, type the text to display on the selected invoice.
4.Click the Create Date / User Information tab.
The following window displays:
The Creation Date/User Information Tab contains the following properties:
Text Options |
Show User |
Check the box to display the Sage Paperless Construction user name of the person who added the annotation. |
Show Date |
Display the date stamp of when the annotation was added. |
|
Font/Size/Color |
Choose the text properties of the Show User or Show Date text. |
|
Text Align |
Choose whether the text should display at the top or bottom of the annotation. |
|
Show Border |
Check the box to put a border around the Show User / Show Date text. |
|
Show Background |
Check the box to color the background of the Show User / Show Date text. |
|
5.Click OK.
Locking Annotations
Users can "lock" annotations in place to prevent other users from moving or changing them.
1.Right click directly on the annotation that needs to be locked.
The following dropdown menu displays:
2.Click Lock.
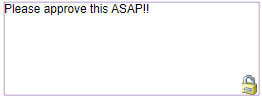
Once the lock is in place, only the original user or a system administrator can move or change the annotation.
Note: A small padlock will display in the lower right corner of a locked annotation.
In their native format, annotations sit on a "plane" above the actual document but are not a permanent part of the documents.
This allows the user to move the annotations or to include or exclude them when printing, emailing or saving the document to a file.
If the annotation should be a permanent part of the document for archive purposes, the "Burn in" option is available.
Single Annotation
1.Right click directly on the annotation that needs to be locked.
The following dropdown menu displays:
2.Click Burn.
This burns the selected annotation on the document.
All Annotations
1.From the ribbon toolbar, click Annotations.
2.Click  .
.
The following dialog box displays:
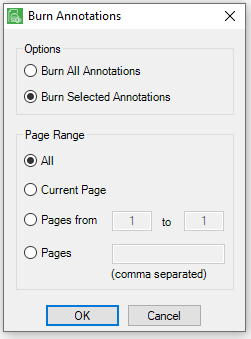
3.Click to select Burn All Annotations.
4.In the Page Range section, select the appropriate page configuration.
5.Click OK.