Some documents may require additional information before storing or routing them to other people.
Important: The Annotations toolbar displays in the Main Viewer header when a document displays and you click the Add or Edit annotations icon,  .
.
The Annotations toolbar allows explanatory notes to be added quickly, and highlight important areas of an image with tools that include emphasis pointers and a variety of stamps such as Received, Approved, and Paid.

|
Highlight Text |
|
Underline Text |
|
Strikethrough Text |
|
Add Shapes See below for details. |
|
Calibrate See below for details. |
|
Free Text |
|
Add Stamp See below for details. |
|
Add Signature See below for details. |
|
Draw Ink |
|
Font Family |
|
Font Size |
|
Font Color |
|
Annotation Properties dropdown |


Drawing Annotations
To insert annotations, click on an annotation tool in the Main Viewer header to select it. Once an annotation tool is selected, hold down the left mouse button and drag the mouse to draw the annotation. When the annotation is the desired size, release the mouse button.
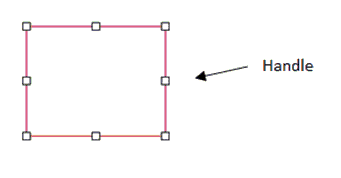
Shape Annotations
For shape annotations (line, rectangle, ellipse, etc.), look for the "handles" on the annotation when the mouse button is released. Use these handles to change the shape or move the annotation.
•To change the shape of the annotation, click on the selected tool and move the mouse over one of the handles until the mouse pointer resembles a target. Left click and drag the mouse over the handle to change the shape.
•To move the annotation, place the mouse pointer over the outline of the annotation until the mouse pointer turns into cross-hairs. Drag the mouse while holding down the left button to move the annotation.
For shape annotations, border and background color and transparency attributes can be changed.
With an annotation active on the current document, click on the arrow at the right end of the row of annotation icons:

The following dropdown list of icons displays:
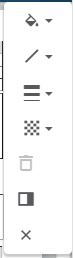
The Annotations Properties dropdown list contains:
• Border - Choose the color, line weight and transparency level of a border drawn around the annotation.
• Background - Choose the color and transparency level of the annotation's background color.
• Annotation Text - Choose the alignment, font type, size and color of the text.
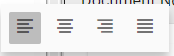
Text Align |
|
When you click the Free Text annotation icon, |
Font Style |
|
When you click the Free Text annotation icon, |
Change Background Color |
|
Click this icon to access a color picker displays where you can click to select for the annotation background. |
Change Border Color |
|
Click this icon to access a color picker displays where you can click to select for the border color. |
Change Border Thickness |
|
Click this icon dropdown to access a Line Thickness scale displays where you can select the border line thickness.
|
Change Opacity |
|
An Opacity scale displays where you can select the opacity of the annotation.
|
Delete Annotation |
|
Click this to remove the current annotation. |
Comment Panel |
|
Click this to add a Comment grid where you can add a comment, such as why you added the annotation. 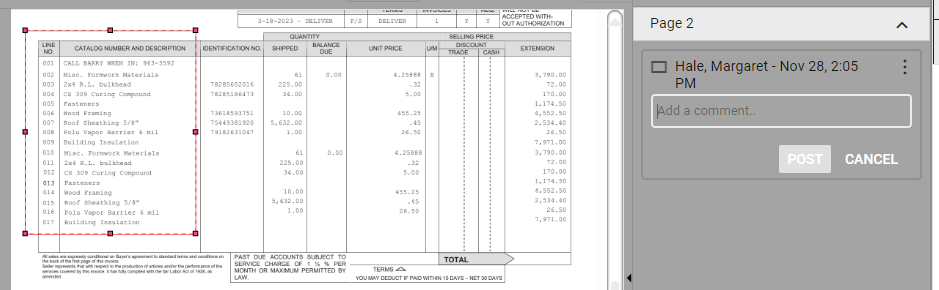 |
(Close Annotation Toolbar) |
|
Click this icon to close the Annotation Properties dropdown list. |

 .
.
 .
.