An Add Job dialog similar to the following displays with the General tab active:
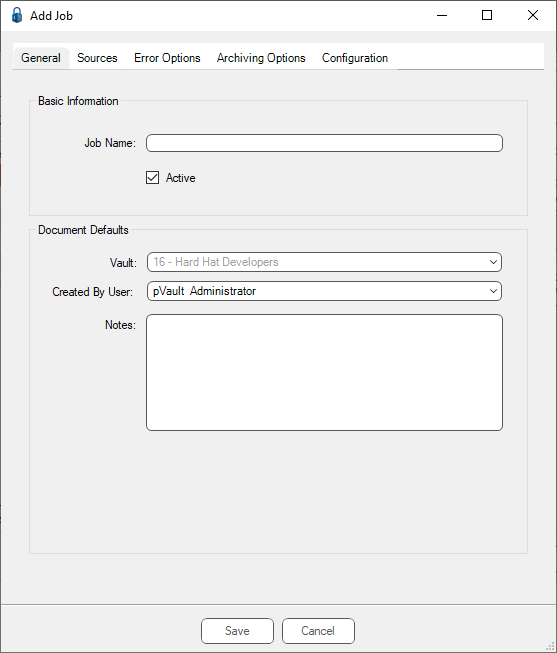
1.In the Job Name field, enter a meaningful name for the import job.
2.Click the Active check box.
Note: To save a partially created import job, uncheck the Active check box. The only required field is for the Job Name field to be populated. Then click Save.
3.In the Vault field, use the dropdown to select the vault for which the job is being set up or keep the default.
4.In the Created by User field, use the dropdown to select the user's name credited with setting up this template.
Note: The individual originally entering information in this tab is the default.
5.In the Notes text box, enter any descriptive information about what function the job performs.
For example:
This job imports AP invoices saved from email attachments to the Accounts Payable network folder into the AP Processor's queue.
6.Continue by clicking the Sources tab.