Each row includes a series of icons:
|
Edit Line Detail |
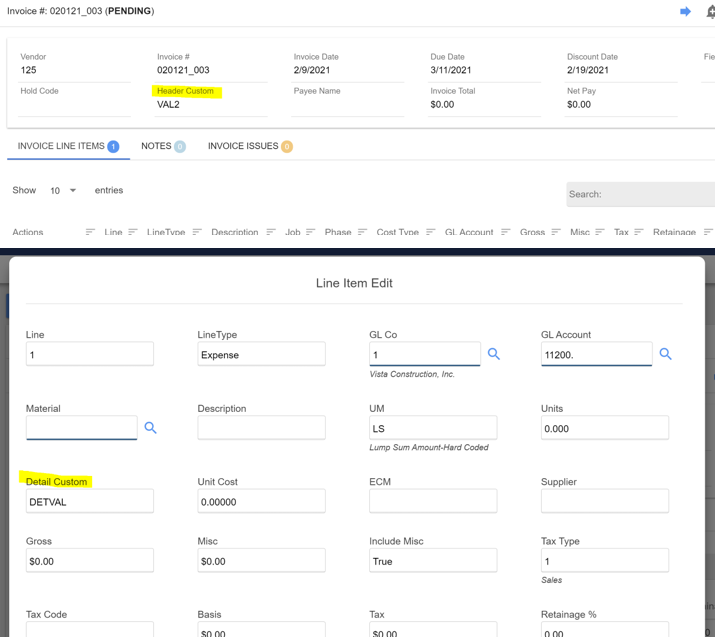
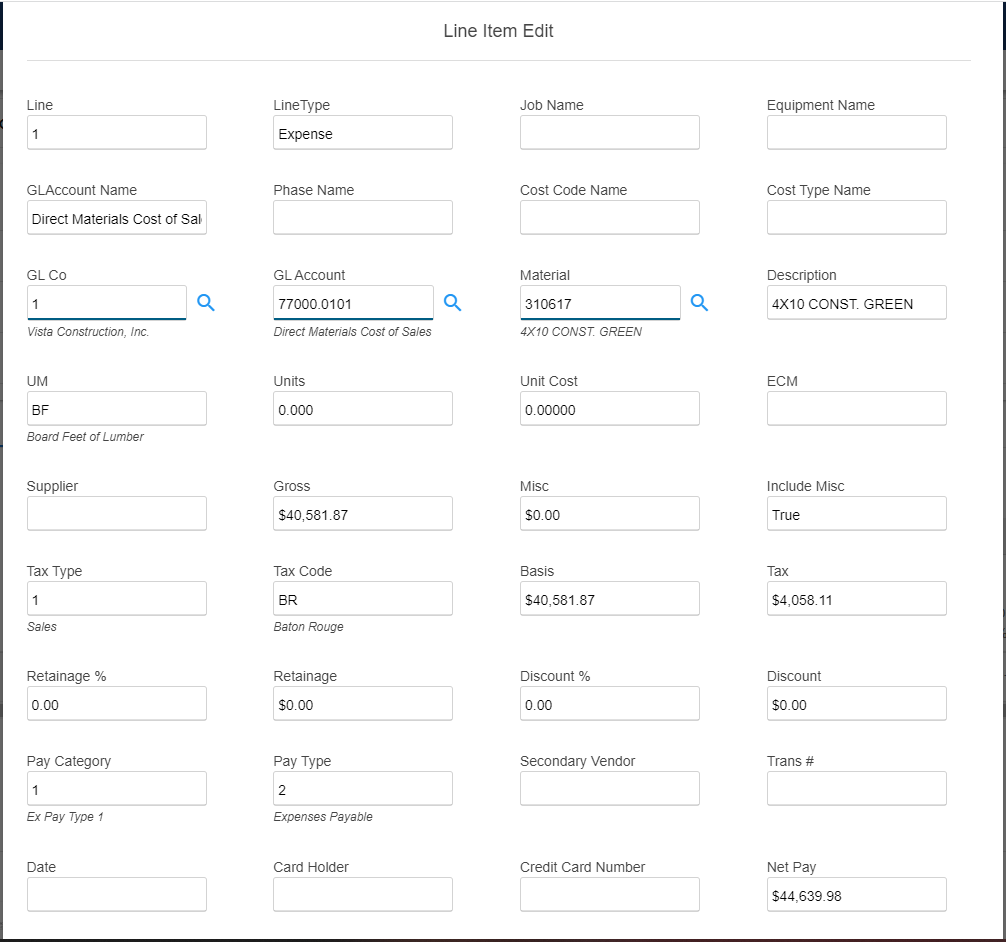
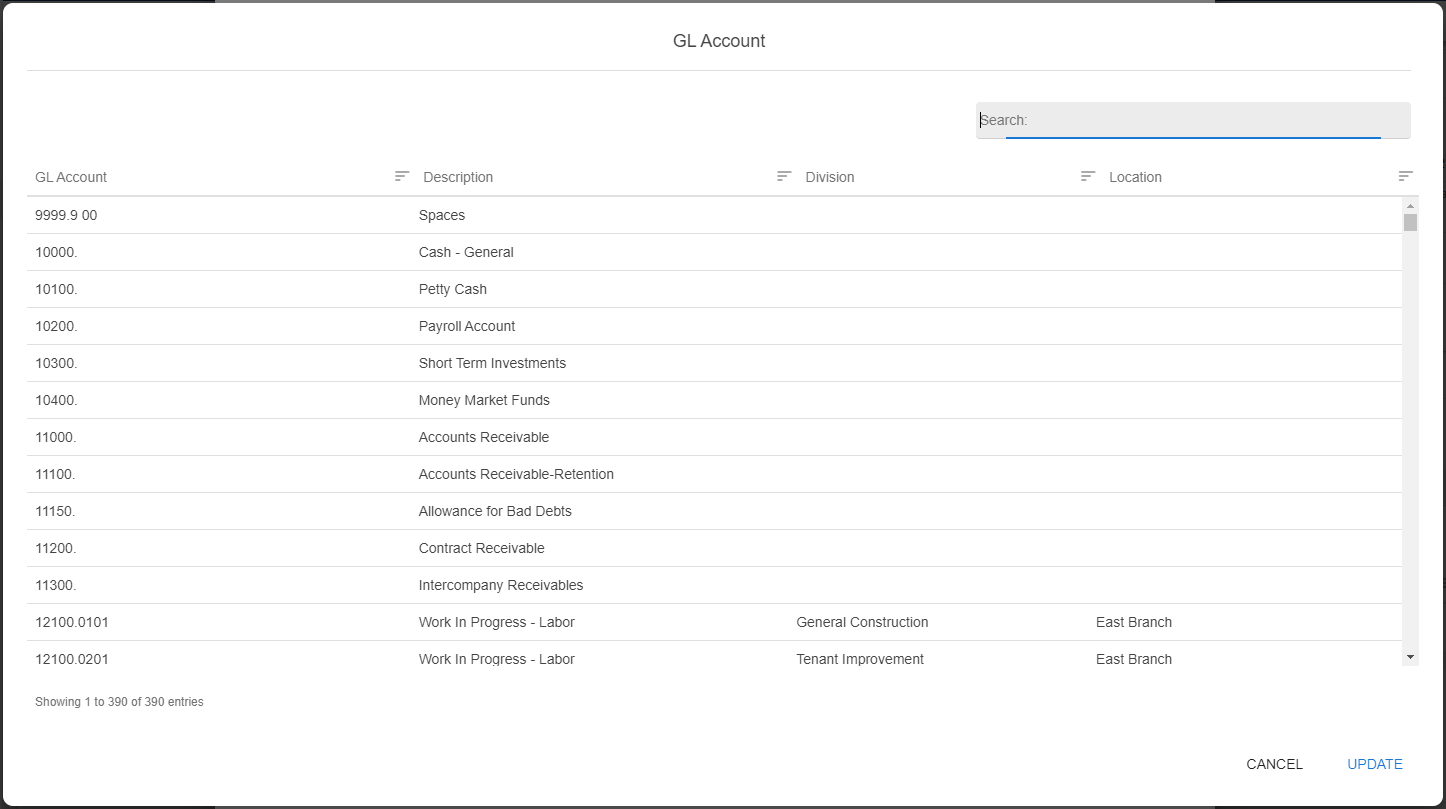
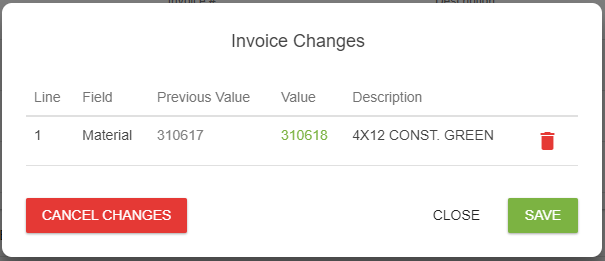
1.Click to display the Line Item Edit dialog similar to the following: 2.Revise line item fields as necessary. 3.If necessary, click the lookup icon to access an associated list. 4.Once changes are made and the Line Item Detail dialog is closed, the following row is added to the top of the Invoice Details page: 5.Click the Show Changes icon to view the coding changes. 6.To cancel a single change, if multiple changes display on the Invoice Changes dialog, click the Important: User must have the Allow Reviewer Edit Invoice Additional Option checked to perform this function. |
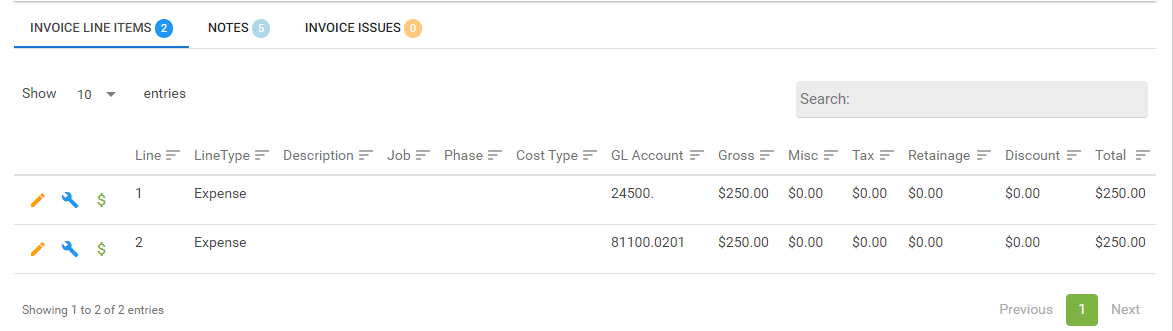
|
Change Line Type |
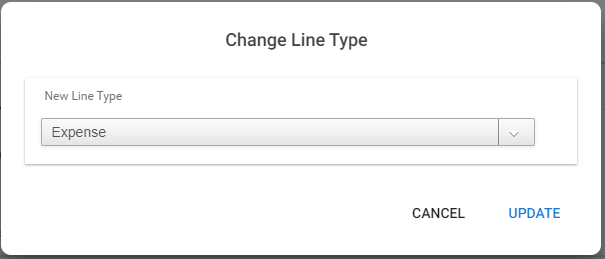
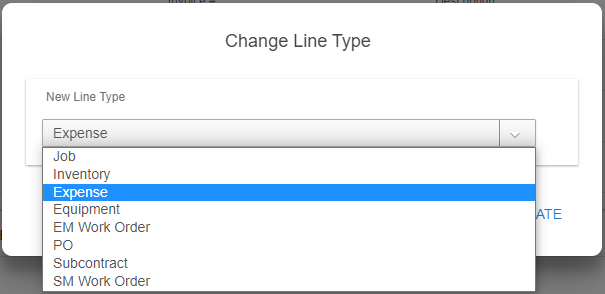
1.Click to display the Change Line Type dialog similar to the following: 2.Use the dropdown to select a new line type. 3.Click UPDATE to save changes or click CANCEL to leave the dialog without saving changes. Important: User must have the Allow Reviewer Change Line Type Additional Option checked to perform this function. |
|
Split Line |
1.Click to display the Split Line page similar to the following: 2.Make the necessary changes to split lines appropriately. 3.Click SPLIT to save changes and execute the split or click CANCEL to leave the dialog without saving changes. Important: User must have the following Additional Option checked to perform this function: Allow Reviewer Split Invoice Lines |


 icon for the associated row.


To approve the invoice line items, click the Approve icon located in the top right of the page.
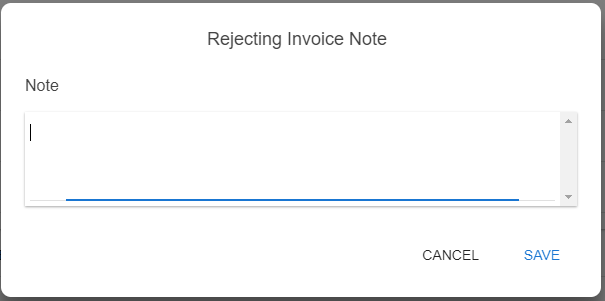
To reject the invoice line items, click the Reject icon located in the top right of the page.
Depending on the accounting system, if the Require Invoice Reject Notes Advanced Bridge setting is set to True (this is the default setting), a Reject Invoice Note dialog displays and a note is required before the invoice can be rejected.
Custom Fields
When you add a custom field to an invoice header or invoice line, it displays on the portal.