pVault® can be configured to use Viewpoint Job Routing. This option would automatically apply the reviewers on an invoice who were identified on the Viewpoint Job Setup. These reviewers can be identified on the Job Setup in Viewpoint on either the Info tab in the Reviewer Group Invoice field or on the Reviewer tab.
Job routing can be set up to run through pVault and the user's bridged accounting system. Job routing can also be set up to run primarily through the user's bridged accounting system.
In pVault
1.From the ribbon toolbar, click Administration.
2.Click Vaults.
The Vaults dialog similar to the following displays:
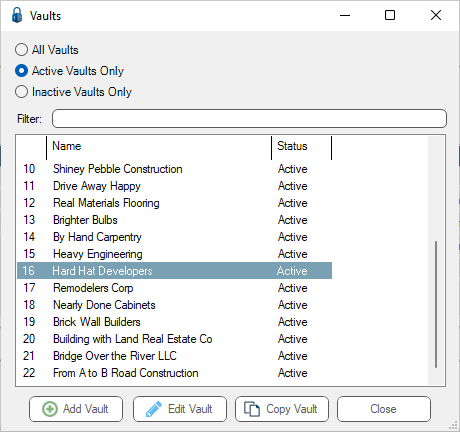
3.Click to highlight the Viewpoint vault, if necessary.
4.Click Edit Vault.
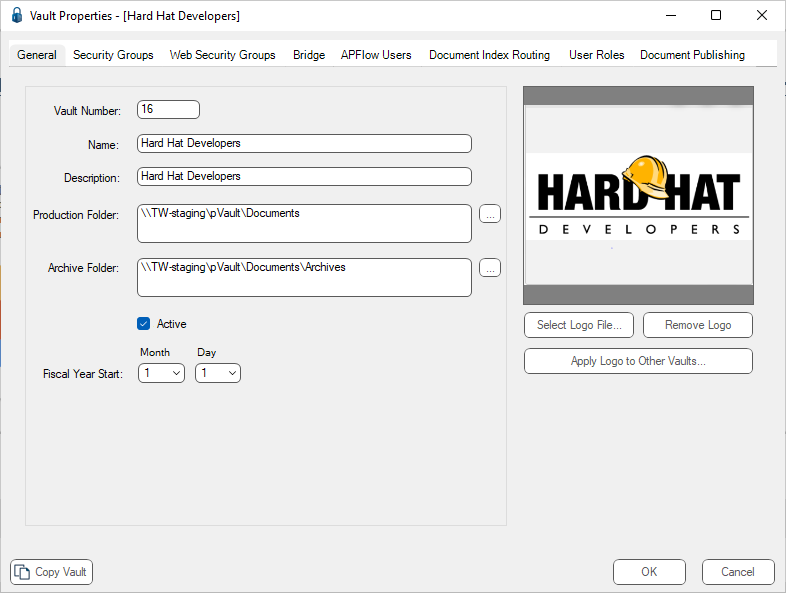
The Vault Properties dialog similar to the following displays with the General tab active:
5.Click the Bridge tab.
The dialog similar to the following displays:
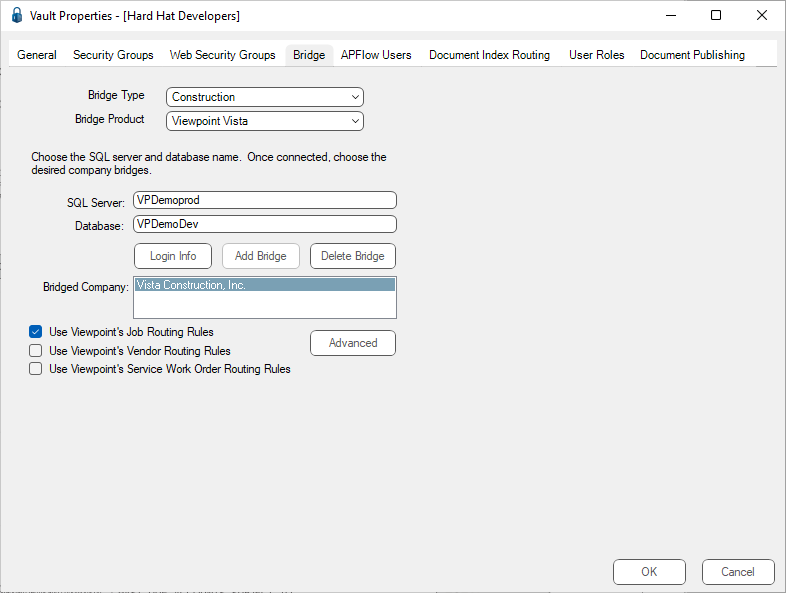
6.Click to select the Use Viewpoint's Job Routing Rules check box.
7.Click OK to close the Vault Properties dialog.
8.Click Close to close the Vaults dialog.
9.Minimize or close pVault.
In Vista Viewpoint
Job Routing Reviewers and Reviewer Groups can be assigned to a job by using either the Project Management module or the Job Cost module, depending on your company's preferences.
Using the Project Management module
1.Log in to Vista Viewpoint.
The Main Menu screen displays.
2.From the left navigation bar, click Project Management.
3.From the dropdown, click to select Programs.
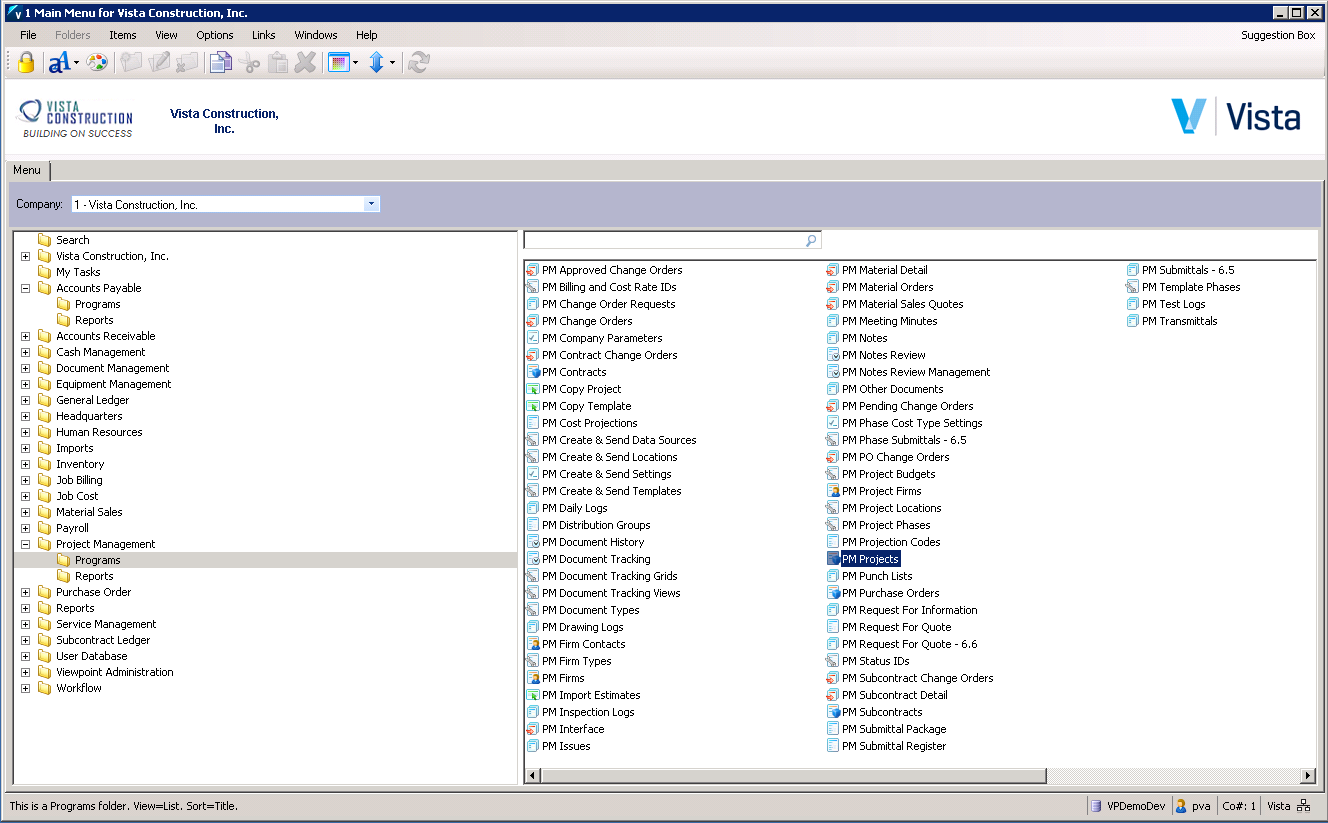
4.From the right pane, select PM Projects.
The PM Projects screen similar to the following displays with the Info tab active:
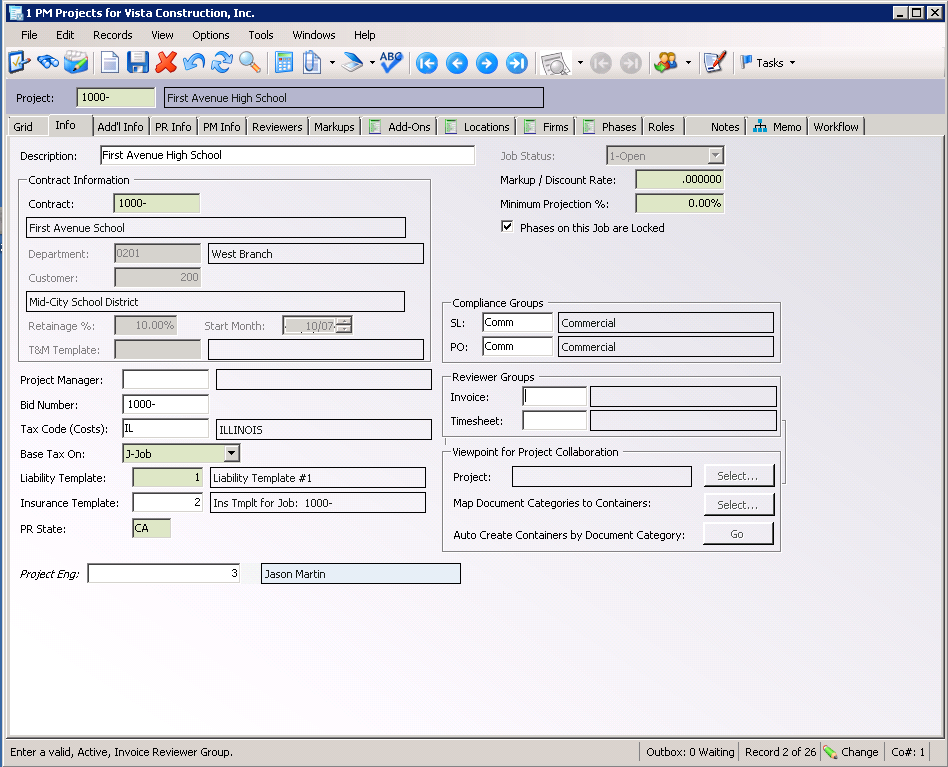
5.Click the Reviewers tab.
The dialog similar to the following displays:
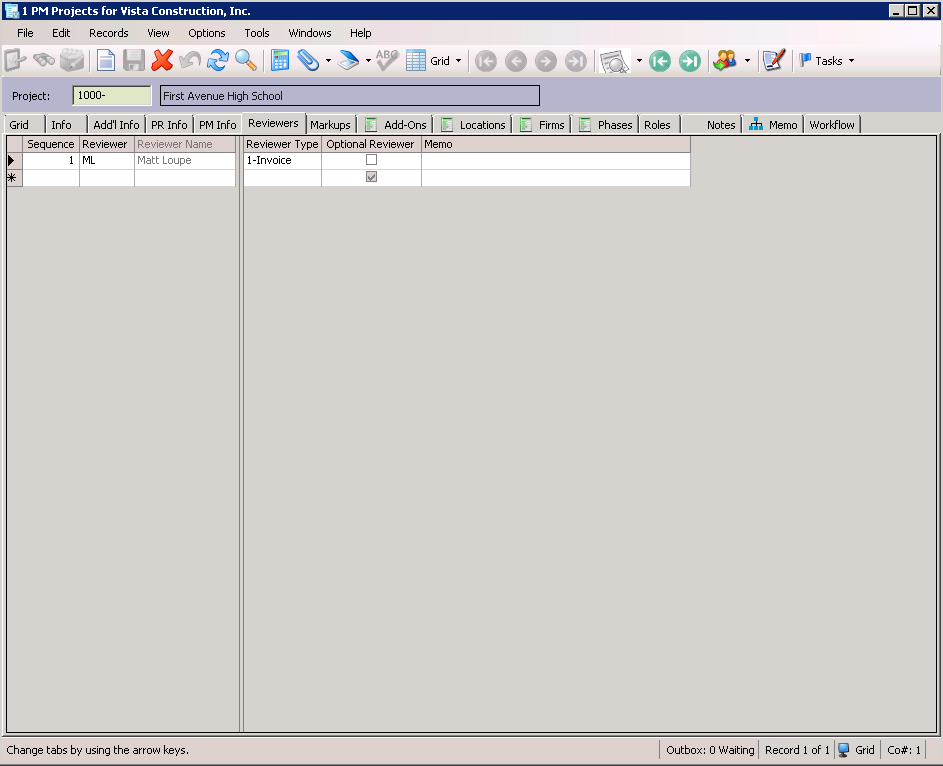
Note: If you are not using Reviewer Groups, enter a number in the Sequence field, use the list to select a reviewer for the Reviewer field, and select Invoice in the Reviewer Type field
6.Make a note of the appropriate Reviewer. In this example: ML
This is the reviewer who is identified in pVault.
7.In the PM Projects screen toolbar, click File.
8.From the dropdown menu, click Close.
9.In the Main Menu screen toolbar, click File.
10. From the dropdown menu, click Log Off to exit Viewpoint.
Using the Job Cost Module
1.Log in to Vista Viewpoint.
The Main Menu screen displays.
2.From the left navigation bar, click Job Cost.
3.From the dropdown, click to select Programs.
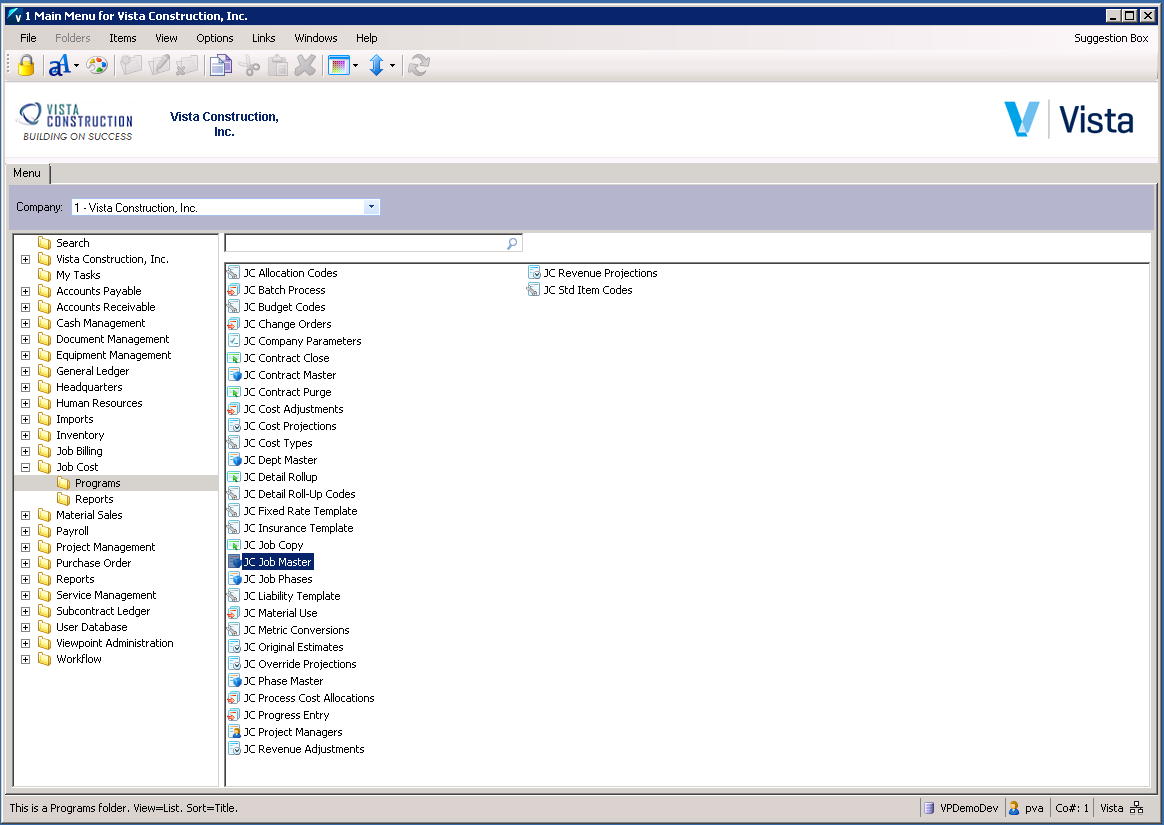
4.From the right pane, select JC Job Master.
The JC Job Master screen similar to the following displays with the Info tab active:
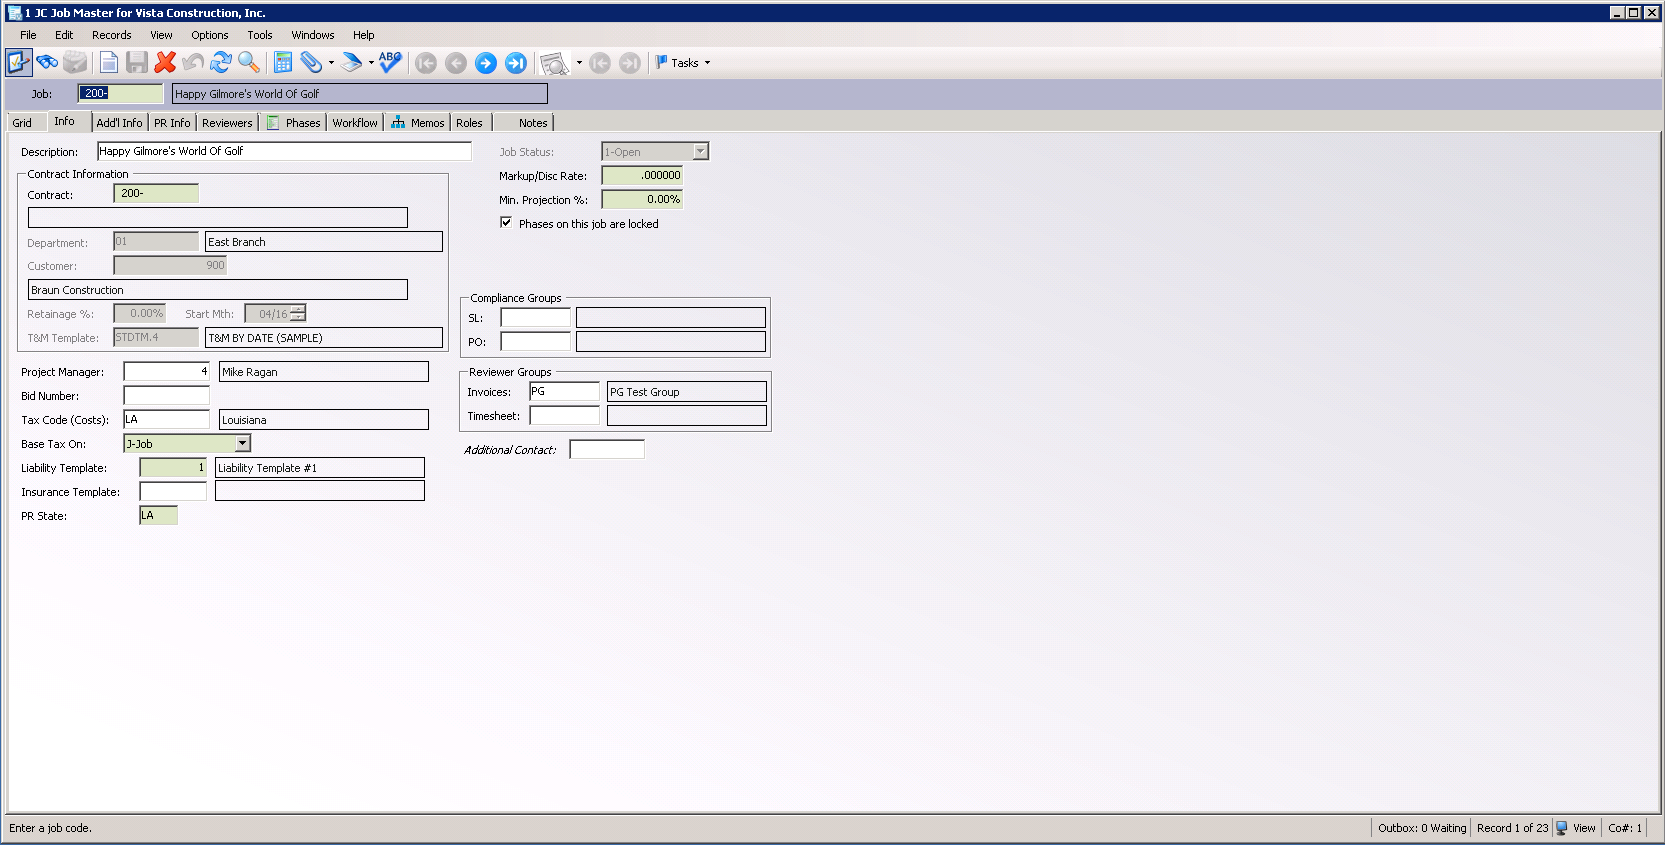
5.Click the Reviewers tab.
A dialog similar to the following displays:
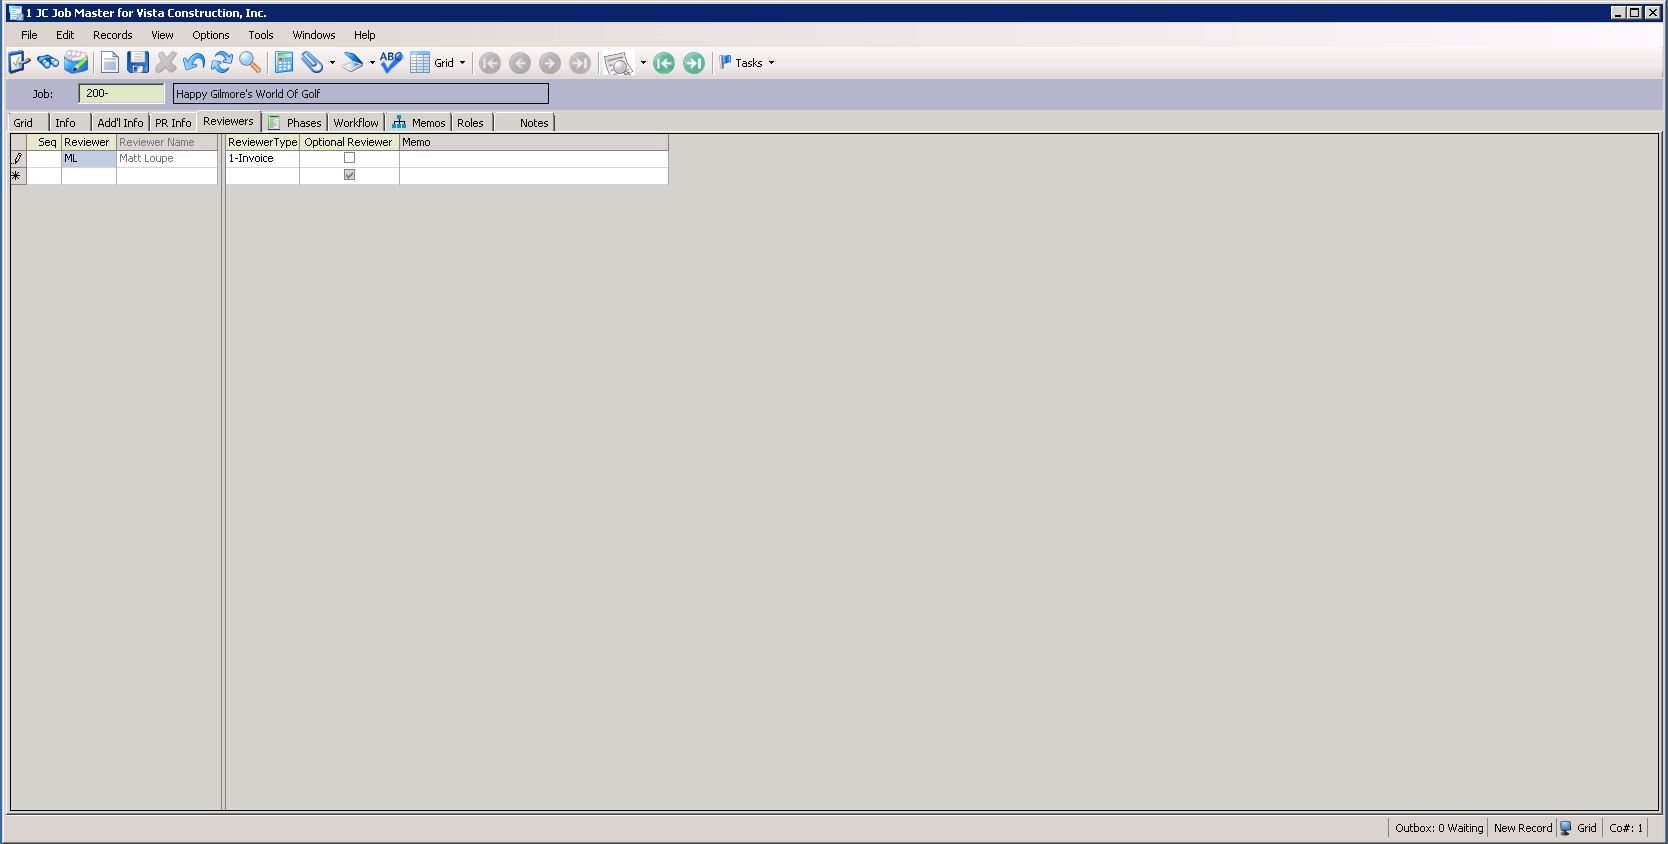
Note: If you are not using Reviewer Groups, enter a number in the Sequence field, use the list to select a reviewer for the Reviewer field, and select Invoice in the Reviewer Type field.
6.Make a note of the appropriate Reviewer. In this example: ML
This is the reviewer who is identified in pVault.
7.In the JC Job Master screen toolbar, click File.
8.From the dropdown menu, click Close.
9.In the Main Menu screen toolbar, click File.
10. From the dropdown menu, click Log Off to exit Viewpoint.
In pVault
1.In the ribbon toolbar, click Administration.
2.From the Users dropdown.
3.Click Users.
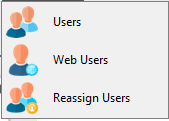
The User Accounts dialog similar to the following displays:
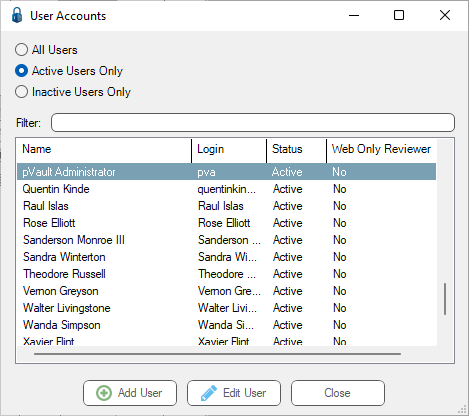
4.Click to highlight the user.
5.Click Edit User.
The User Properties dialog similar to the following displays with the General tab active:
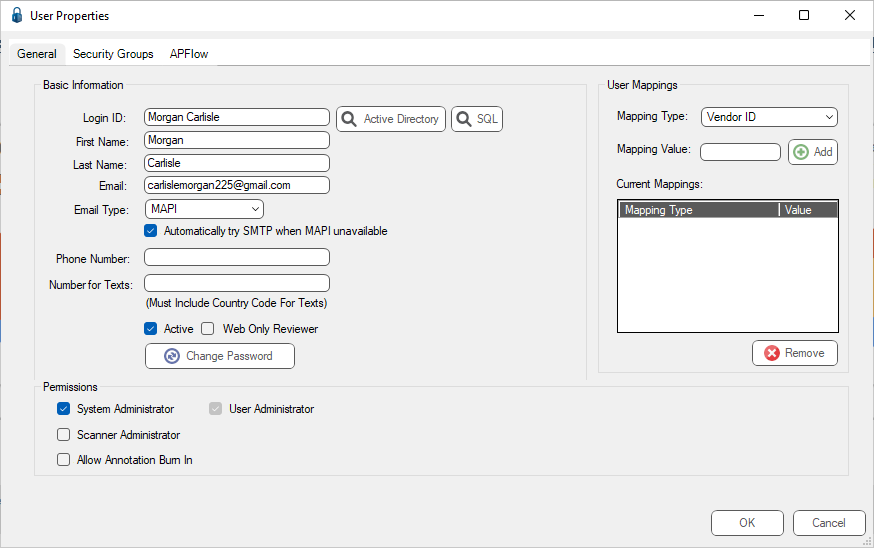
6.Click the APFlow™ tab.
The dialog similar to the following displays:
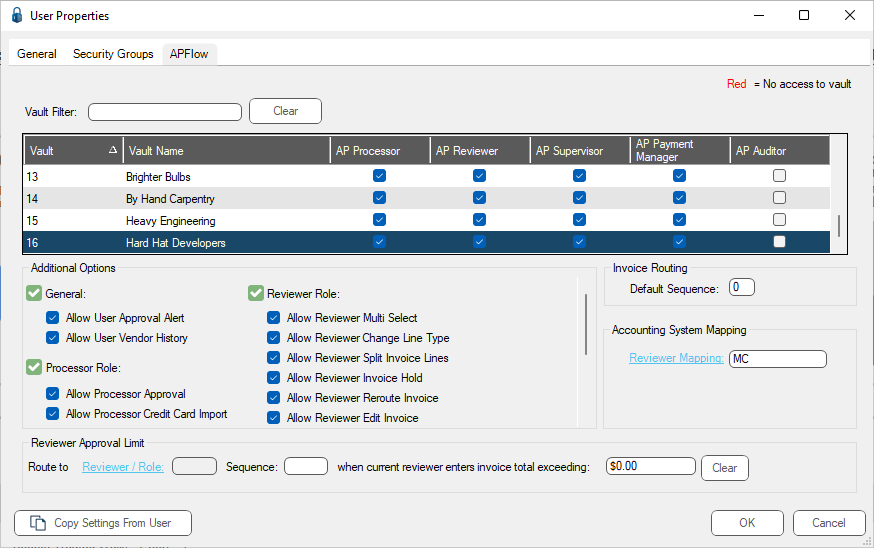
7.Select the name of the Reviewer with your cursor.
8.In the Accounting System Mapping pane, click Reviewer Mapping to access the Reviewer lookup dialog similar to the following:
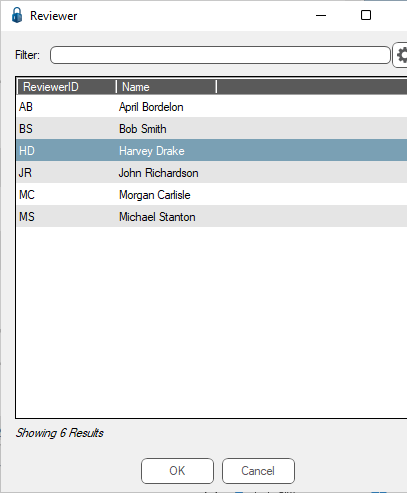
9.Click to highlight the same name that you highlighted in the Vista Viewpoint Project Manager Lookup.
10. Click OK.
The reviewer's initials display in the Reviewer Mapping field similar to the following:
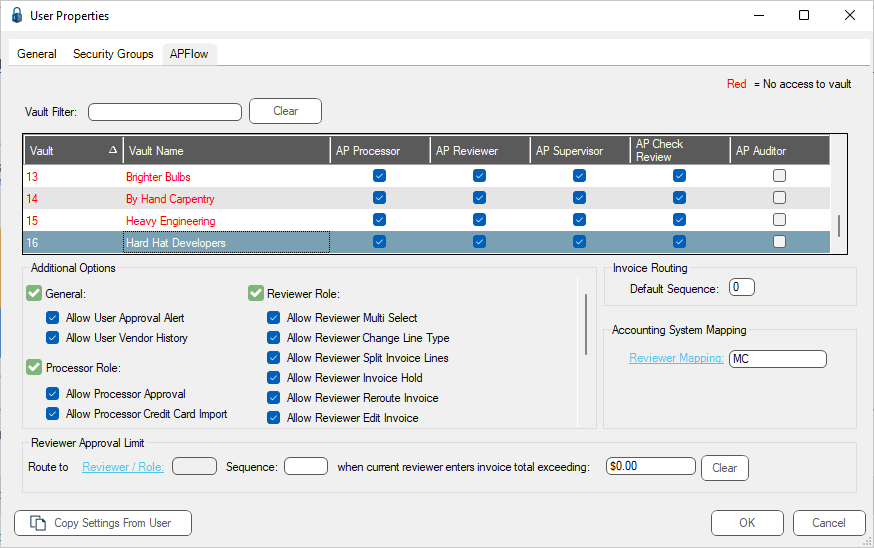
Important: The Reviewer initials in Vista Viewpoint must match the Reviewer initials displaying in the Reviewer Mapping field for the Invoice Routing setup to be successful.
11. Click OK to close the User Properties dialog.
12. Click Close to exit the User Accounts dialog.