In pVault
Setup
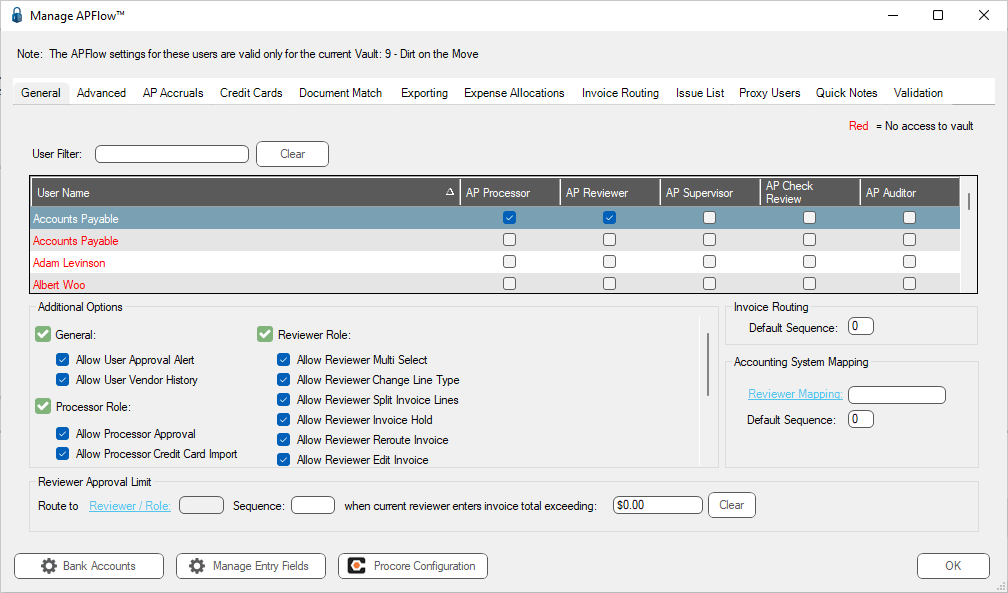
1.From the ribbon toolbar, click APFlow™.
2.Click Manage APFlow.
The following dialog similar to the following displays with the General tab active:
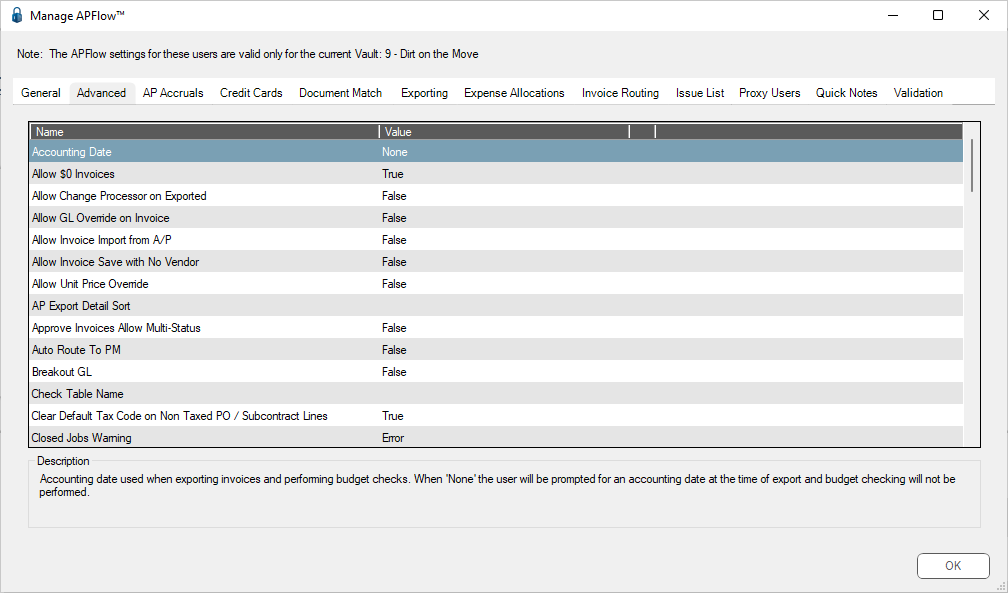
3.Click the Advanced tab.
The dialog similar to the following displays:
4.In the Accounting Date entry, Value column, select InvoiceDate from the dropdown.
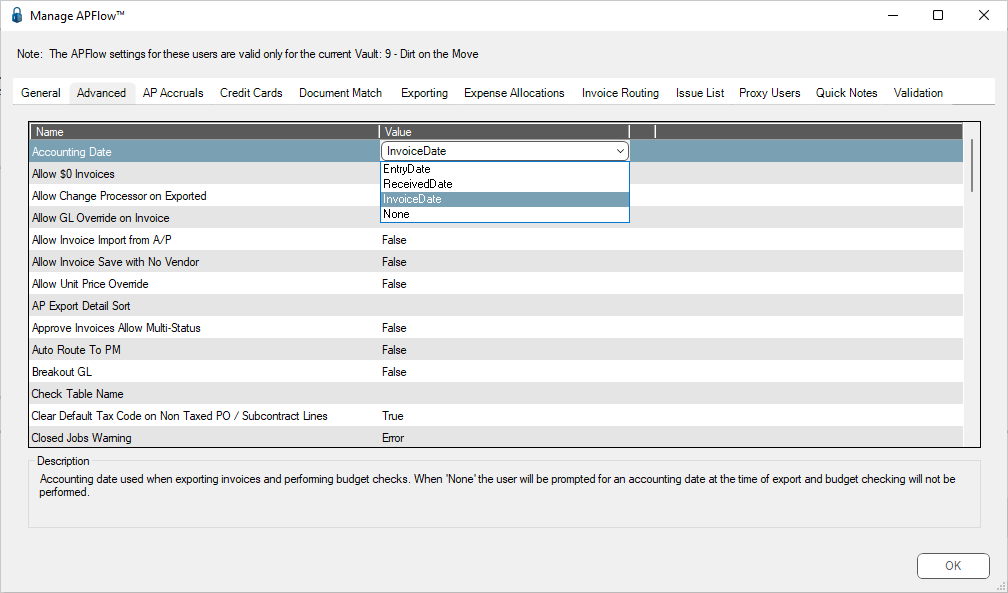
5.Click OK.
Invoice Entry
1.From the ribbon toolbar, click APFlow.
2.Click Invoice Entry.
3.From the APFlow sidebar, click New Invoice or Edit Invoice.
The Invoice Entry screen similar to the following displays:
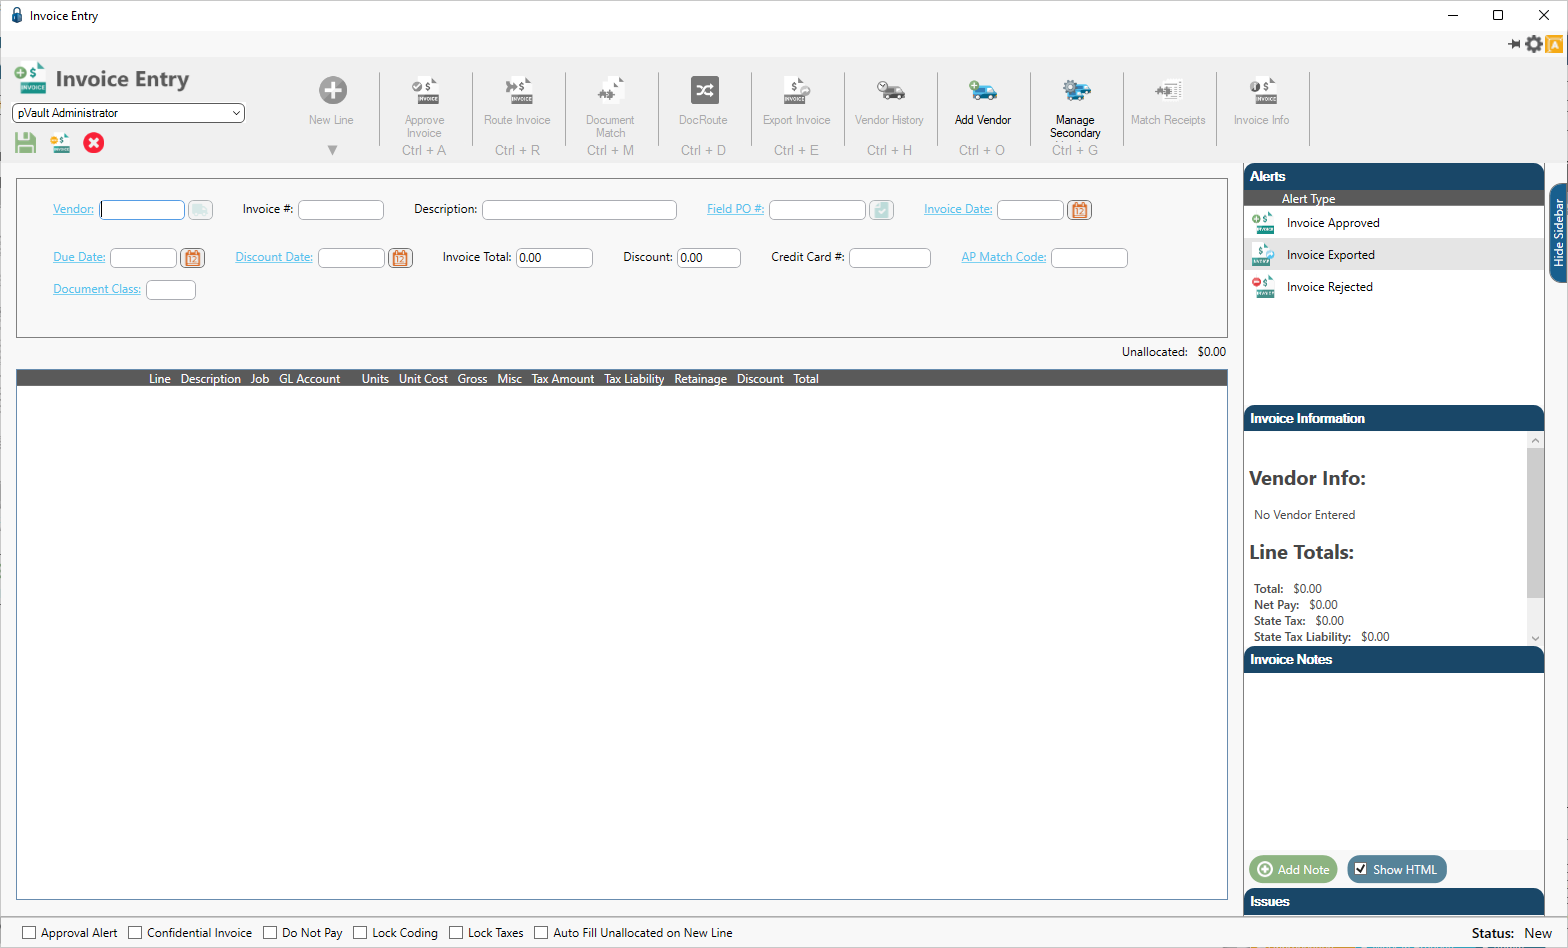
The Invoice Date field displays in the header pane similar to the following:

In Sage 300
The Invoice Date field in pVault may be influencing how the discount and payment dates are calculated based on AP Settings selected in Sage 300.
1.In the Accounts Payable module, from the ribbon toolbar, click File.
2.From the File dropdown menu, click Company Settings.
3.Click AP Settings.
The AP Settings dialog similar to the following displays:
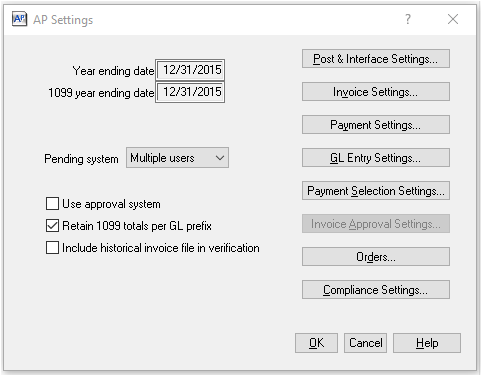
4.Click Invoice Settings.
The dialog similar to the following displays:
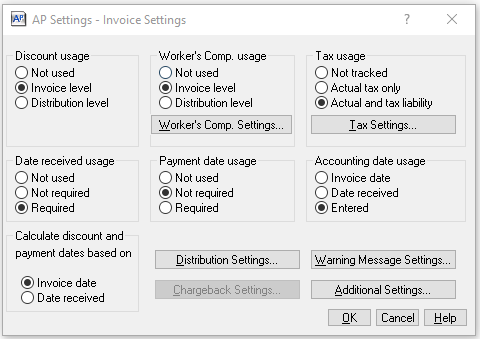
In the Sage AP Settings - Invoice Settings dialog, Calculate discount and payment dates based on Invoice date section, the Invoice date may be selected as the basis for determining the discount and payment dates.
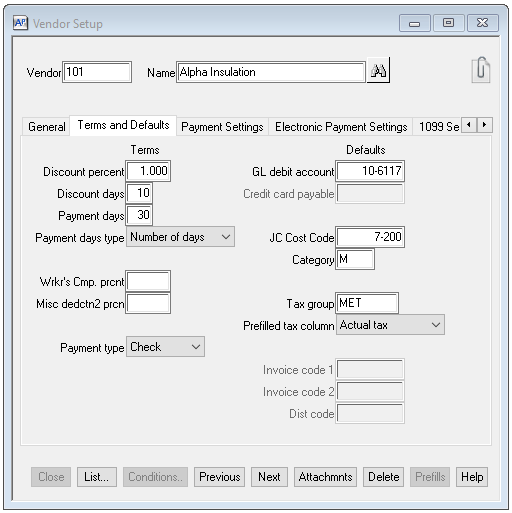
Additional discount and payment dates calculations are setup in the Terms and Defaults tab; specifically, in the Discount days, Payment days and Payment days type fields.
1.In the Accounts Payable module, from the ribbon toolbar, click Setup.
2.Click Vendors.
The Vendor Setup dialog similar to the following displays with the General tab active:
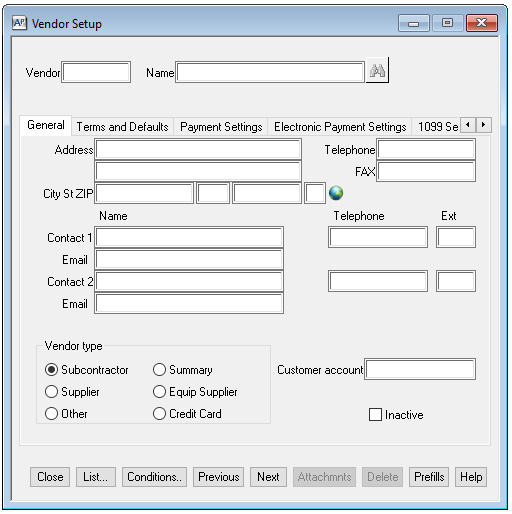
3.Enter a vendor number in the Vendor field.
4.Click the Terms and Defaults tab.
A dialog similar to the following displays: