In pVault
1.From the ribbon toolbar, click APFlow™.
2.Click Invoice Entry.
3.From the APFlow sidebar, click New Invoice or Edit Invoice.
The Invoice Entry screen similar to the following displays:
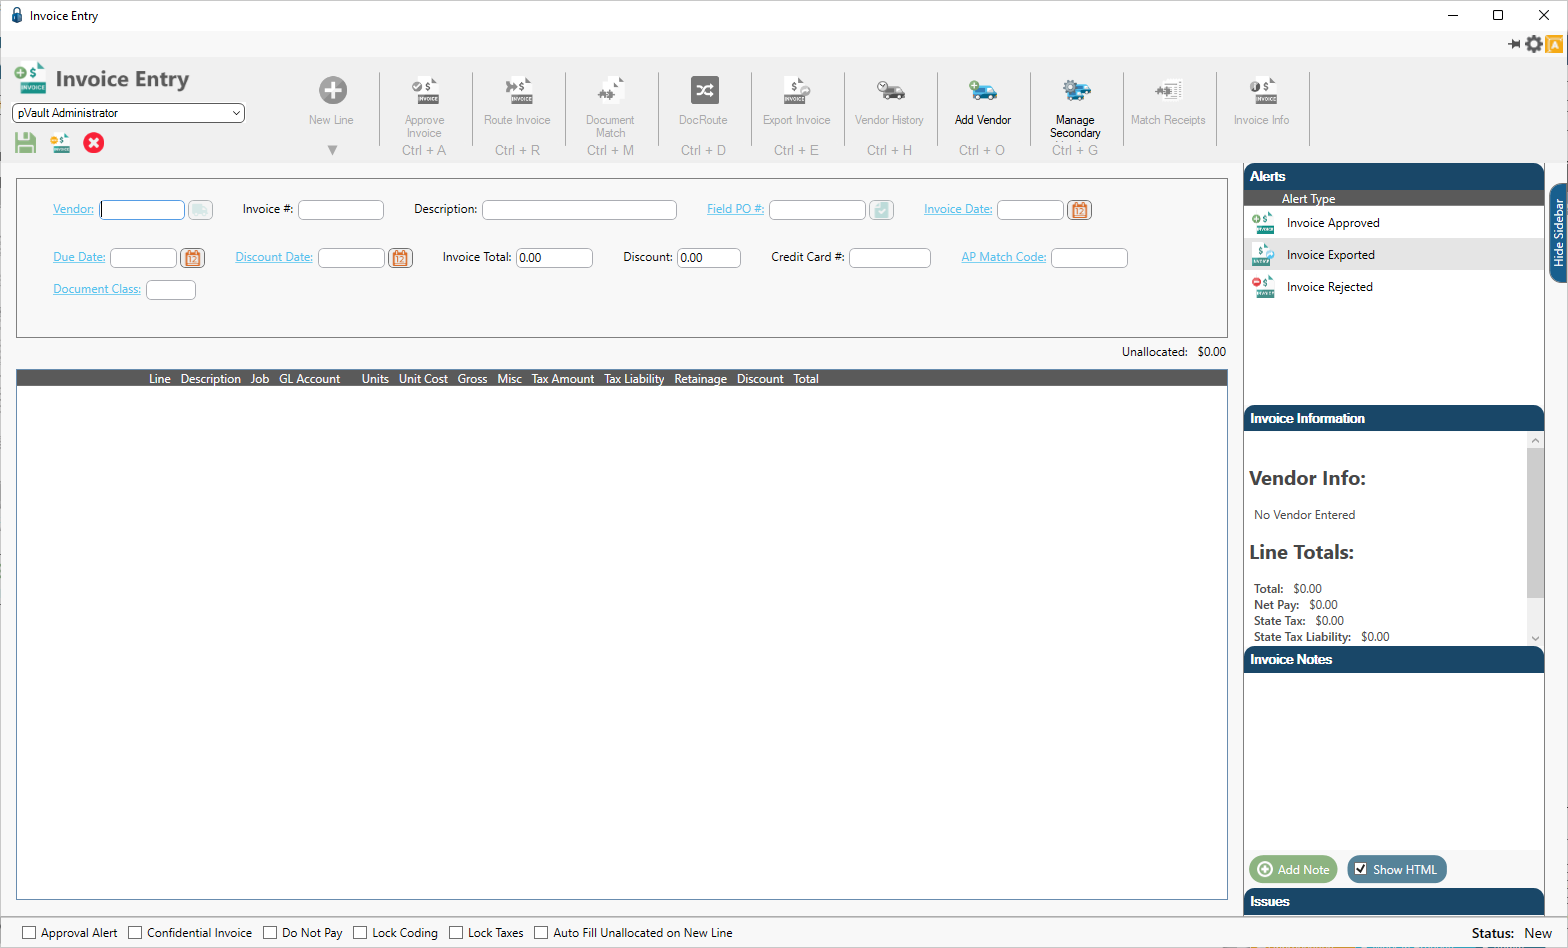
4.In the Vendor field, enter the vendor number or click the Vendor field label to access the Vendor lookup dialog.
5.In the Invoice # field, enter the number of the invoice.
At any time after the Vendor and Invoice # fields are populated, the New Line icon becomes active and line types may be selected from the dropdown to generate blank invoice lines.
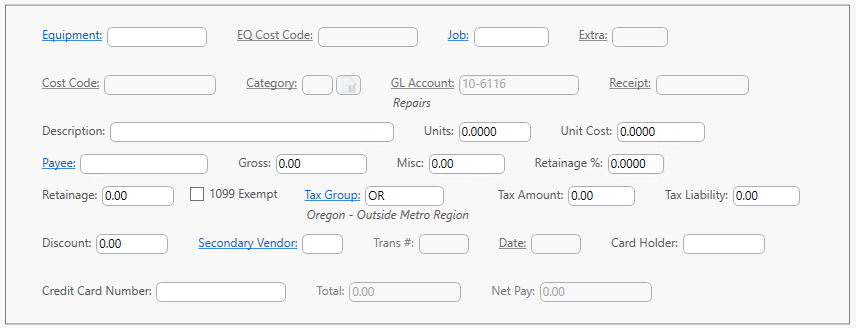
6.From the New Line dropdown, select the appropriate line type.
When an invoice line displays in the middle pane, the associated invoice line grid with the Tax Group field displays, and resembles the following:
In Sage 300
1.In the Accounts Payable module, from the ribbon toolbar, click Setup.
2.Click the Tax dropdown menu.
3.Click Tax Group.
The Tax Group Setup dialog displays:
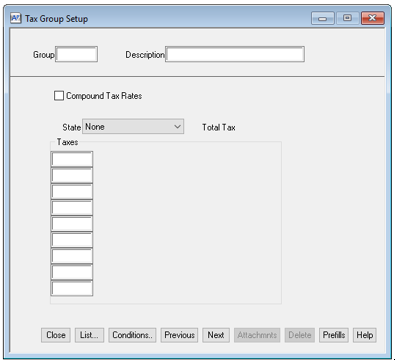
4.With the cursor in the Group field, click List to display the Tax Group List dialog similar to the following:
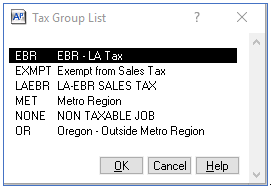
5.Scroll to the correct entry to highlight it.
6.Click OK.
The Tax Group Setup dialog updates similar to the following:
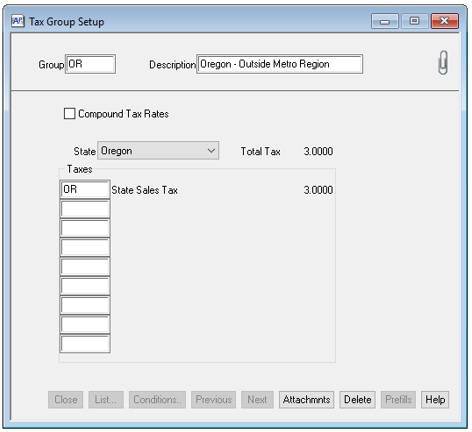
The Tax Group also displays in the Vendor Setup dialog.
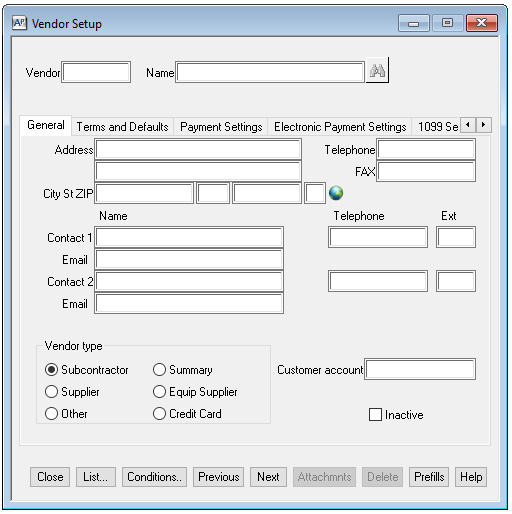
1.In the Accounts Payable module, from the ribbon toolbar, click Setup.
2.Click Vendors from the dropdown menu.
The dialog similar to the following displays with the General tab active:
3.In the Vendor field, enter a vendor number.
4.Click the Terms and Defaults tab.
The dialog similar to the following displays:
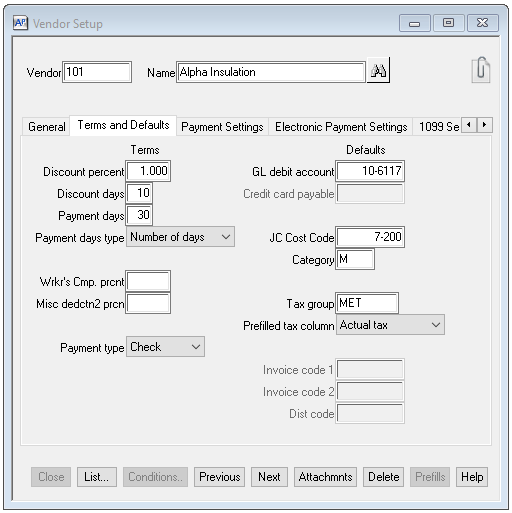
The assigned tax group displays on this dialog in the Tax group field.