In pVault
1.From the ribbon toolbar, click APFlow™.
2.Click Manage APFlow.
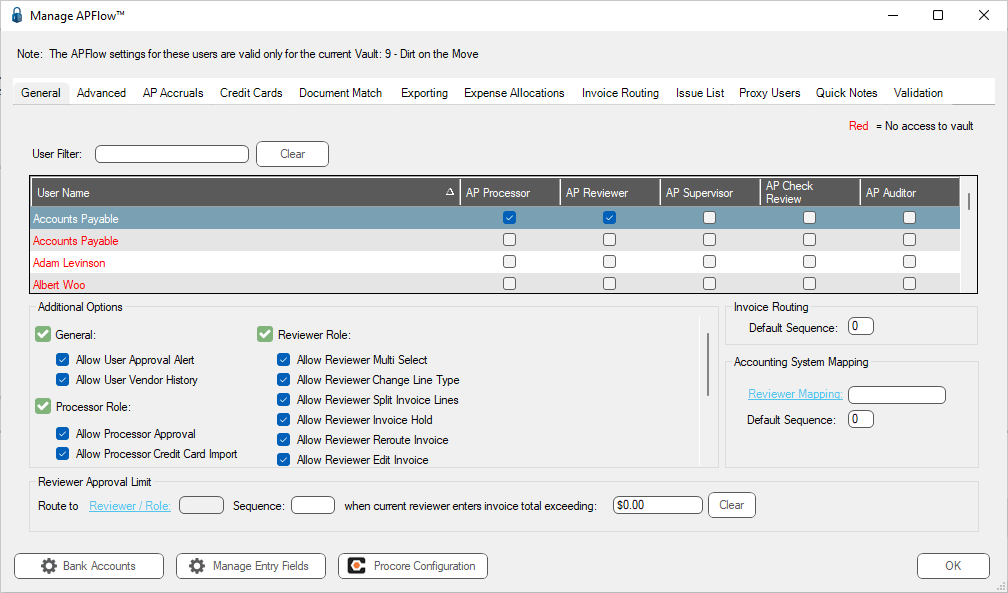
The following dialog similar to the following displays with the General tab active:
3.Click the Advanced tab.
The dialog similar to the following displays:
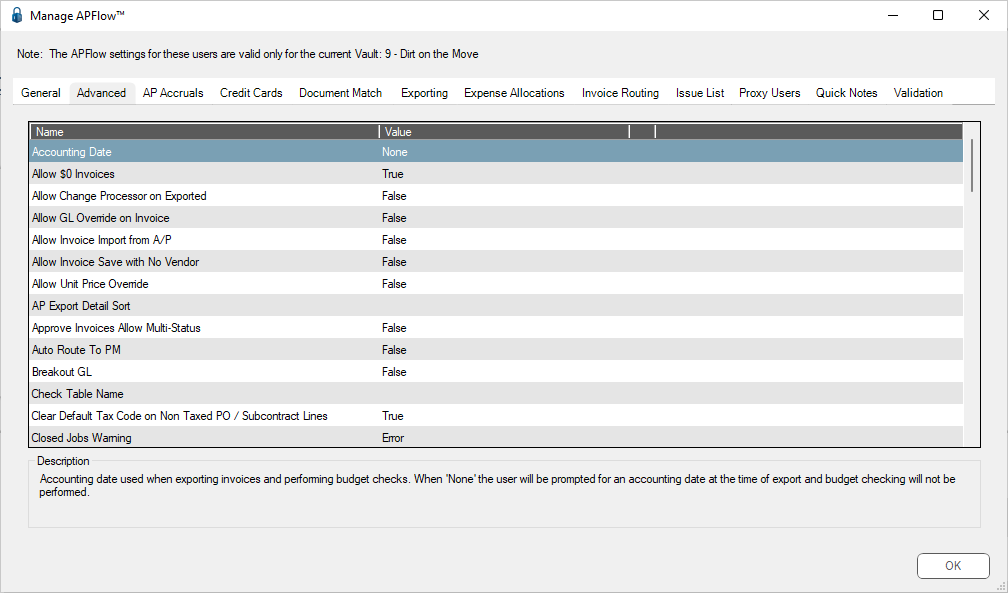
4.In the Accounting Date entry, Value column, select an entry from the dropdown.
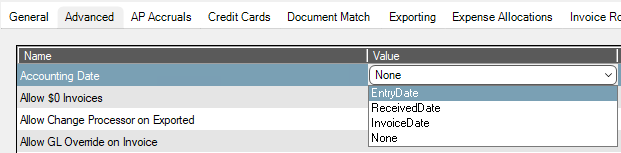
Important: If None is selected at the time of export, the user is prompted to select the accounting date for the batch of invoices being exported.
5.Click OK.
In Sage 300
1.In the Accounts Payable module, from the ribbon toolbar, click File.
2.From the File dropdown menu, click Company Settings.
3.Click AP Settings.
The AP Settings dialog similar to the following displays:
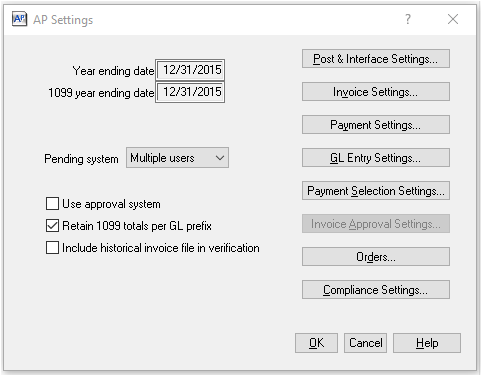
4.Click Invoice Settings.
The AP Settings - Invoice Settings dialog similar to the following displays:
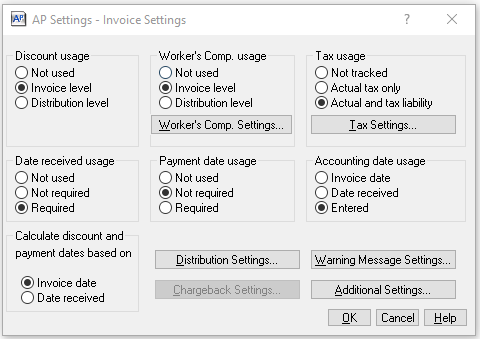
5.In the Accounting date usage box, click to select the appropriate radio button.
Based on the chosen Accounting date usage, additional selections may be required.
6.Click OK.
With this Sage setting along with the setting selected in the pVault Advanced Bridge, the field is visible in pVault Invoice Entry, header pane.