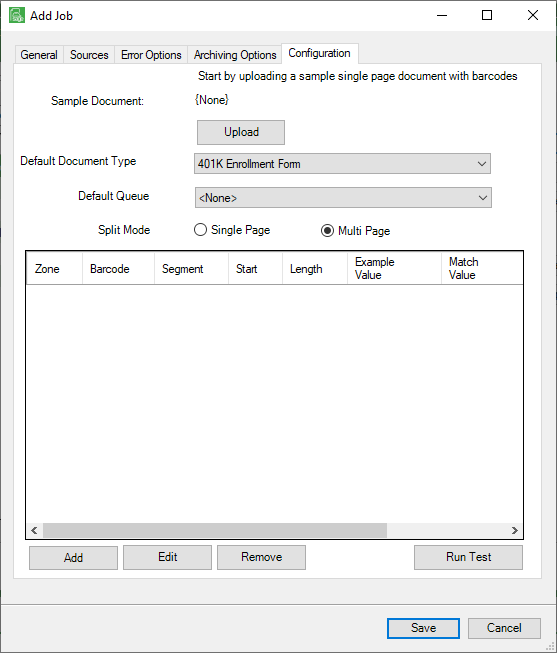
Important: Before starting a barcode configuration, you must upload a sample single page document with barcodes.
1.Click Upload.
The Configuration tab will resemble the following:
2.In the Default Document Type field, use the dropdown to select the appropriate document type. In this example, the document type is AP Receiving Ticket.
3.In the Default Queue field, use the dropdown to select the appropriate default queue. In this example, the selected queue used as the default is Theodore Russell's Queue.
4.The Split Mode radio button default is Multi Page. This identifies the current document as consisting of multiple pages between splits. This means that there is a barcode on the first page, followed by additional pages with no barcode. If this document consists of a single page, click Single Page. This means there should be a barcode on every page and there will be a split after every page. If a barcode is missing from a page where it is expected to be, an error will generate.
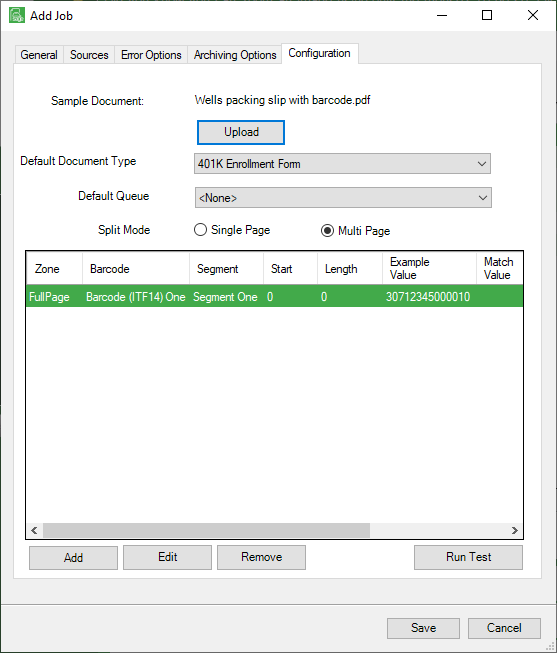
5.Click Run Test.
Performing this step is critical to make sure you are getting the results you expect. If you select Single Page, but the document consists of multiple pages, the document could be split incorrectly.
A list of potential barcode documents displays similar to the following:
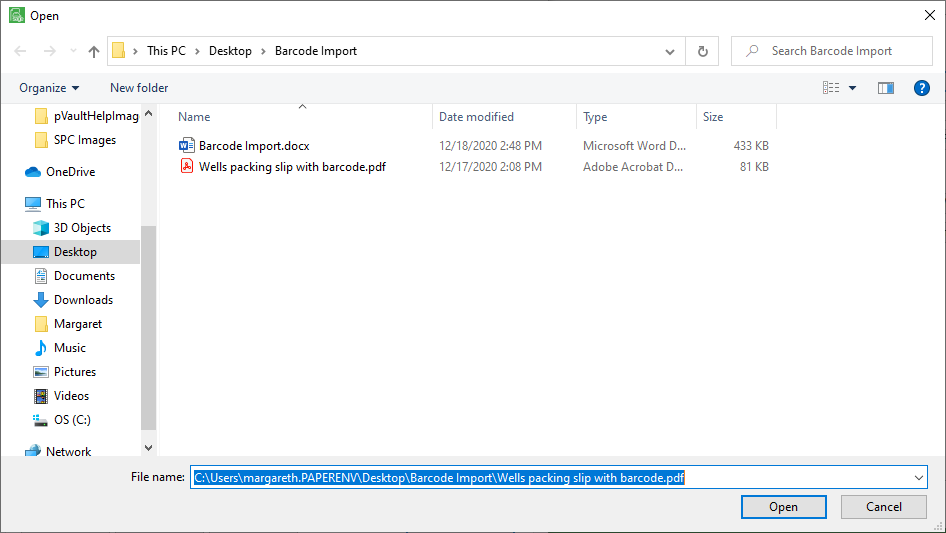
6.Highlight the barcode document.
7.Click Open.
A Test Results window similar to the following will display:
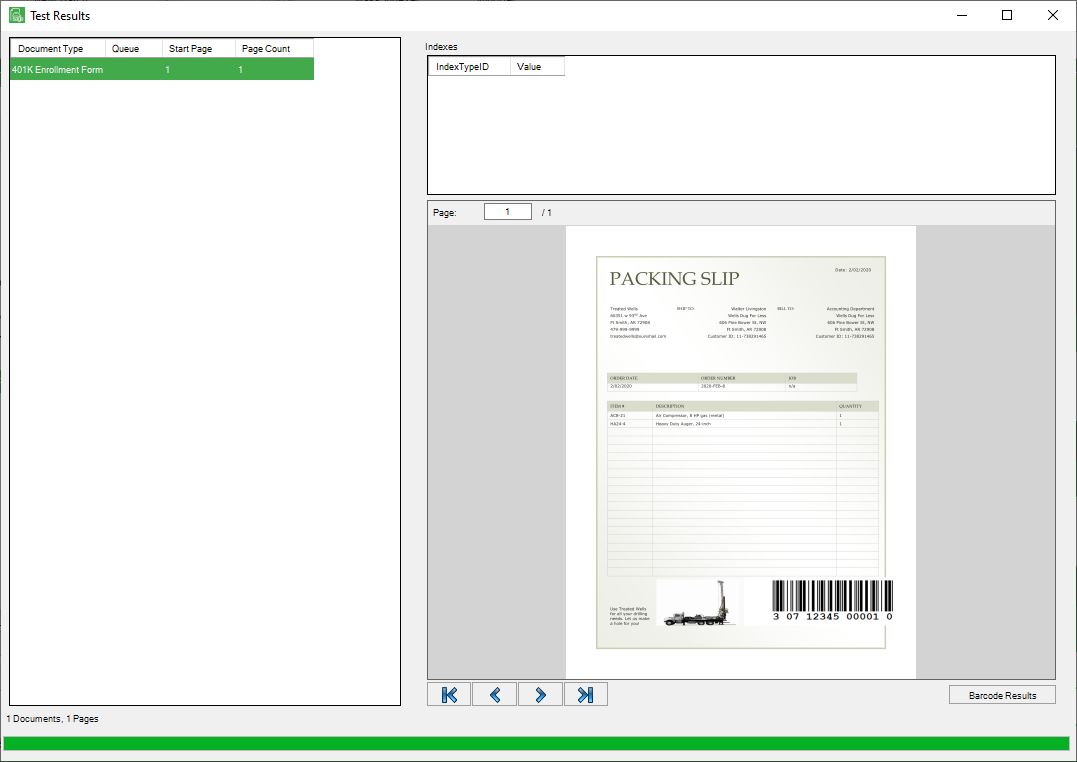
8.Click Barcode Results.
A Barcode Results window similar to the following displays:

The numerical pattern that displays in the Barcode Results window should match the barcode that displays on the document.
Adding or Editing a Barcode Segment
1.Click Add or Edit.
The following Edit Barcode Segment dialog box similar to the following displays:
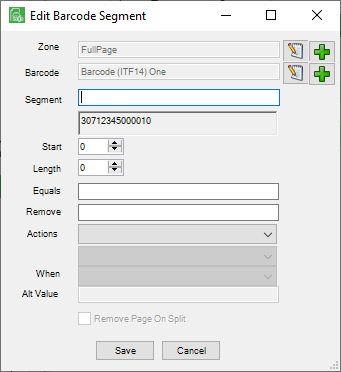
2.In the Zone field, leave the default in place.
If the zone is something other than a FullPage, for instance if there are multiple barcodes displaying on a single page, click the icon ( ).
).
An Edit Zone dialog box similar to the following displays:
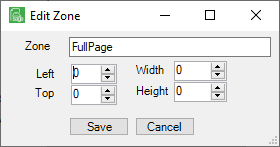
Note: The numbers entered in this dialog box represent pixels.
In the Start field, the first position is typically the first digit. That is the zero (0) position.
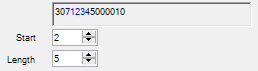
3.In the Length field, use the arrow keys to select the barcode length. As you select the length by clicking the arrow keys, the selected positions in the display transition from black to blue font.
In this example, notice that the Start field position is 2 and the Length field is 5:
4.The Equal field can be used for company customization. In this example, RT for receiving ticket.
5.The Remove field can be used for identifying hyphens and spaces that should not be "read". This could include existing spaces or hyphens.
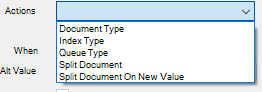
6.The Actions field includes the dropdown of what action should be taken.
Actions Field
Dropdown |
Description |
Additional Information |
|---|---|---|
Document Type |
From the dropdown select Document Type. A secondary field dropdown displays. |
The dropdown list includes all document types from which to select the appropriate document type. For example, AP Receiving Ticket.
|
Index Type |
From the dropdown select Index Type. Two additional field dropdowns display. |
In this example, AP Receiving Ticket Number and AP Receiving Ticket display.
|
Queue Type |
From the dropdown select Queue Type. A secondary field dropdown displays. |
A secondary dropdown list of all available queues displays from which to select the appropriate queue. Select the individual's name in whose queue the imported document will be housed.
|
Split Document |
From the dropdown select Split Document. The Remove Page On Split check box becomes active. This would be the separator page.
|
If the document consists of multiple pages, once the barcode displays on a page, the remaining document pages become another document. |
Split Document On New Value |
From the dropdown select Split Document On New Value. The Remove Page On Split check box becomes active. This would be the separator page. |
If the document consists of multiple pages, once an identified value displays on a page, the remaining document pages become a separate document. |