To use the eCapture™ app, the user must first download the app from the Apple Store for iPhones and iPads, or from the Google Play store for Android devices.
Once installed, the app will display with the following app icon:

Log into eCapture™
1.Tap the eCapture™ icon to launch the app.
The eCapture™ login dialog box will display:
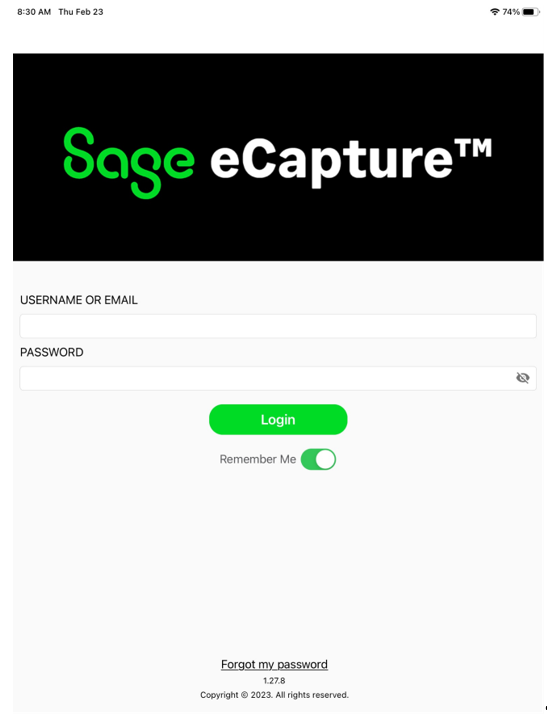
2.In the User Name field, type in the user's email address as it was setup in the Web User Configuration.
3.In the Password field, enter the password set by the user when they confirmed their address.
4.For the Remember Me slide, move the slide to the right to store the user's name on the device so re-entering it in the future will not be necessary.
5.Click Login to log into the app and begin processing.
Note: Click Forgot Password to generate an email link for resetting the forgotten password.
Vault and Document Type Selection
Once the user is successfully logged in, the second eCapture™ page will display:
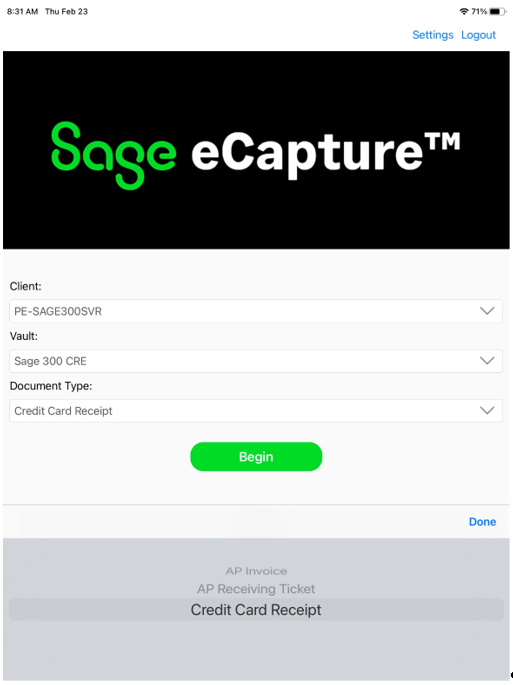
1.In the Client field, use the dropdown to pick the Sage Paperless Construction server to connect to.
Note: Once selected, the client will default every time for the user until it is changed.
2.In the Vault field, select the vault where the documents will be submitted.
Note: Once selected, the vault will default every time for the user until it is changed.
3.In the Document Type field, use the dropdown. In this example, Credit Card Receipt.
4.Click Begin.
The following page displays:
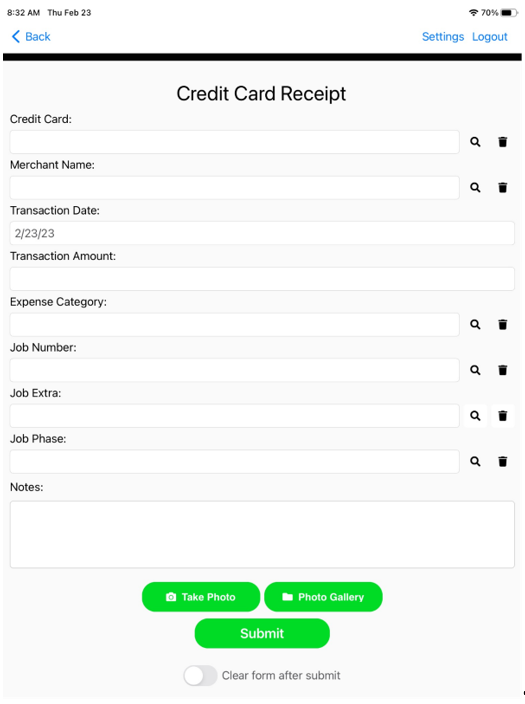
5.For the Credit Card field, click the magnifying glass icon to display a list of credit card type from which to select, or manually type in a credit card type.
6.For the Merchant Name field, click the magnifying glass icon to display a list of merchants from which to select, or manually type in a merchant's name.
7.For the Transaction Date field, keep the default which is the current date, or type in a different date if applicable.
8.For the Expense Category field, click the magnifying glass icon to display a list of expense categories from which to select.
9.For the Job Number field, click the magnifying glass icon to display a list of job numbers from which to select the appropriate job.
10. In the Job Extra field, enter an identifier such as a phase number.
11. For the Job Phase field, click the magnifying glass icon to display a list of job phases from which to select.
Note: The fields that display are based on the configured indexes.
12. If appropriate, add a note in the Notes text field.
13. Click either  to take a photo or click
  to attach the Photo Gallery to attach an existing image.
14.Click Submit.