Individual user settings for the eForms™ application are found under Web User Properties screen.
1.From the ribbon toolbar, click Administration.
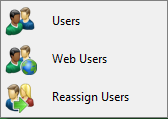
2.Click the Users dropdown, 
3.Click Web Users.
A Web User Accounts window similar to the following displays:
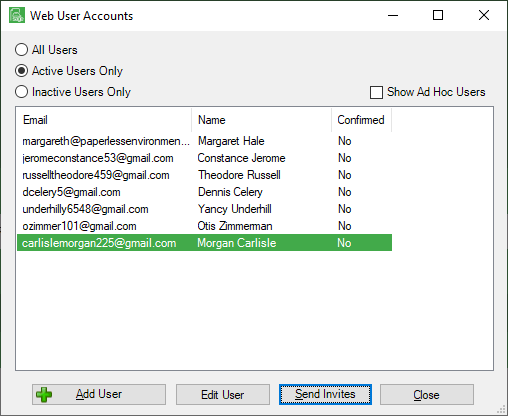
4.Click the user name to highlight it.
5.Click Edit User.
Web users accessing any web-based Sage Paperless Construction application must first be set up on the Web Users configuration screen. Refer to Web Users.
The Web User Properties window similar to the following displays with the General tab active:
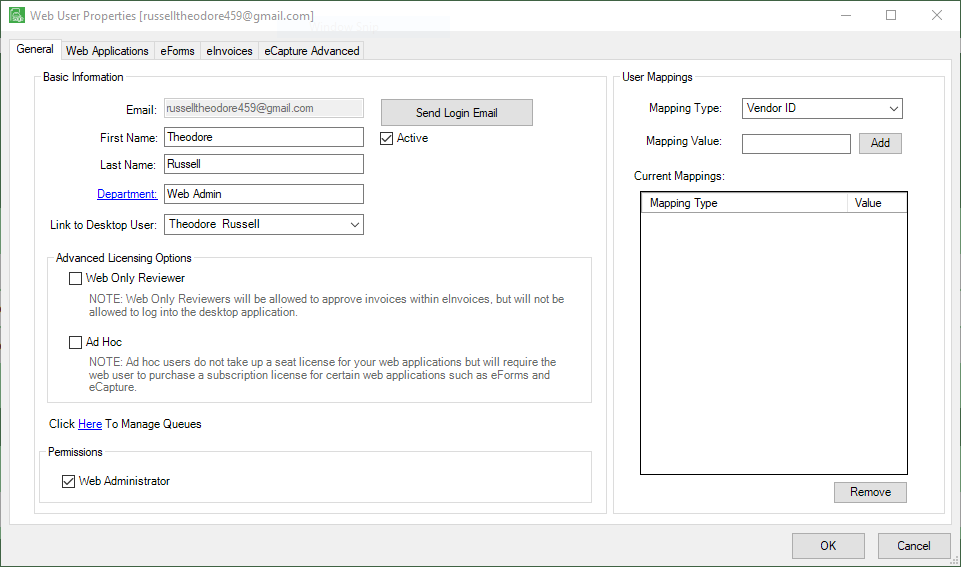
6.Click the Web Applications tab.
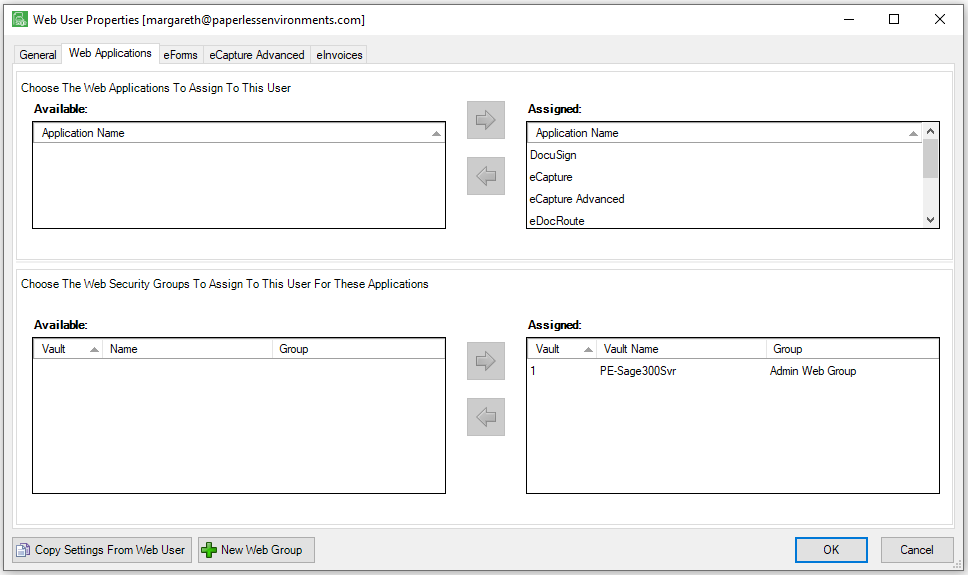
7.Assign the eForms™ application to the user by selecting eForms™ in the Available applications section and clicking  to move it to the Assigned applications section.
Each form template that is configured in the eForms™ Administration portal is mapped to a Sage Paperless Construction document type. For the user to access a form on their device, they must first have security rights for the Sage Paperless Construction document type that is mapped to the form.
8.Assign the web user to the web security groups that gives them access to the needed document type(s) by selecting the security group(s) in the Available security group section and clicking to move them to the assigned section on the right as shown above.
Note: To add new web security groups, click  . Refer to Web Security Groups Tab.
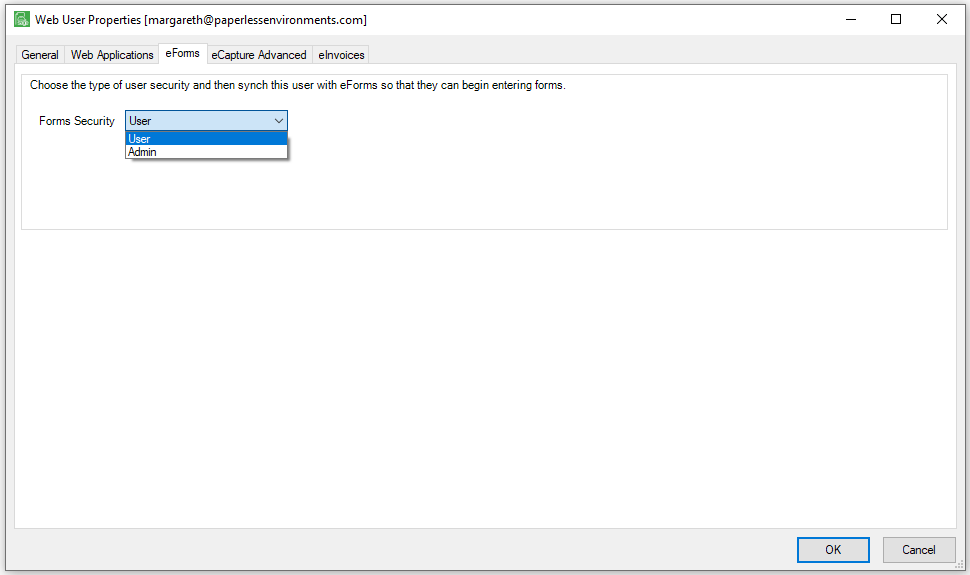
9.To give the web user access to the eForms™ Administration screen, set their eForms™ security level to Admin.
This setting is located on the eForms™ tab.
Note: By default, new users are set with User security rights, giving them rights to fill out forms assigned to them on their tablet.
10.Click the dropdown menu and select Admin to assign administrator rights to the user.
11.Click OK.
The Web User Properties window with the eForms™ tab active redisplays with the Synch User button visible.
12.Click Sync User.
This will send the information to the Paperless cloud server giving them access to the eForms™ Administration Portal. eForms™ Administration Portal
Once the information is synched, a hyperlink to the eForms™ Administration portal displays.
eForms™ Administrators can access the portal from the hyperlink or use the following address:
https://forms.sagepaperless.com.