A global field is presented as a question to the user in a General Information section on the eForm they complete. When the user enters a response, the answer displays at the top of the form.
For example, to display the job number at the top of a completed eForm, create a Job Number global field. Once created, this field can be optionally added to any new created template (refer Create New Form Template for more information).
1.Click Manage to open the Manage Global Fields screen.
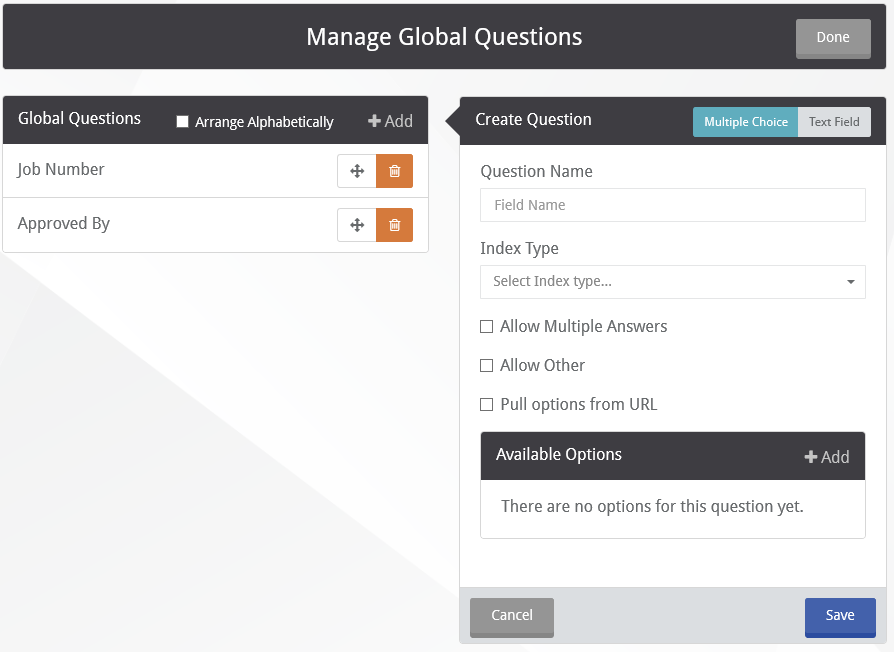
2.In the Manage Global Fields screen, global fields can be created or edited.
If creating a global field, click +Add to open the Create Field screen.
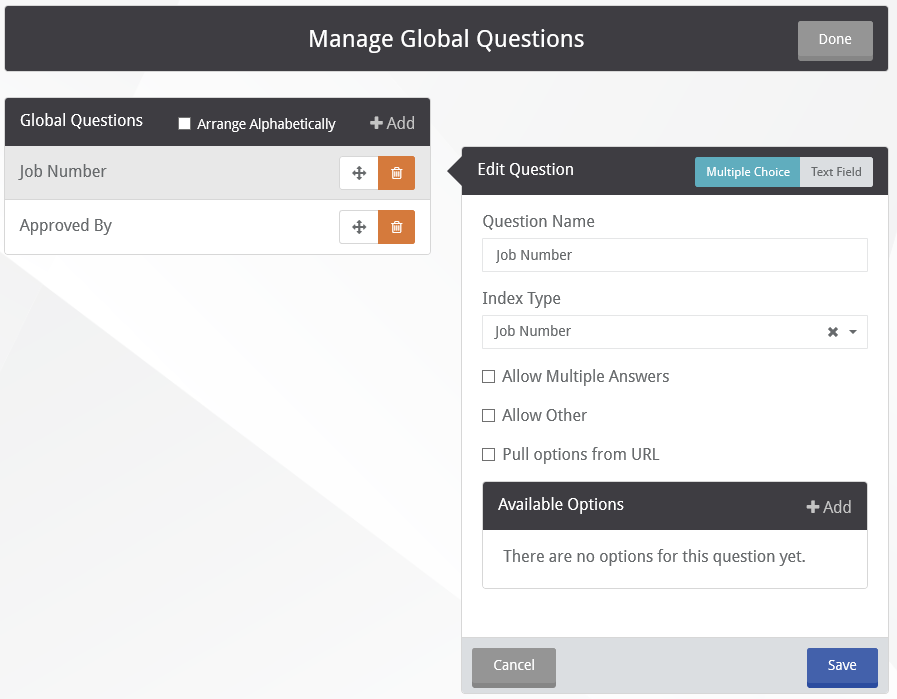
If editing an existing field, click the name of the field in the Global Fields list to open the Edit Field screen.
3.Click the Multiple Choice tab or the Text Field tab, depending on the type of field to create.
Note: By default, the Multiple Choice tab will be selected.
Multiple Choice Field
To set up a global field that allows a user to select from a list of items in response to the question, click the Multiple Choice tab.
For example, to create a Job Number global field, the user can click a dropdown list of jobs to select from.
1.Type the name of the field.

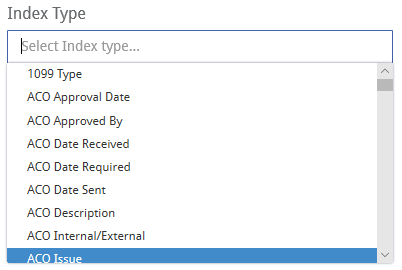
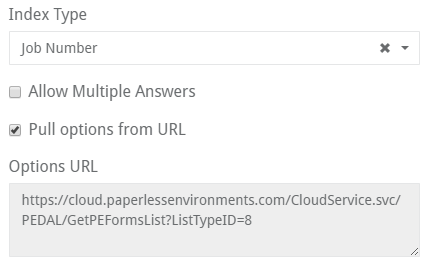
2.Click the Index Type field to select from a list of index types.
Each type is linked to a list of answers a user may select from.
When an index type is selected from the dropdown list, the check box: Pull options from URL is automatically checked and the URL associated with the index type displays.
The URL links to a set of predefined answers.
3.To allow a user to select multiple answers, check Allow Multiple Answers.
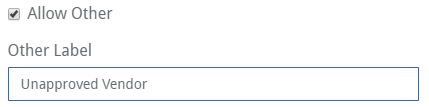
4.To create a specific label and add it to the list of selectable answers, check Allow Other
This opens an additional field to type the name of the label.
For example, to give the user the option of indicating an unapproved vendor can be used, create the Unapproved Vendor label and it will be added to the bottom of the list of vendors.
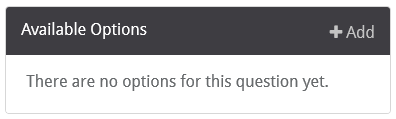
5.To manually create answers for the global field, uncheck: Pull options from URL
6.Click +Add on the Available Options banner.
Available Options changes to:
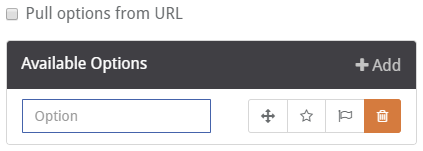
+Add can be clicked multiple times to create multiple answers.
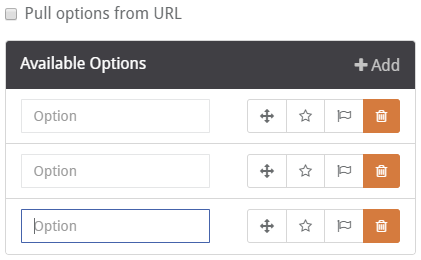
7.Type the answer and select one of the following:
•The move icon  allows a list of multiple answers to be sorted. Click an answer and move it up or down in the list.
•The star icon  sets the answer to display by default.
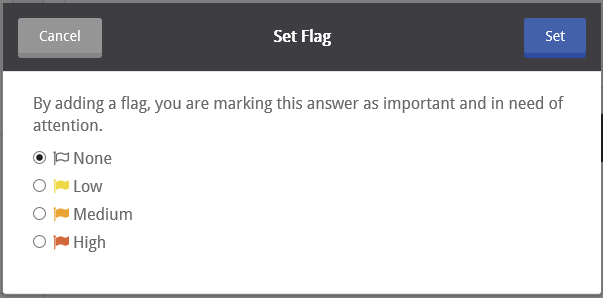
•The flag icon  allows the field to be flagged to indicate a level of importance. Clicking the flag icon opens the Set Flag screen. Select a flag level and then click Set to set a flag, or click Cancel to cancel without setting a flag.
•To delete an option, click the trashcan icon  and then click Yes.
8.Click Save to save changes, or click Cancel to cancel without saving.
Text Field
To set up a global field that allows the user to type an answer, click the Text Field tab.
1.Type the name of the field.
2.To save the answer to a document index, click the Index Type field to select from a list of index types.
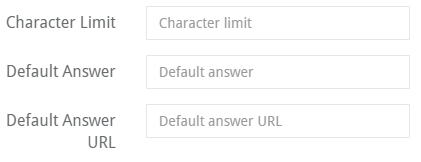
3.To limit the number of characters for a user’s response, enter the maximum number allowed.
4.To display a default answer on a form that is being completed, type the response in the Default Answer field.
5.To link to a default answer, enter the default answer URL.
6.Click the check box: Display as text area to expand the Default Answer field to a text box.
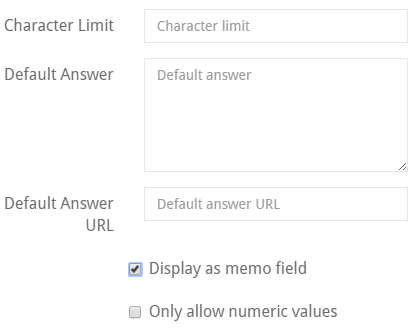
7.Click the check box: Only allow numeric values to only allow the user to enter numbers on the form.
8.Click Save to save changes, or click Cancel to cancel without saving.