This is required for customers who will be entering invoices against parts and inventory.
Requirements
•Any workstation/server used for exporting invoices to Sage 100 requires the Sage 100 client be installed and running the correct client version.
•SDK Access must be provided to the account used for the Vault bridge.
Important: There are Advanced APFlow™ Bridge settings that must be set up, depending on the software version.
1.From the ribbon toolbar, click APFlow™.
2.Click Manage APFlow™,  .
.
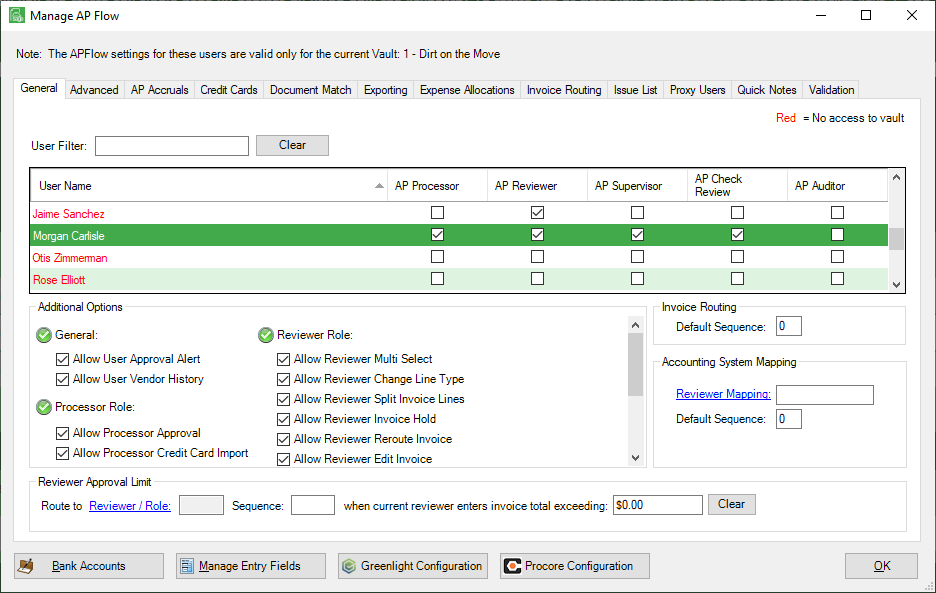
The Manage AP Flow screen similar to the following displays with the General tab active:
3.Click the Advanced tab.
The screen similar to the following displays:

4.Scroll to the following setting:
Sage 100 Contractor Software Version
5.Use the Value column dropdown to select the current software version.
6.If the software version is less than version 22, scroll to the following setting:
Use AP Invoice Push
Note: If the current software version is 22 or higher, this setting option will not display in the list of Advanced bridge settings.
7.Set the Value to True.
8.If the software version is less than version 22, scroll to the following setting:
Use Sage 100 API Push
Note: If the current software version is 22 or higher, this setting option will not display in the list of Advanced bridge settings.
9.Set the Value to True.
10.Click OK.
Configure Sage 100 Contractor SQL for SDK Access
For applications to access Sage 100 Contractor SQL through the API DLL, the API security group must be added, followed by adding users to this security group.
Important: Sage 100 Contractor 2018, version 21.2 is required.
To Enable SDK Access
1.From the Start menu, launch Sage 100 Contractor SQL.
2.As a supervisor with administrative rights, log in to the company accessed through the SDK.
3.In Sage 100 Contractor SQL, select the following Main Menu option:
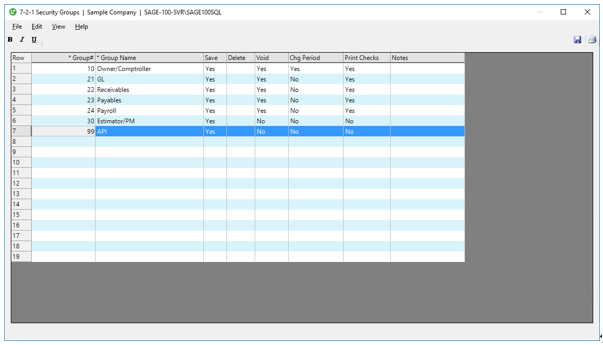
7-2-1 Security Groups
4.Confirm the group API exists.
5.If the API group does not exist, continue with step 6.
If the API group does exist, skip to step 9.
6.Install and configure the API Sage 100 Contractor SQL.
7.In 7-2-1 Security Groups, create a group labeled API.
8.Make sure the assigned group number is unique.
9.In 7-2-1 Security Groups, assign the appropriate level of access rights to the API group.
Note: Save should be the only permission necessary.
10.In Sage 100 Contractor SQL, select the following Main Menu option:
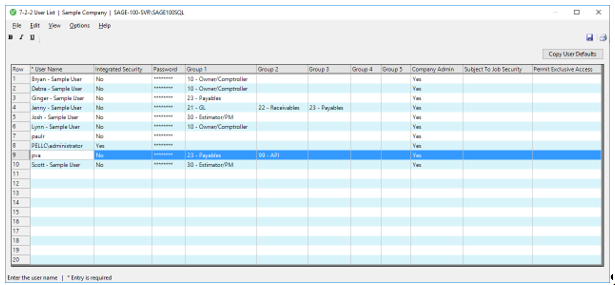
7-2-2 User List
11.In the 7-2-2 User List window, add the API group and at least one other existing security group to the empty Group column for the user identified in the Sage Paperless Construction vault setup.
12.For each added user, click in the empty field in the row to display a look up button.
13.In the Company Admin column, enter Yes.
Only the Sage Paperless Construction's bridge account user must be set up.
Note: Refer to Identifying the Bridge Account User section for details.
14.In the look up screen, select the API security group.
15.From the File menu, click Save.
16.Close the 7-2-2 User List window.
Ensuring the Sage Paperless Construction Bridge Login User is also a SQL Server Administrator
1.From the Sage 100 Contractor Database Administration applet, click Company Admins / SQL Logins.
2.Click modify SQL Server Administrators.
3.Select the Sage Paperless Construction login user name.
4.Click Update sysadmins.
5.Close the Sage 100 Contractor Database Administration applet.
Identifying the Bridge Account User
1.From the ribbon toolbar, click Administration.
2.Click Vaults,  .
.
The Vaults window similar to the following displays:
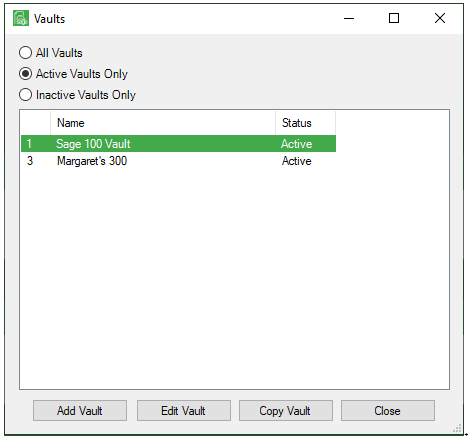
3.Click Edit Vault.
The Vault Properties window similar to the following displays with the General tab active:
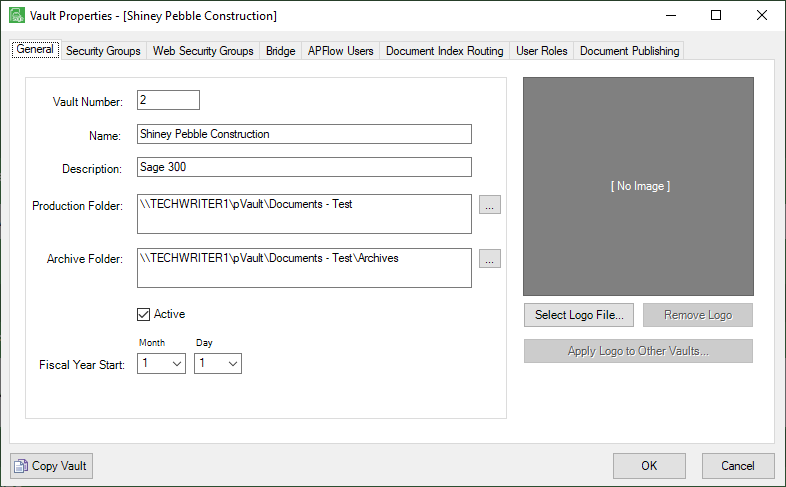
4.Click the Bridge tab.
The window similar to the following displays:

5.Click Login Info.
The dialog box similar to the following displays:
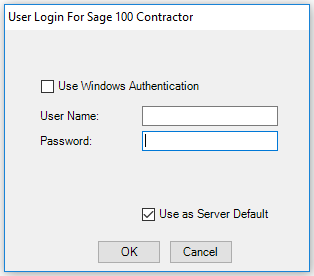
The account name that displays in the User Name field is the Sage Paperless Construction's bridge account user that must be included.
In the following example, spcadmin is the Sage Paperless Construction's bridge account user that must be added:
Export as usual.