Use Scan To File to identify and move scanned files to external file locations or scan these files into Sage Paperless Construction.
1.From the ribbon toolbar, click Capture.
2.Click Scan To File,  .
.
A Scan to File Wizard window displays similar to the following:
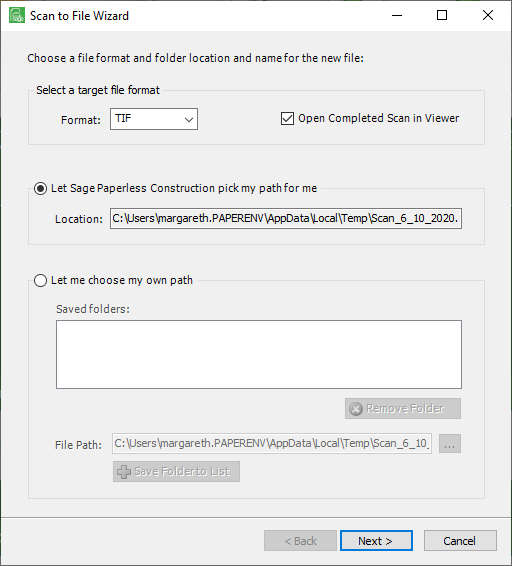
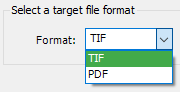
3.Use the dropdown in the Format field to select the format of the target file.
4.To have the scanned file systematically open in Sage Paperless Construction, click to select Open Completed Scan in Viewer.
5.Select one of the two following path choices:
• Let Sage Paperless Construction pick my path for me
The associated Location field will be system populated.
• Let me choose my own path
There is a Saved folders text box listing previously used folders as well as a File Path field where you can type the path of the folder where the file will reside. An ellipsis ( ) icon is available to help locate folder locations.
There are two other buttons. One is Remove Folder, 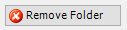 . This allows you to save the newly entered folder path in the Saved folders text box. The other button is Save Folder to List,
  . This allows you to save the newly entered folder path in the Saved folders text box.
6.Click Next.
The Capture Utility window similar to the following displays:
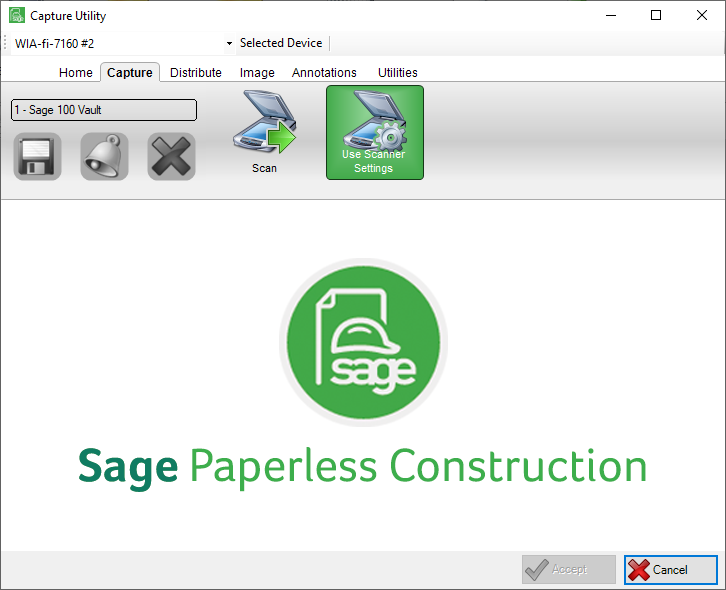
7.In the Selected Device field located above the toolbar, use the dropdown to select the scanner:

Note: To use the physical scanner settings, click 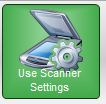 .
.
8.Click Scan, 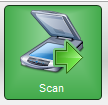 .
.
The following Scan using dialog box similar to the following may display:
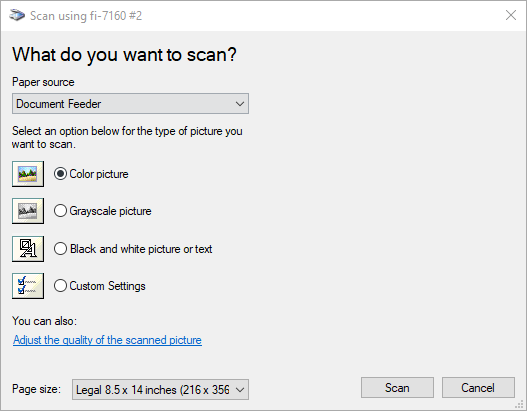
Note: This Scan using dialog box will vary depending on the scanner being used.
9.Select the Paper source and the option settings.
10. Click Scan.
The Capture Utility window redisplays with the scanned document visible, similar to the following:
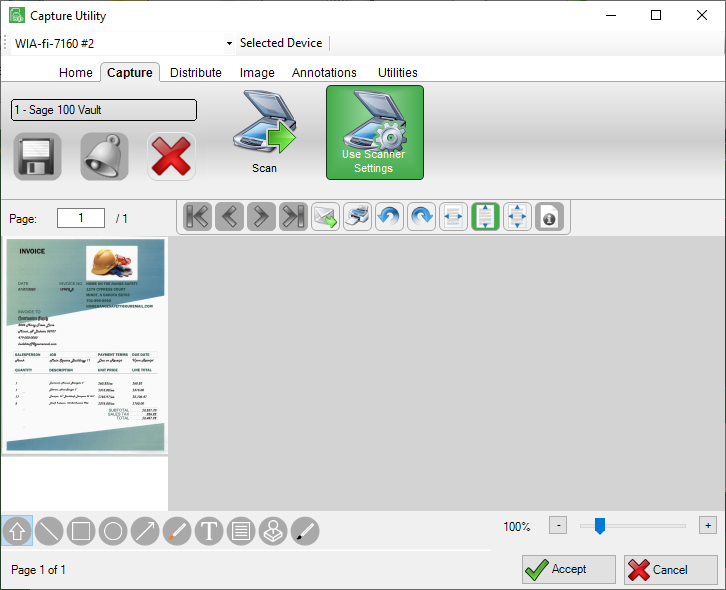
11. Click Accept,  .
.
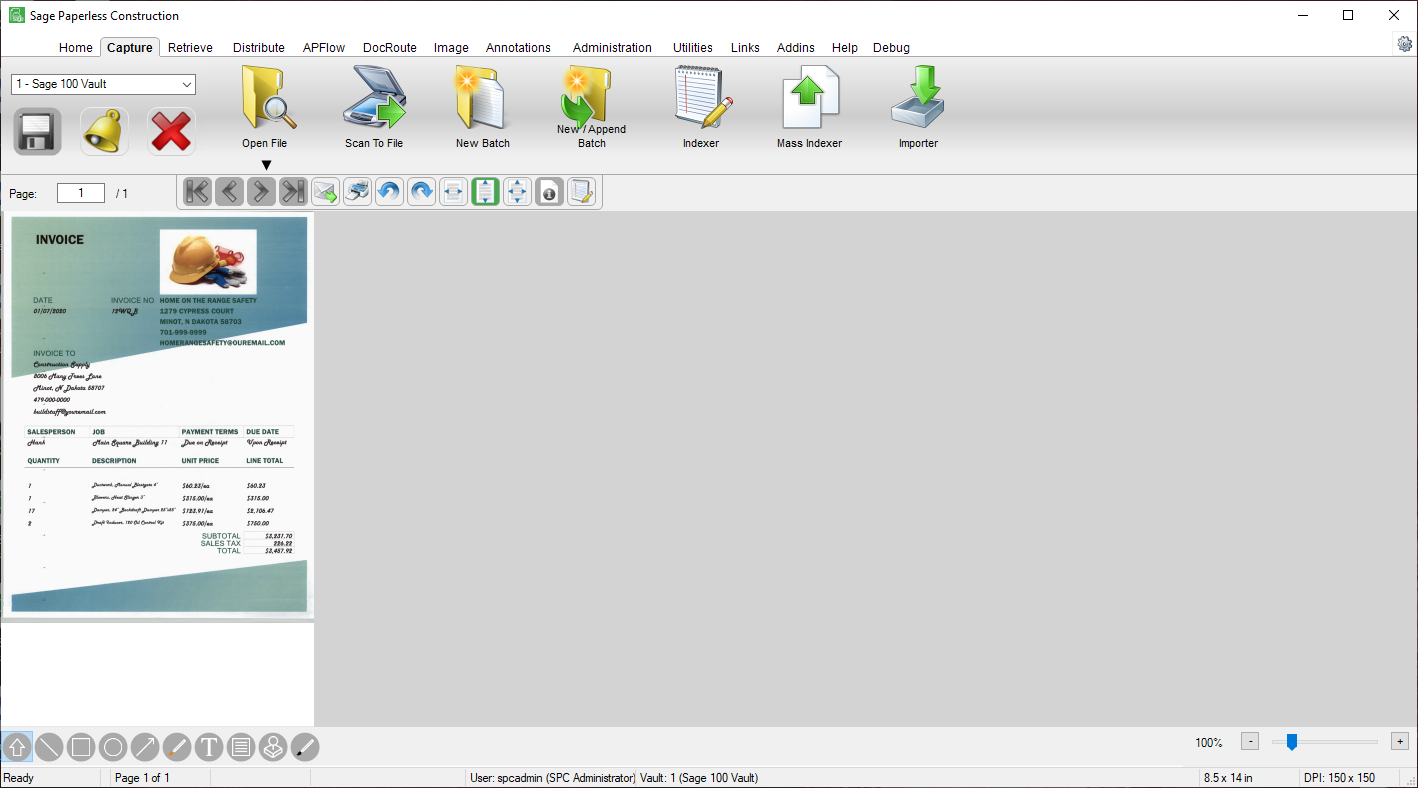
The scanned document displays in the Capture tab, similar to the following: