From the field, a web user can submit invoices or any other type of document to an index or a queue.
Note: The web user must be set up in Sage Paperless Construction (refer to Adding Web Users); however, the web user does not need to be a Sage Paperless Construction user.
Important: Requires an Advanced eCapture™ license.
1.Use the URL provided when web user setup was complete.
On the website, the following log in window displays:
2.In the Username field, type the name as it displays in the Email Invitation sent by the company Administrator.
3.In the Password field, type the password as set up during the initial setup.
4.Click SIGN IN.
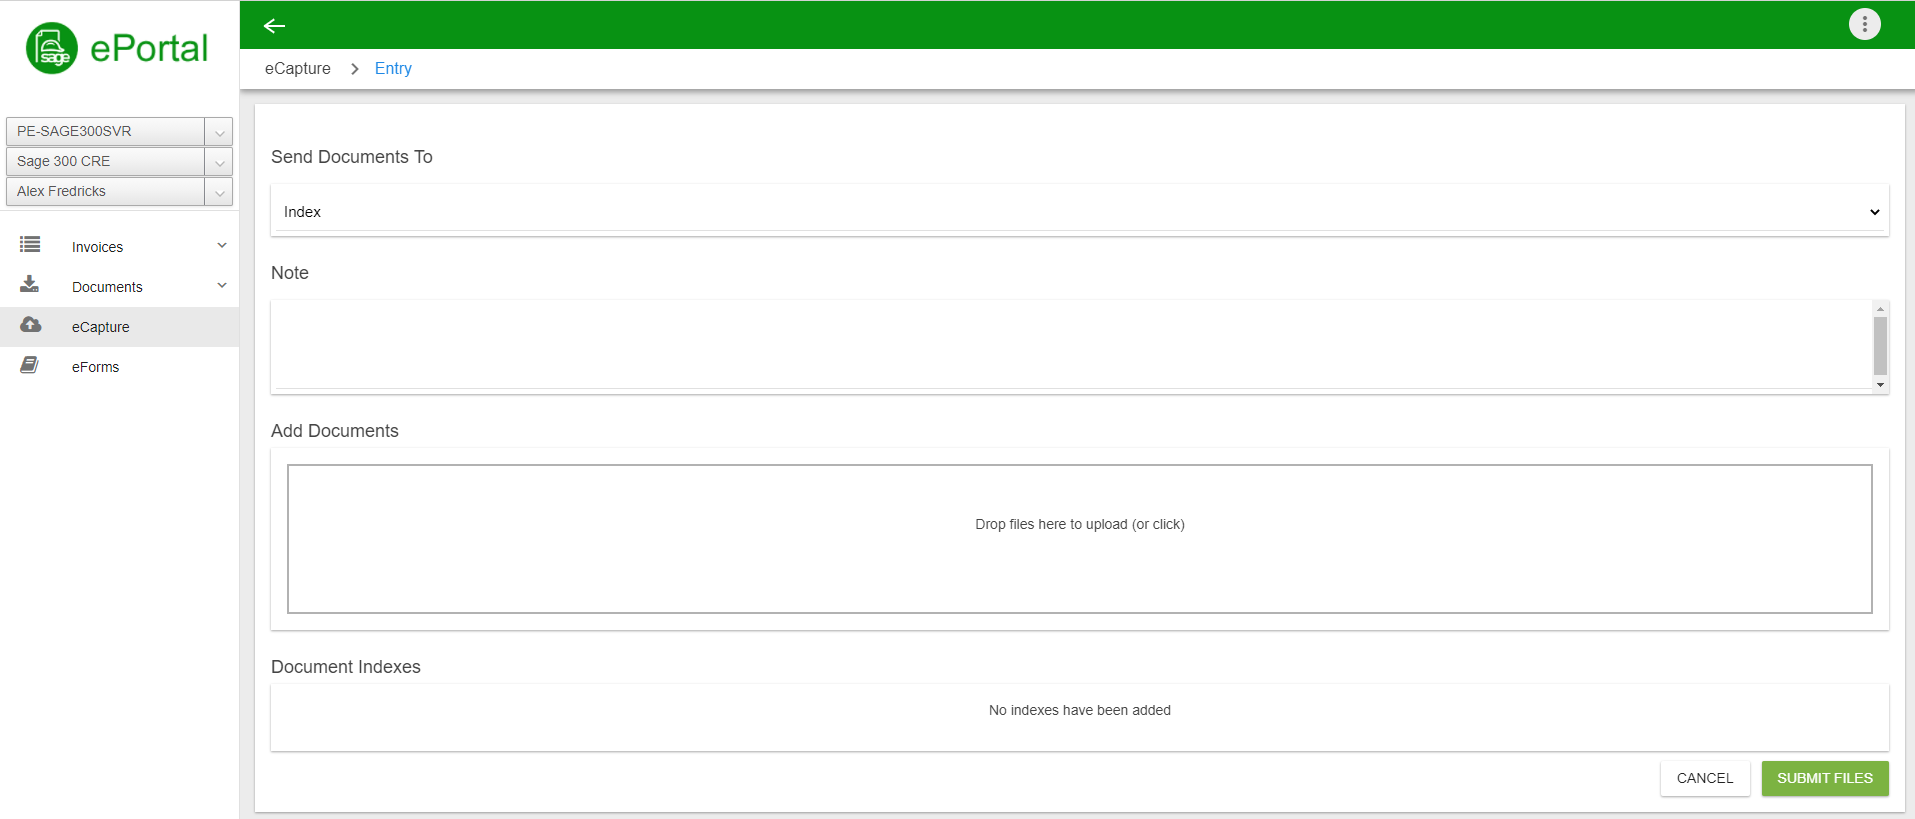
The following eCapture™ screen displays:
Note: If the left navigation bar does not display, click the  in the toolbar.
Important: Any applications that display in the left navigation bar require a purchased license.
5.In the navigation bar, the top line identifies the client. If more than one is listed, use the dropdown to select the appropriate client. Otherwise, keep the default.
6.In the navigation bar, the second line identifies the vault. If multiple vaults are listed, use the dropdown to select the appropriate vault. Otherwise, keep the default.
7.In the navigation bar, the third line identifies the user. If this user has proxy rights, and a different user should be selected, use the dropdown. Otherwise, keep the default.
8.Click eCapture™, if necessary, to display the main eCapture™ screen.
Note: The system will "remember" the last application accessed and will open it the next time the application is launched.
9.In the Send Documents To pane, use the dropdown to indicate if the captured documents should be indexed or sent to a specific queue.
10. In the Note pane, enter any applicable notes.
11. Click in the Add Documents pane to move a document from a file or drag and drop a document from another location into the pane.
Multiple documents can be housed here and the pane will resemble the following:
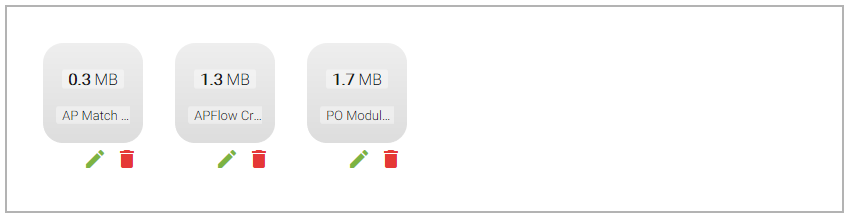
12. Click the Add Index icon, , below the document.
Note: Click the Delete File icon, , to delete the value or the document.
The following window displays:
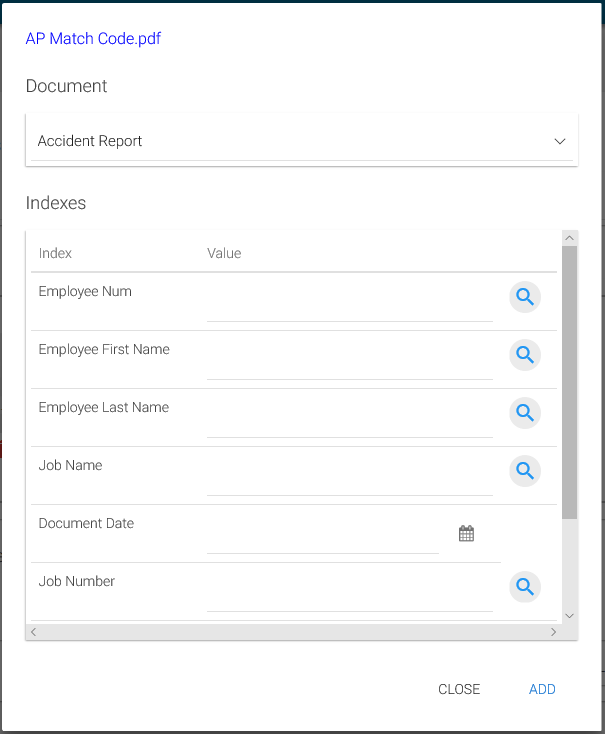
13. In the Document section, use the dropdown to select the document type.
The document labels systematically change based on the document type selected.
14. In the Indexes section, click in the Value column for each Index and enter an appropriate value.
Lookups associated with an Index have the  icon. Click the icon to display the lookup information.
If there is a lookup associated with the field, but no information is available, the following dialog box will display:

15. After all the appropriate index values are entered, click ADD.
16. Click SUBMIT FILES.