Vendor license tracking allows you to keep track of the contractor licenses for all your vendors. Greenlight CM™ tracks both expiration dates and also if the license is valid for the current state in which the vendor is working.
Important: To add vendor license data, and to view existing vendor license data, you must click the Track Licenses check box. Only then is the View Licenses button be active. You can click the Track Licenses check box here on the vendor's Master Address Book page or you can click the Track Licenses check box on the vendor's page at the Job level, Vendor Info tab. With the Track Licenses check box selected, the Licenses tab displays at the Vendor level. This tab does not display if the Track Licenses check box is not selected. Click here for details.
1.From the ribbon toolbar, click Greenlight.
2.Click Greenlight.
The main screen displays with the Dashboard tab active:
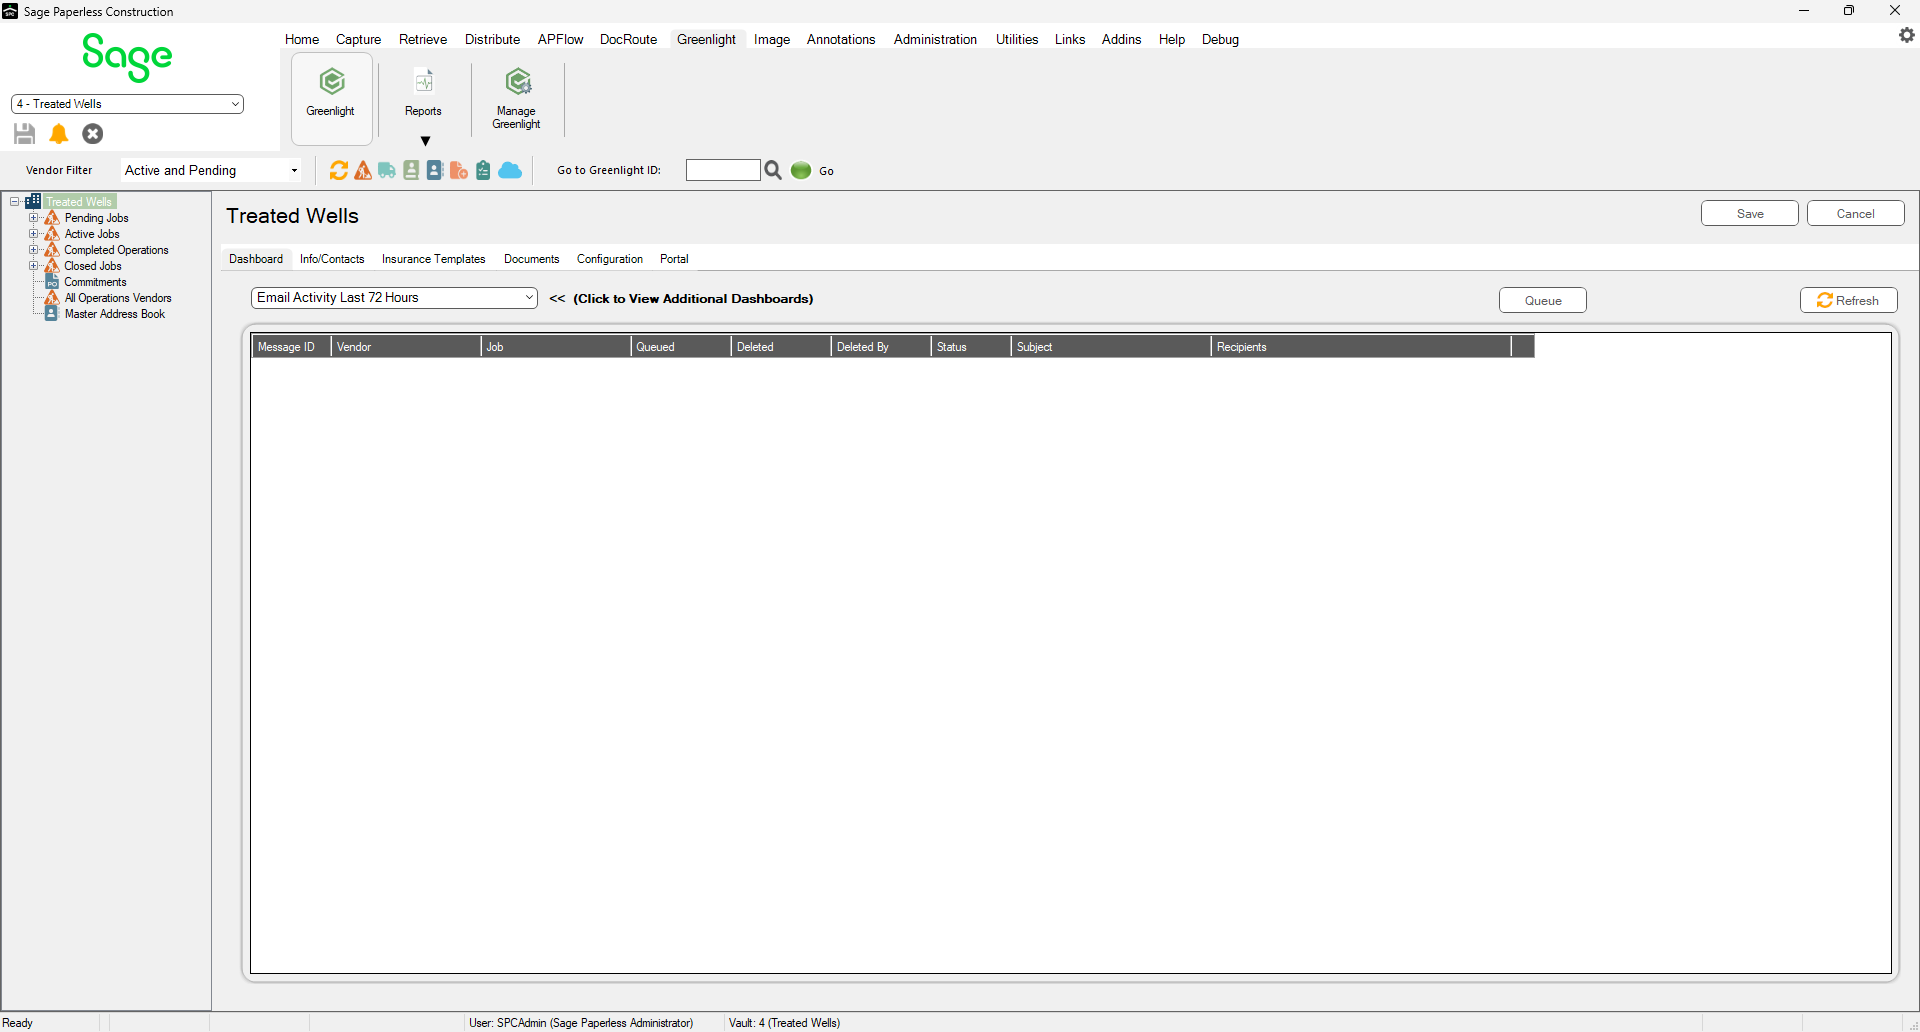
3.In the left navigation bar, click Master Address Book.
The following screen displays:

4.Click to highlight the vendor.
5.Click View Licenses.
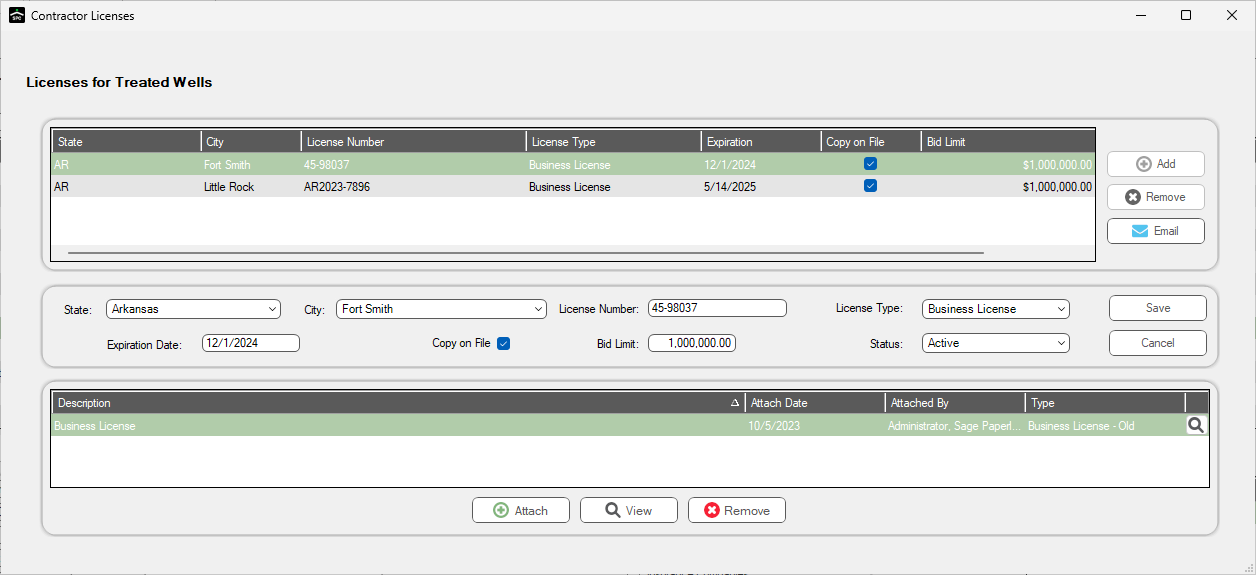
A Contractor Licenses dialog similar to the following for that vendor displays:
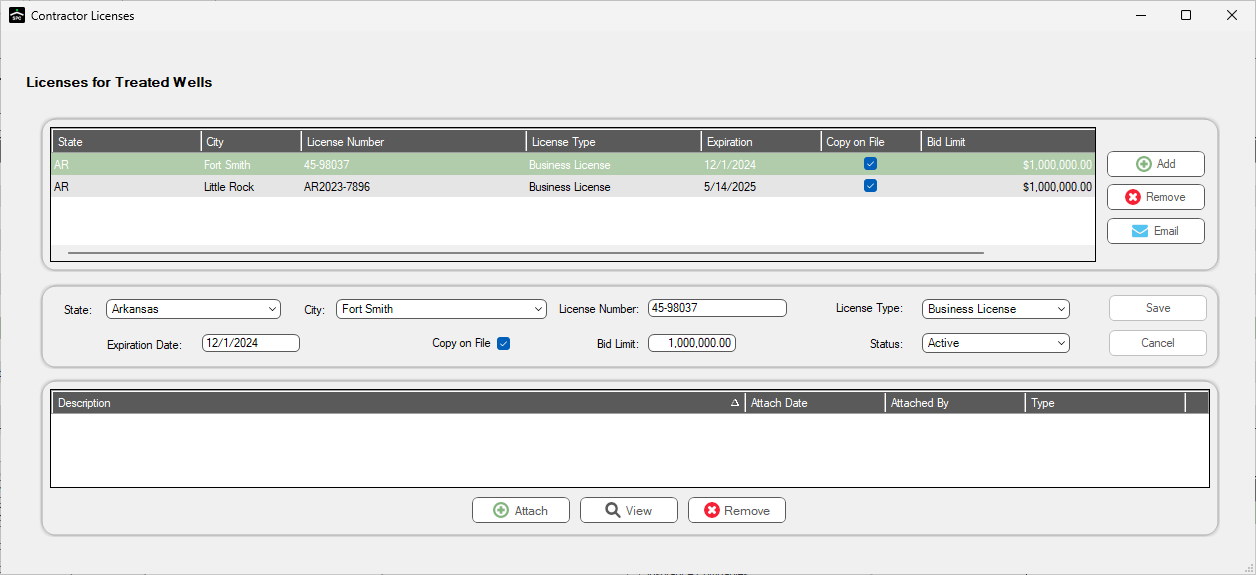
6.Click Add to add another state license.
7.In the State field, use the dropdown to select a state.
8.In the City field, use the dropdown to select a city.
9.In the License Number field, enter that state's license number.
10. In the License Type field, use the dropdown to select the type of the work the vendor is licensed to perform in that state.
11. In the Expiration Date field, enter the date the license expires.
12. If you plan to attach a copy of the license, click the Copy on File check box.
13. In the Bid Limit field, enter the bid amount that this vendor cannot exceed, if any.
14. In the Status field, use the dropdown to select either Active or Inactive.
15. Click Attach.
The Attach License dialog displays:
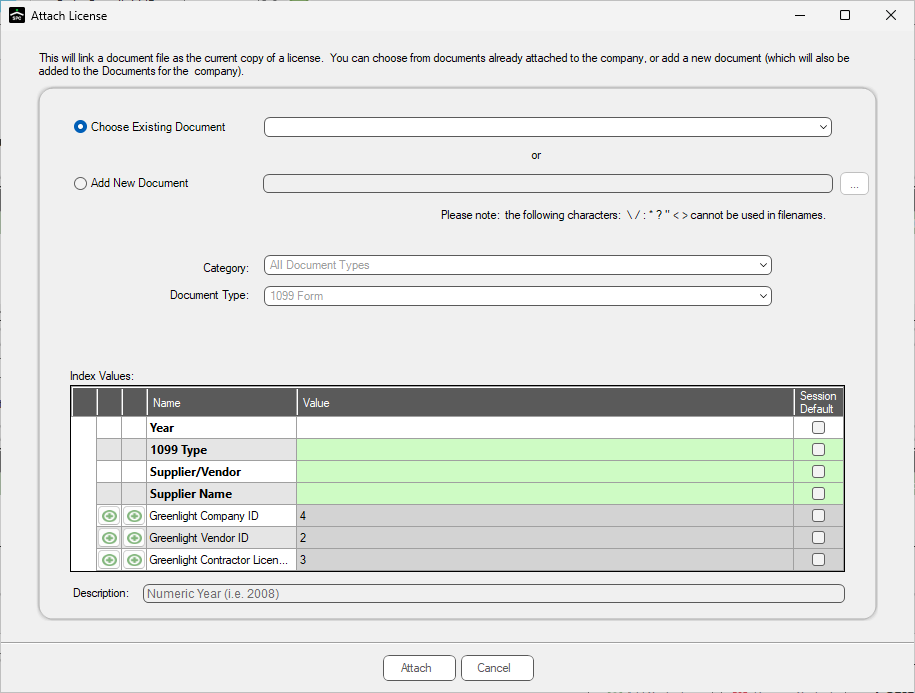
16. Click the Add New Document radio button.
17. Click the ellipsis to locate the license to attach.
18. In the Description field, add pertinent information about the license. Include the Vendor's name, state, expiration date.
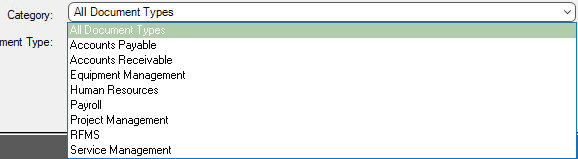
19. In the Category field, use the dropdown to identify the proper category. Choose from:
20. In the Document Type field, use the dropdown to locate Contractor License. Once you select the Category, an appropriate Document Type systematically populates. Use the field dropdown to select a different one.
21. Enter the Index Values in the grid.
22. Click Attach.
The completed Contractor Licenses dialog displays resembling the following:
23. Click Save.