Job routing can be set up to run through Sage Paperless Construction and the user's bridged accounting system. Job routing can also be set up to run primarily through the user's bridged accounting system.
In Sage Paperless Construction
1.From the ribbon toolbar, click Administration.
2.Click Vaults.
The Vaults dialog similar to the following displays:
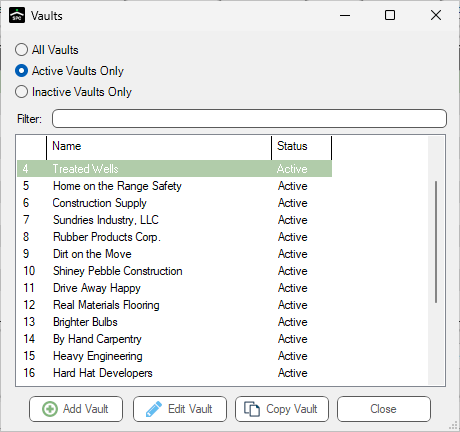
3.Click to highlight the Sage 100 vault, if not already highlighted.
4.Click Edit Vault.
The Vault Properties dialog similar to the following displays with the General tab active:
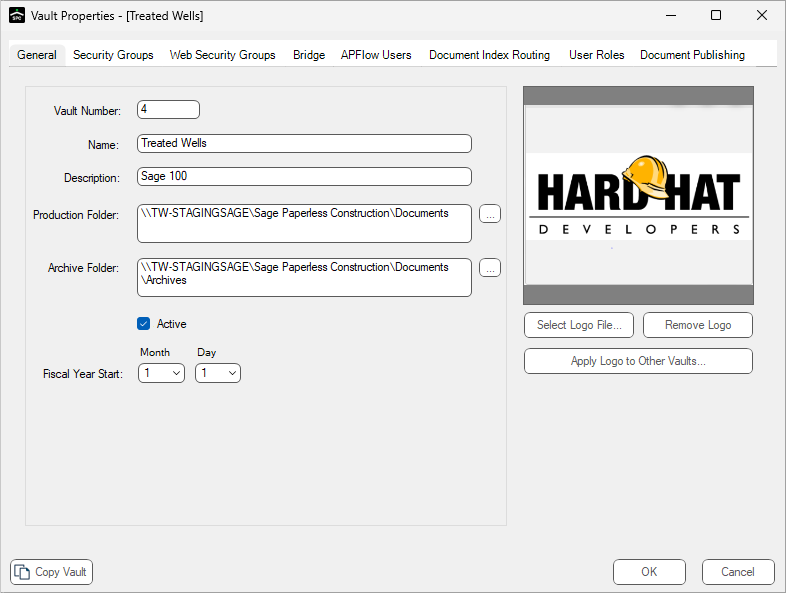
5.Click the Bridge tab.
The dialog similar to the following displays:
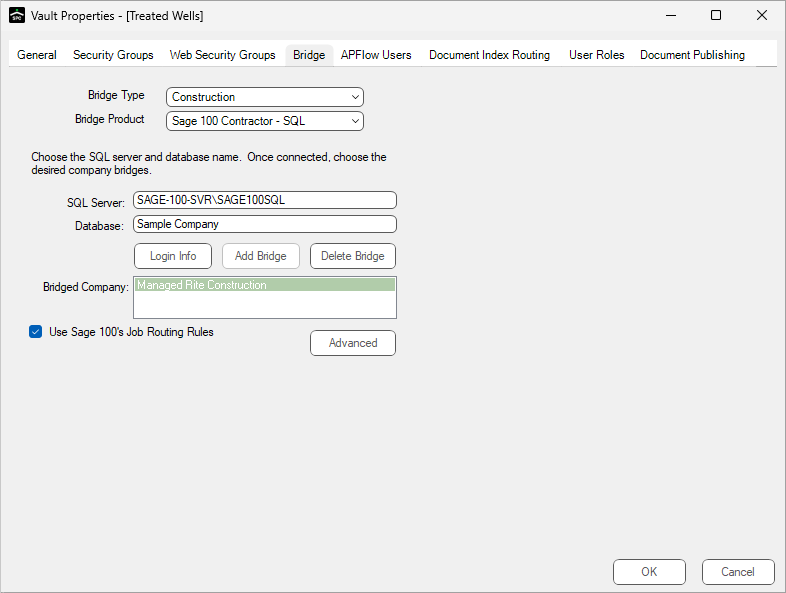
6.Click to select the Use Sage 100's Job Routing Rules check box.
7.Click OK to close the Vault Properties dialog.
8.Click Close to close the Vaults dialog.
9.Minimize or close Sage Paperless Construction.
In Sage 100
1.Log in to Sage 100.
The Home & Resources screen displays.
2.From the ribbon toolbar, click Projects,
3.From the dropdown, click to select Jobs.
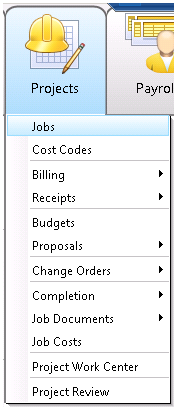
The Jobs (Accounts Receivable) screen similar to the following displays:
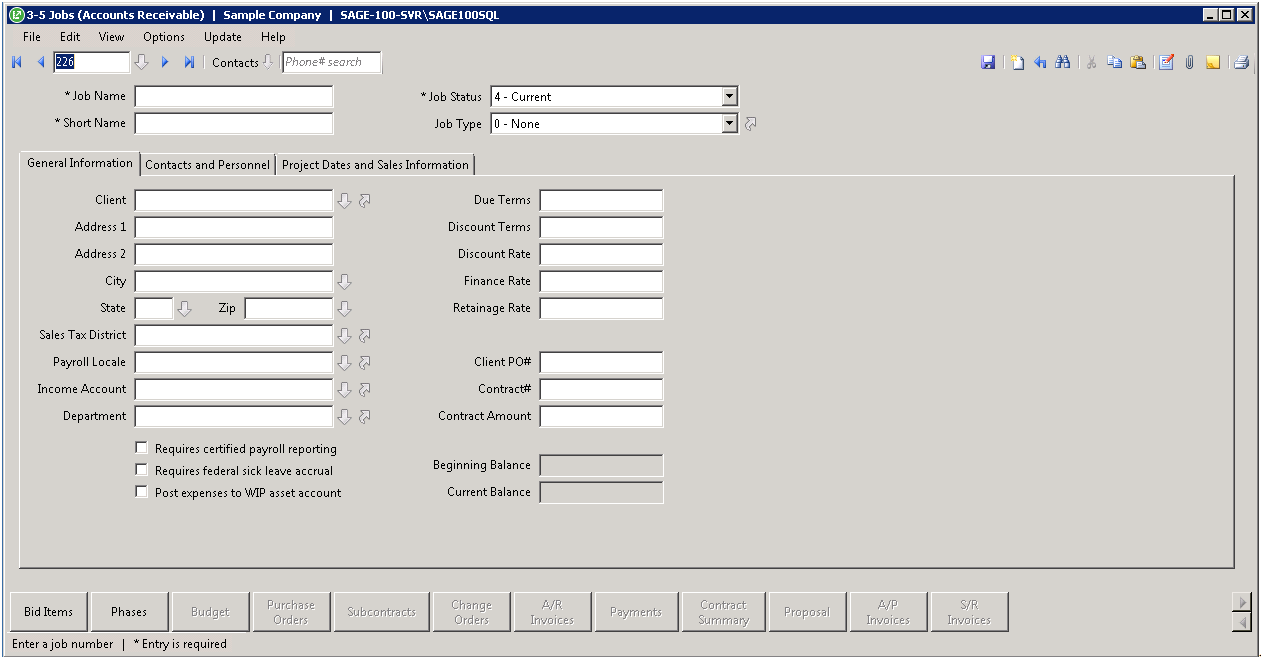
4.Click the Contacts and Personnel tab.
5.Adjacent to one or more of the following fields, click the Display lookup dialog arrow:
Estimator
Salesperson
Supervisor
A dialog similar to the following displays:
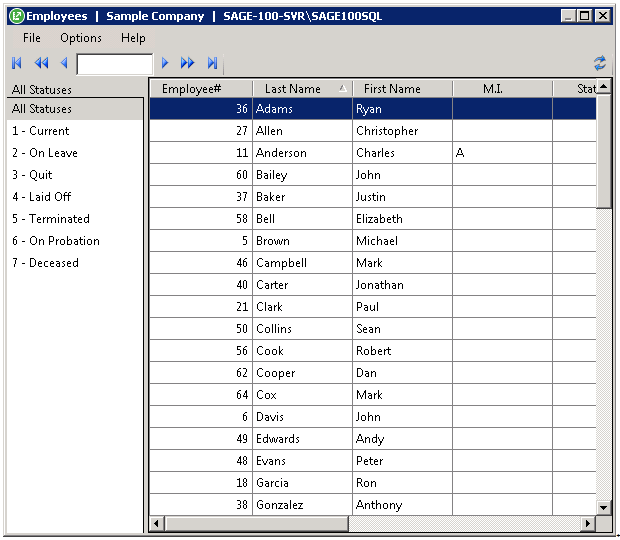
6.Double click to highlight the name, close the dialog and populate the appropriate field.
7.From the toolbar, click File.
8.From the dropdown, click Exit to close the Jobs (Accounts Receivable) screen.
9.Click the X in the upper right corner of the Sage 100 main menu screen.
10.Click Yes to the Exit Sage 100 Contractor prompt.
In Sage Paperless Construction
1.In the ribbon toolbar, click APFlow™.
2.Click Manage APFlow.
The Manage APFlow dialog similar to the following displays with the General tab active:
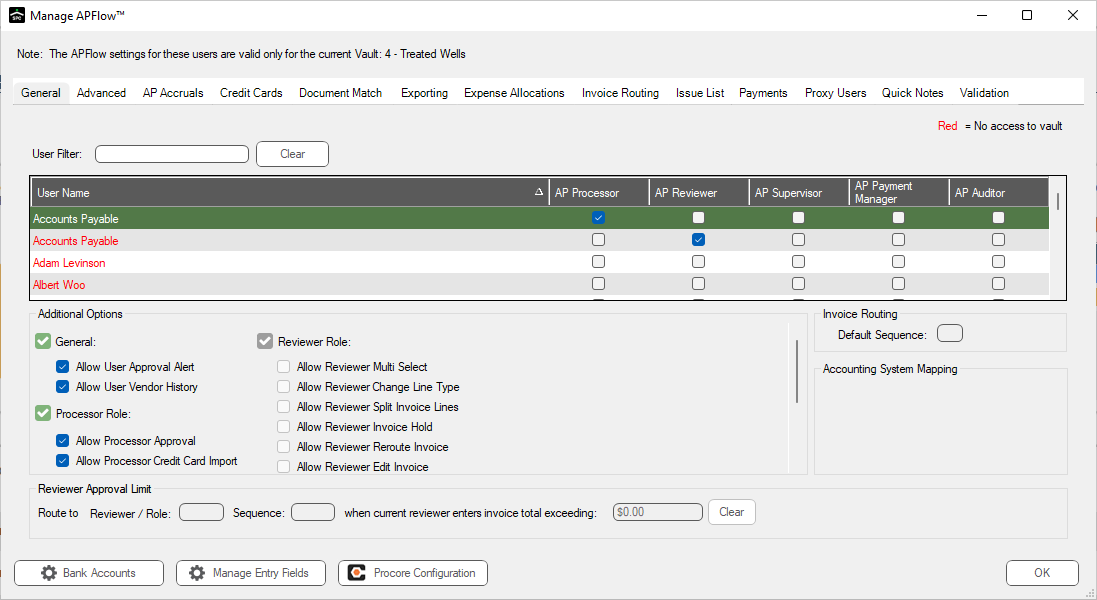
3.Click the Advanced tab.
The following dialog displays:
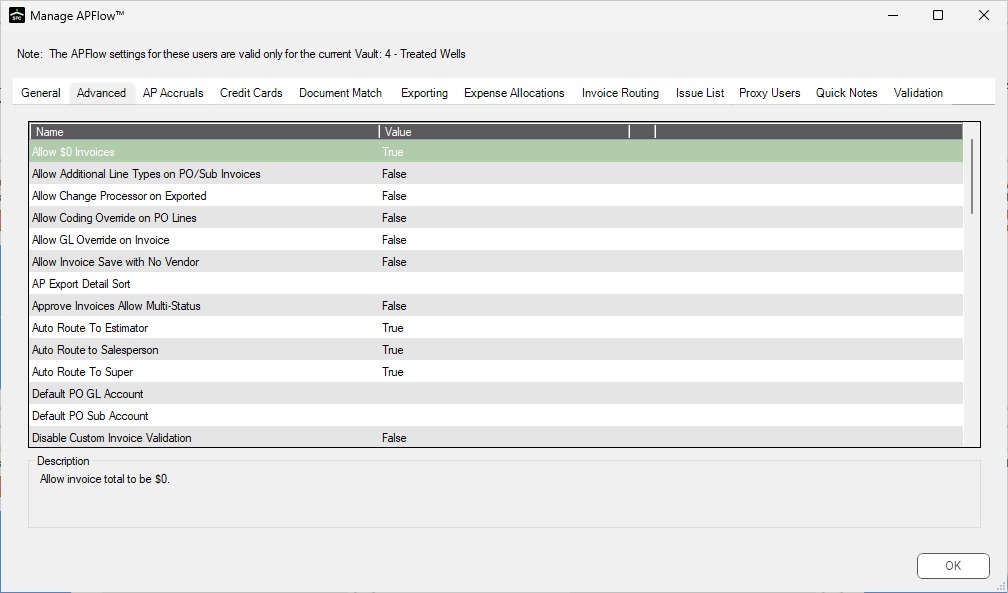
4.Depending on which fields were populated, one or more of the following Advanced Bridge settings must have a Value of True:
Auto Route To Estimator
Auto Route to Salesperson
Auto Route To Super
5.Click OK to close the Manage APFlow dialog.
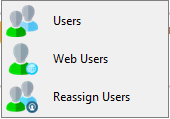
6.In the ribbon toolbar, click Administration.
7.From the Users dropdown.
8.Click Users.
The User Accounts dialog similar to the following displays:
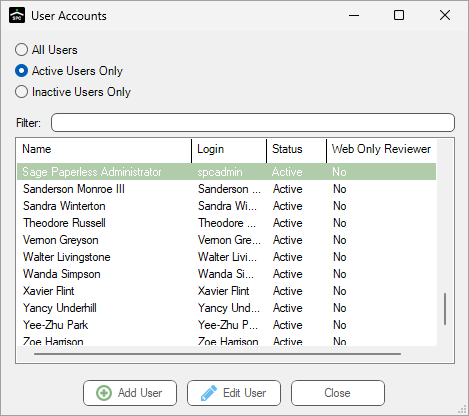
9.Click to highlight the user.
10. Click Edit User.
The User Properties dialog similar to the following displays with the General tab active:
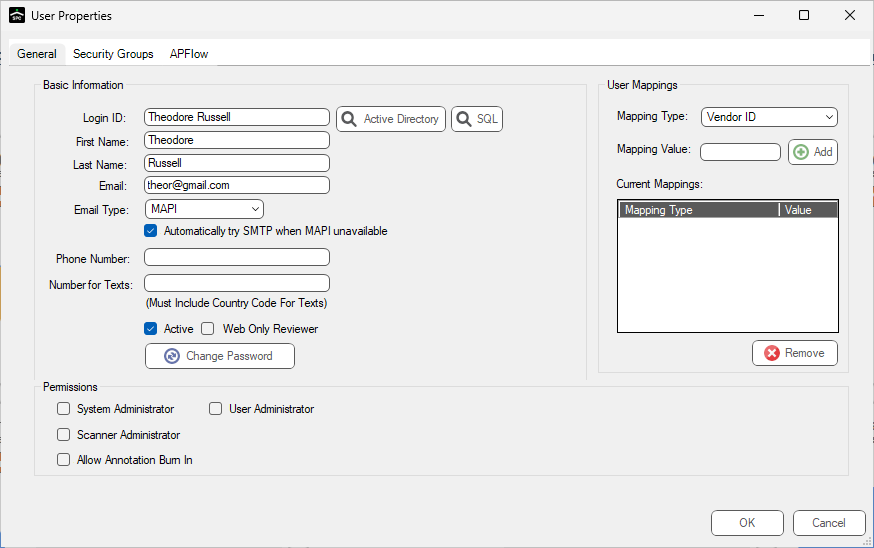
11. Click the APFlow tab.
The dialog similar to the following displays:
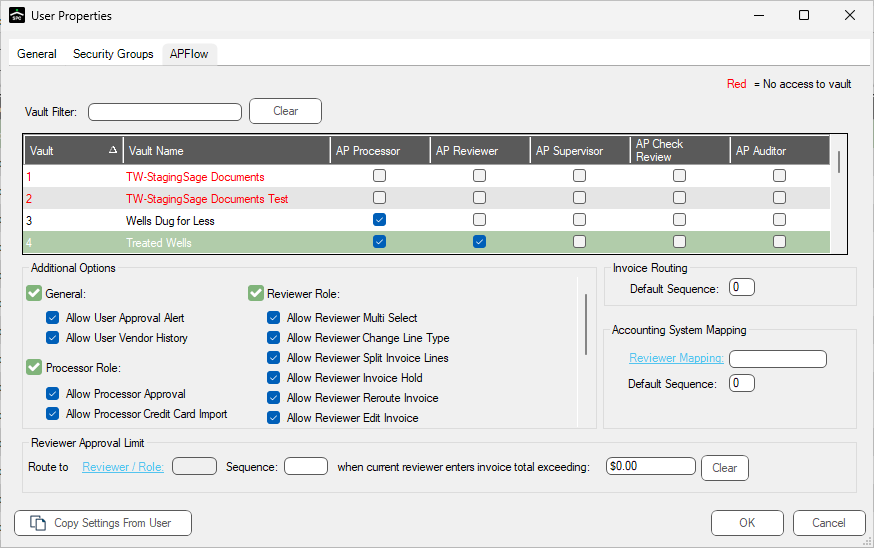
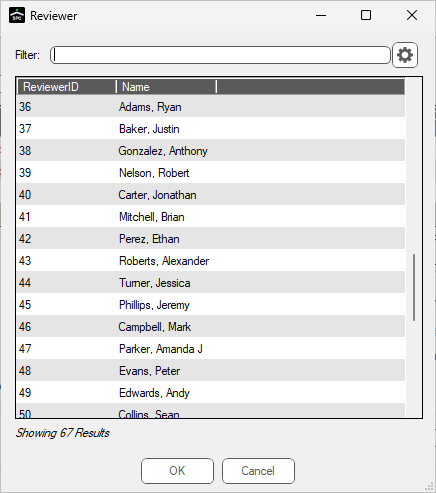
12. In the Accounting System Mapping pane, click Reviewer Mapping to access a Reviewer lookup dialog similar to the following:
13. Click to highlight the same name that you highlighted in the Sage 100 Estimator, Salesperson or Super fields.
14. Click OK.
The ReviewerID number associated with the selected reviewer displays in the Reviewer Mapping field similar to the following:

15. Click OK to close the User Properties dialog.
16. Click Close to exit the User Accounts dialog.