You can record a received date for multiple vendors on a given job.
1.From the ribbon toolbar, click Greenlight CM™.
2.Click Greenlight.
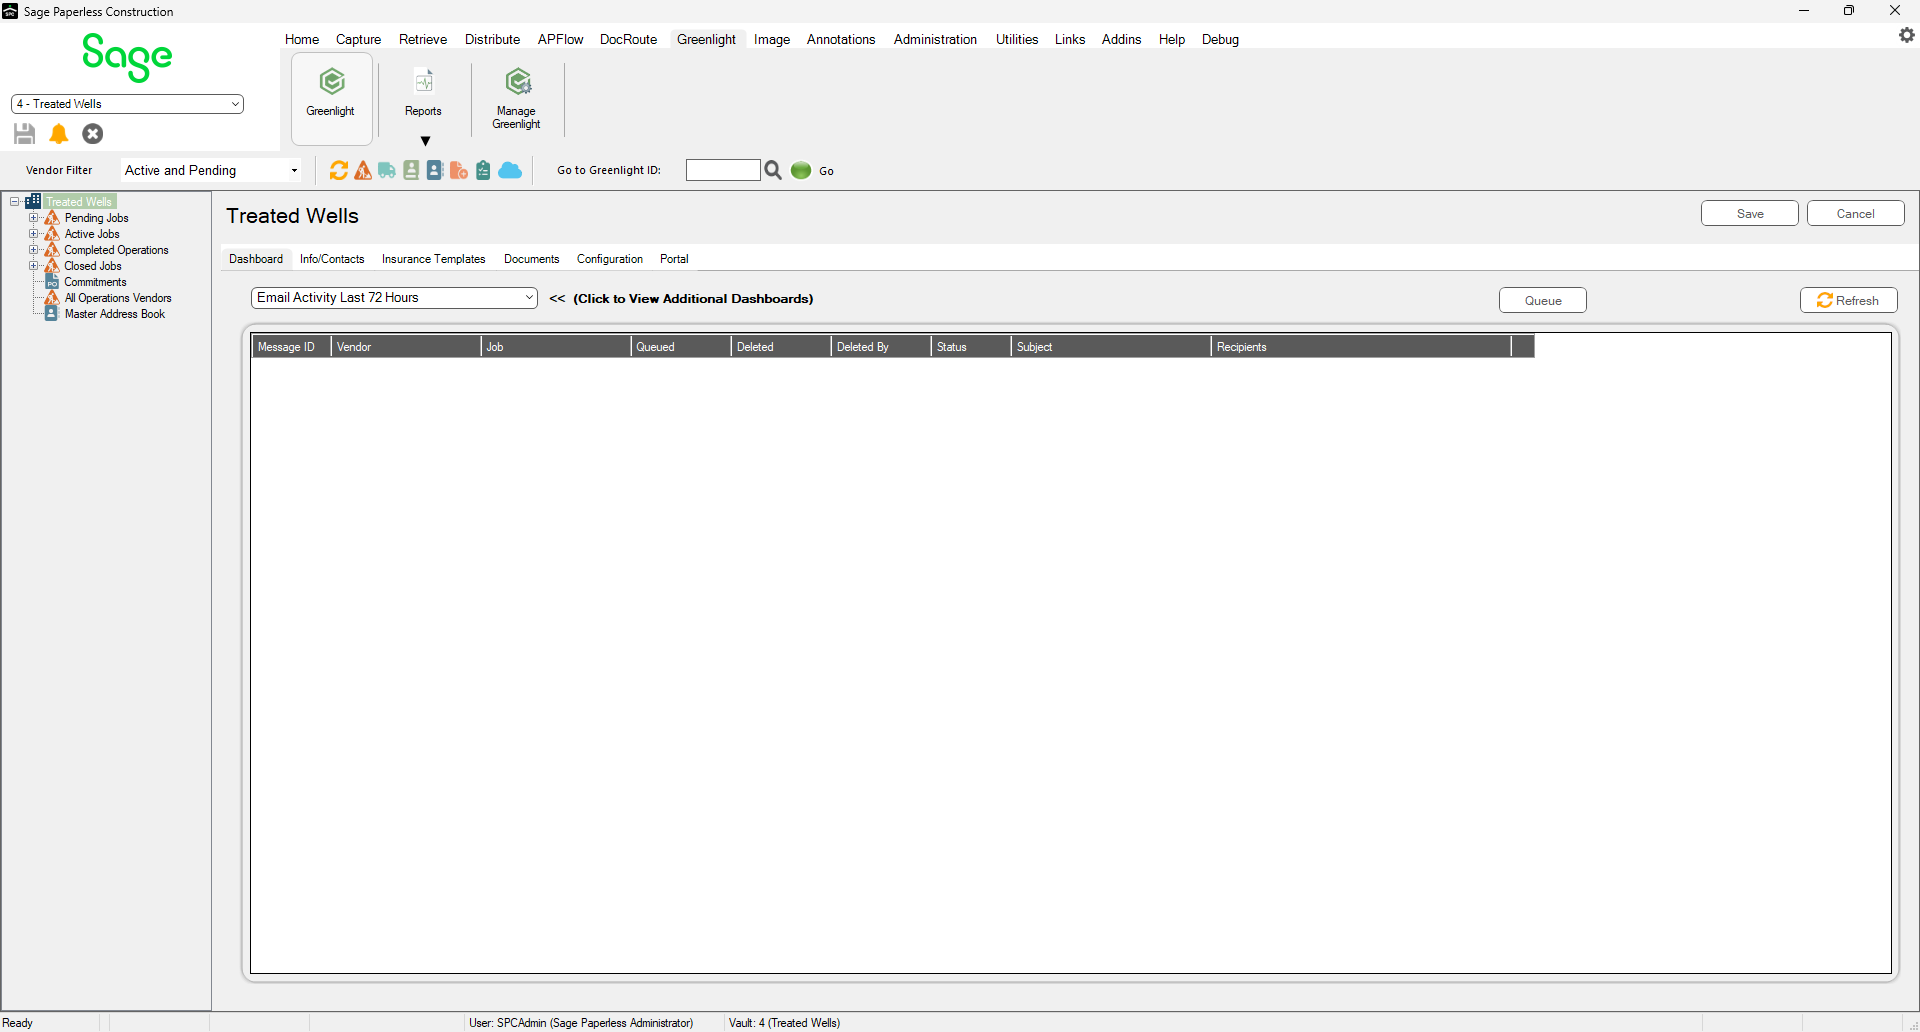
The main screen displays with the Dashboard tab active:

3.In the left navigation bar, click on a job.
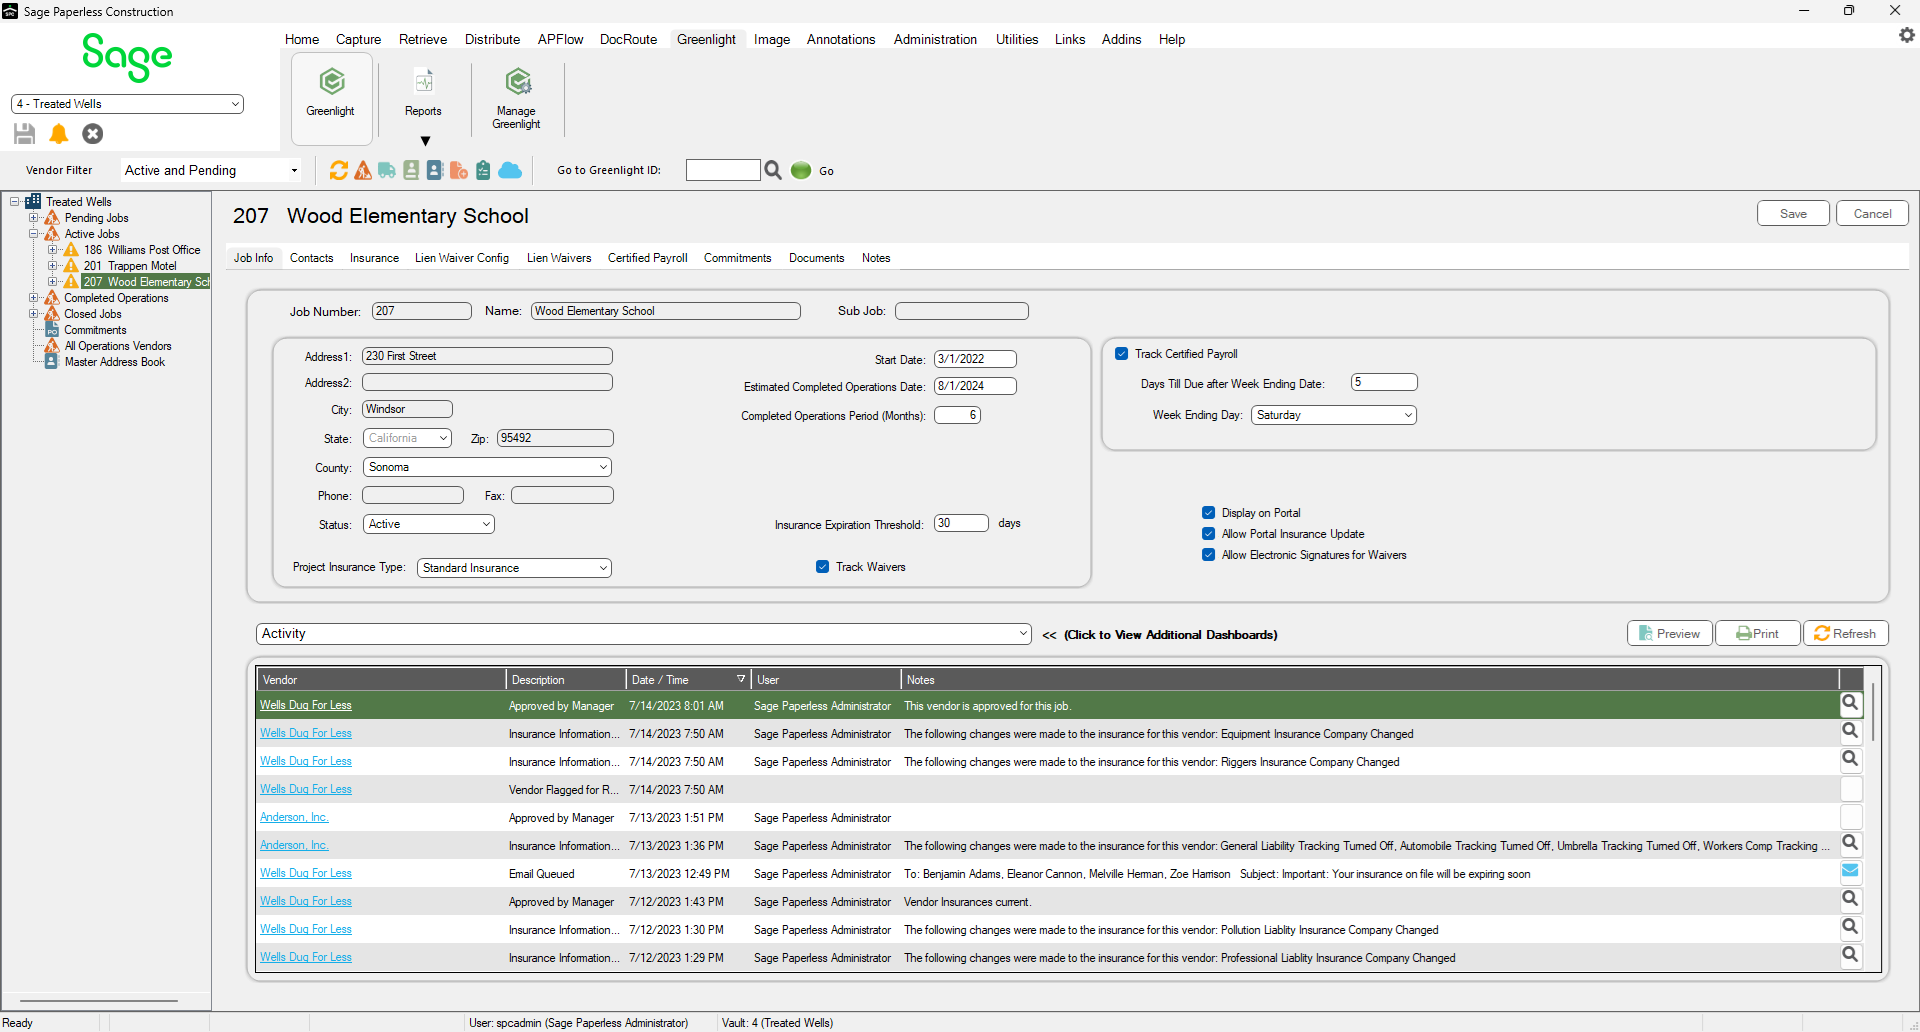
The following screen displays with the Job Info tab active:

4.Click the Record Waivers Received toolbar icon.
The following dialog displays:
![]()
5.In the Job field, use the dropdown to select the job.
![]()
6.In the Received Date field located above the grid, enter the date the signed waiver was received.
7.In the Select column, click the check box next to every vendor from whom you have received lien waivers.
The Received Date column within the grid pre-fills with that Received Date for every vendor you clicked in the Select check box.
![]()
8.Click the Attach Waiver icon located at the end of each row in the grid, to access the Attach Waiver Documents dialog.

9.At the end of the Filename field, click the ellipsis to locate the file.
The Description field systematically pre-fills with the Lien Waiver Type, Through Date and Received Date.
10. Use the Document Type field dropdown to select the appropriate document type.

11. Click Attach.
The Attach Waivers Document dialog closes.
12. In the Record Waivers dialog, click Record.