Greenlight CM™ allows you to generate a lien for a vendor.
1.From the ribbon toolbar, click Greenlight.
2.Click Greenlight.
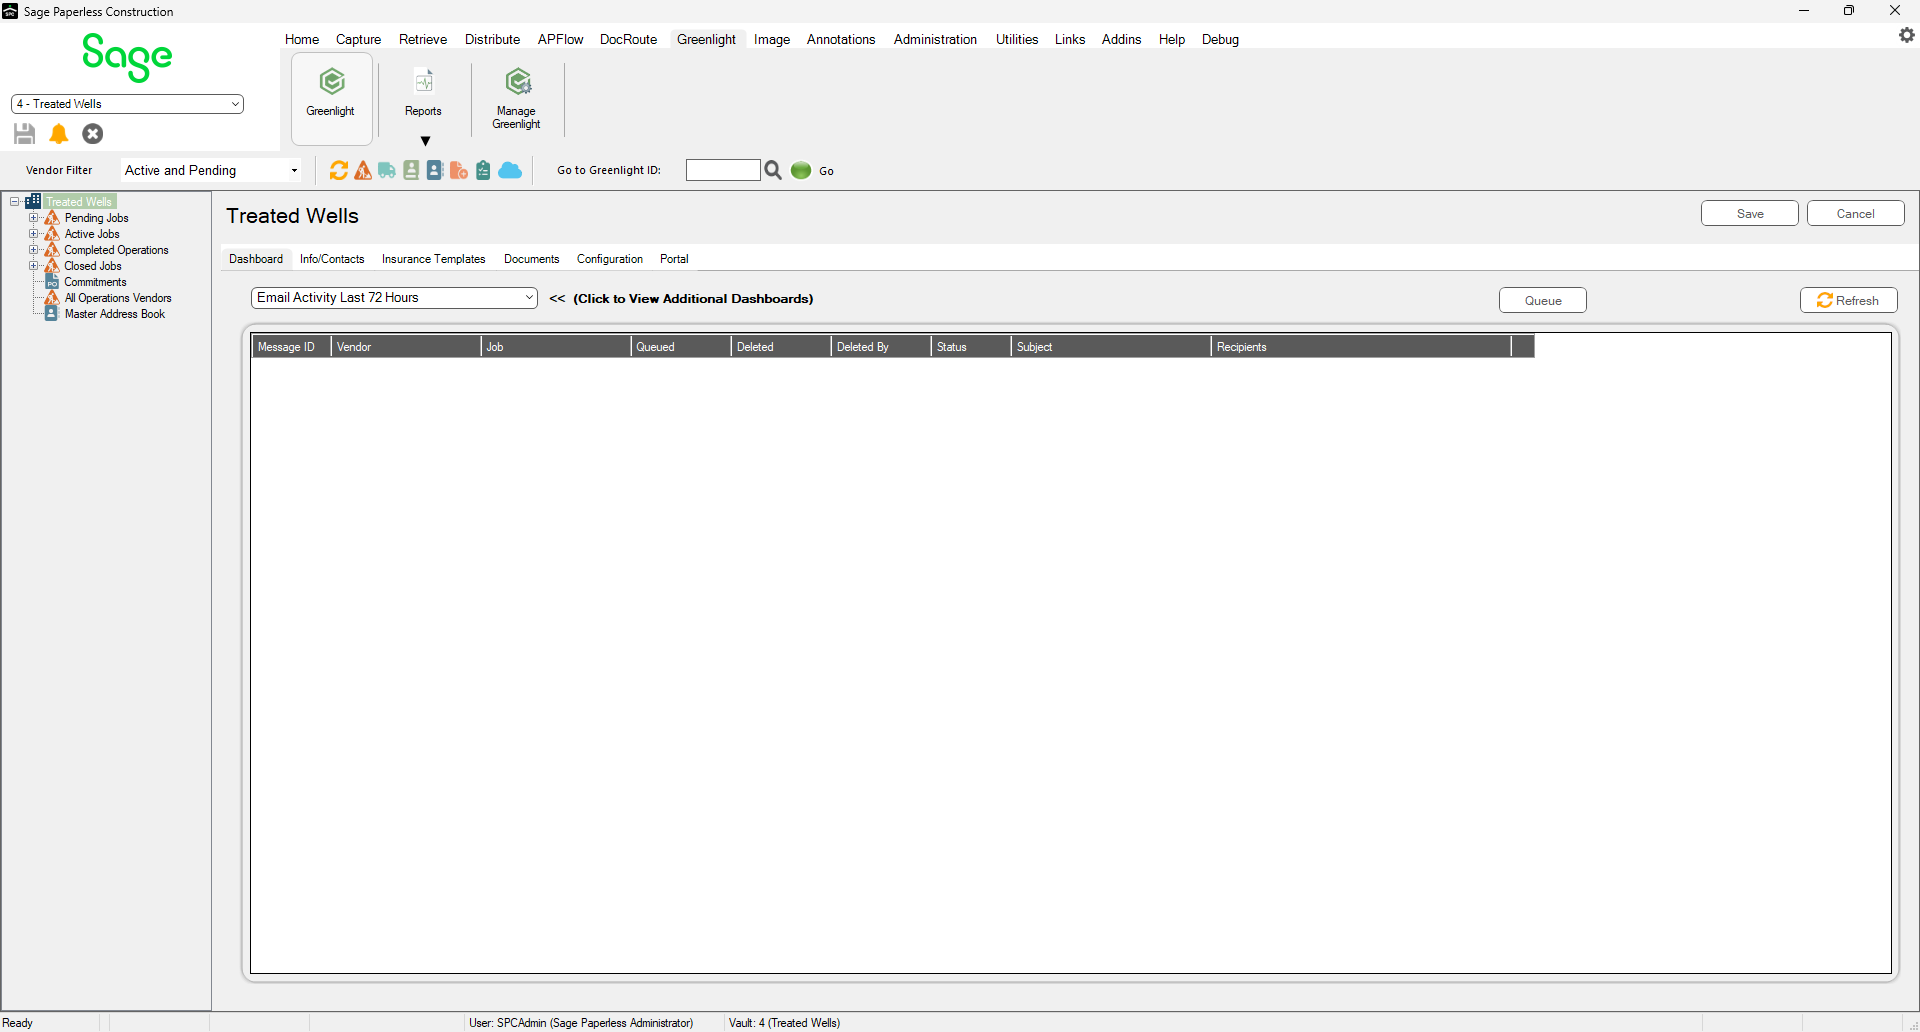
The main screen displays with the Dashboard tab active:
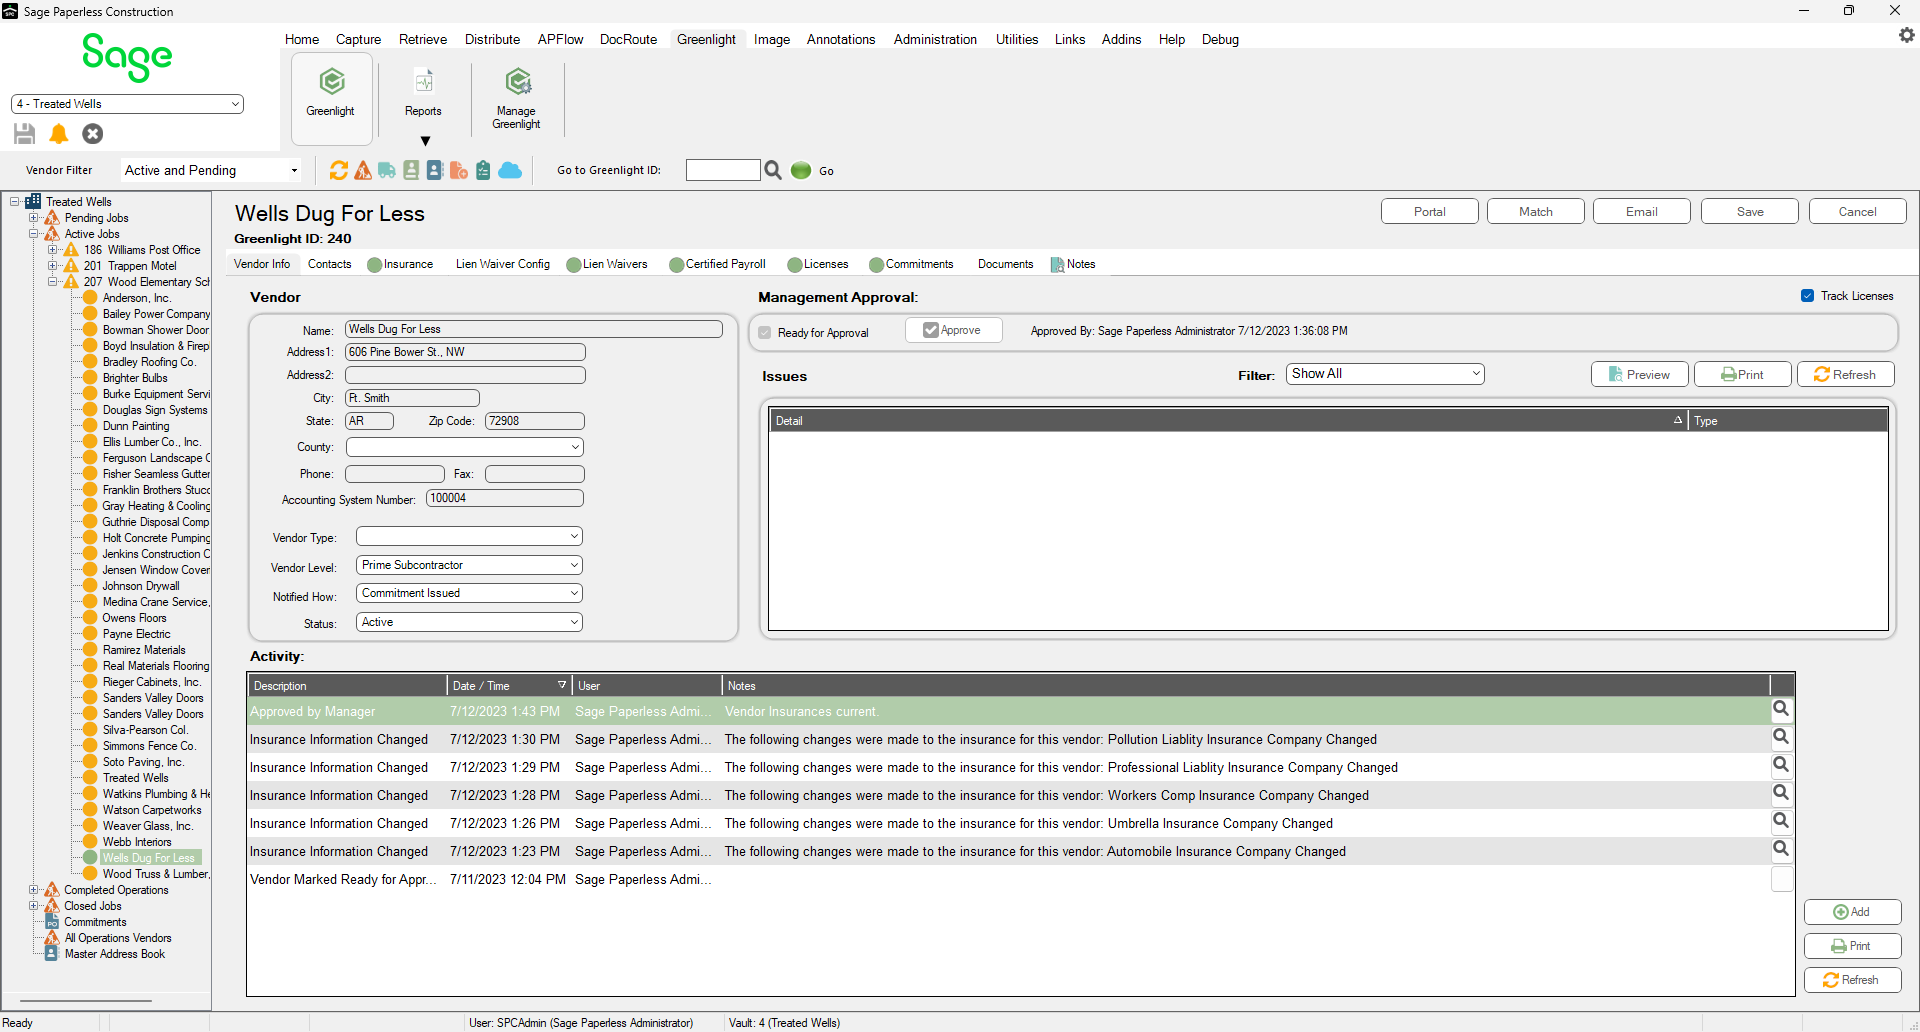
3.In the left navigation bar, click on a vendor.
The following screen displays with the Vendor Info tab active:
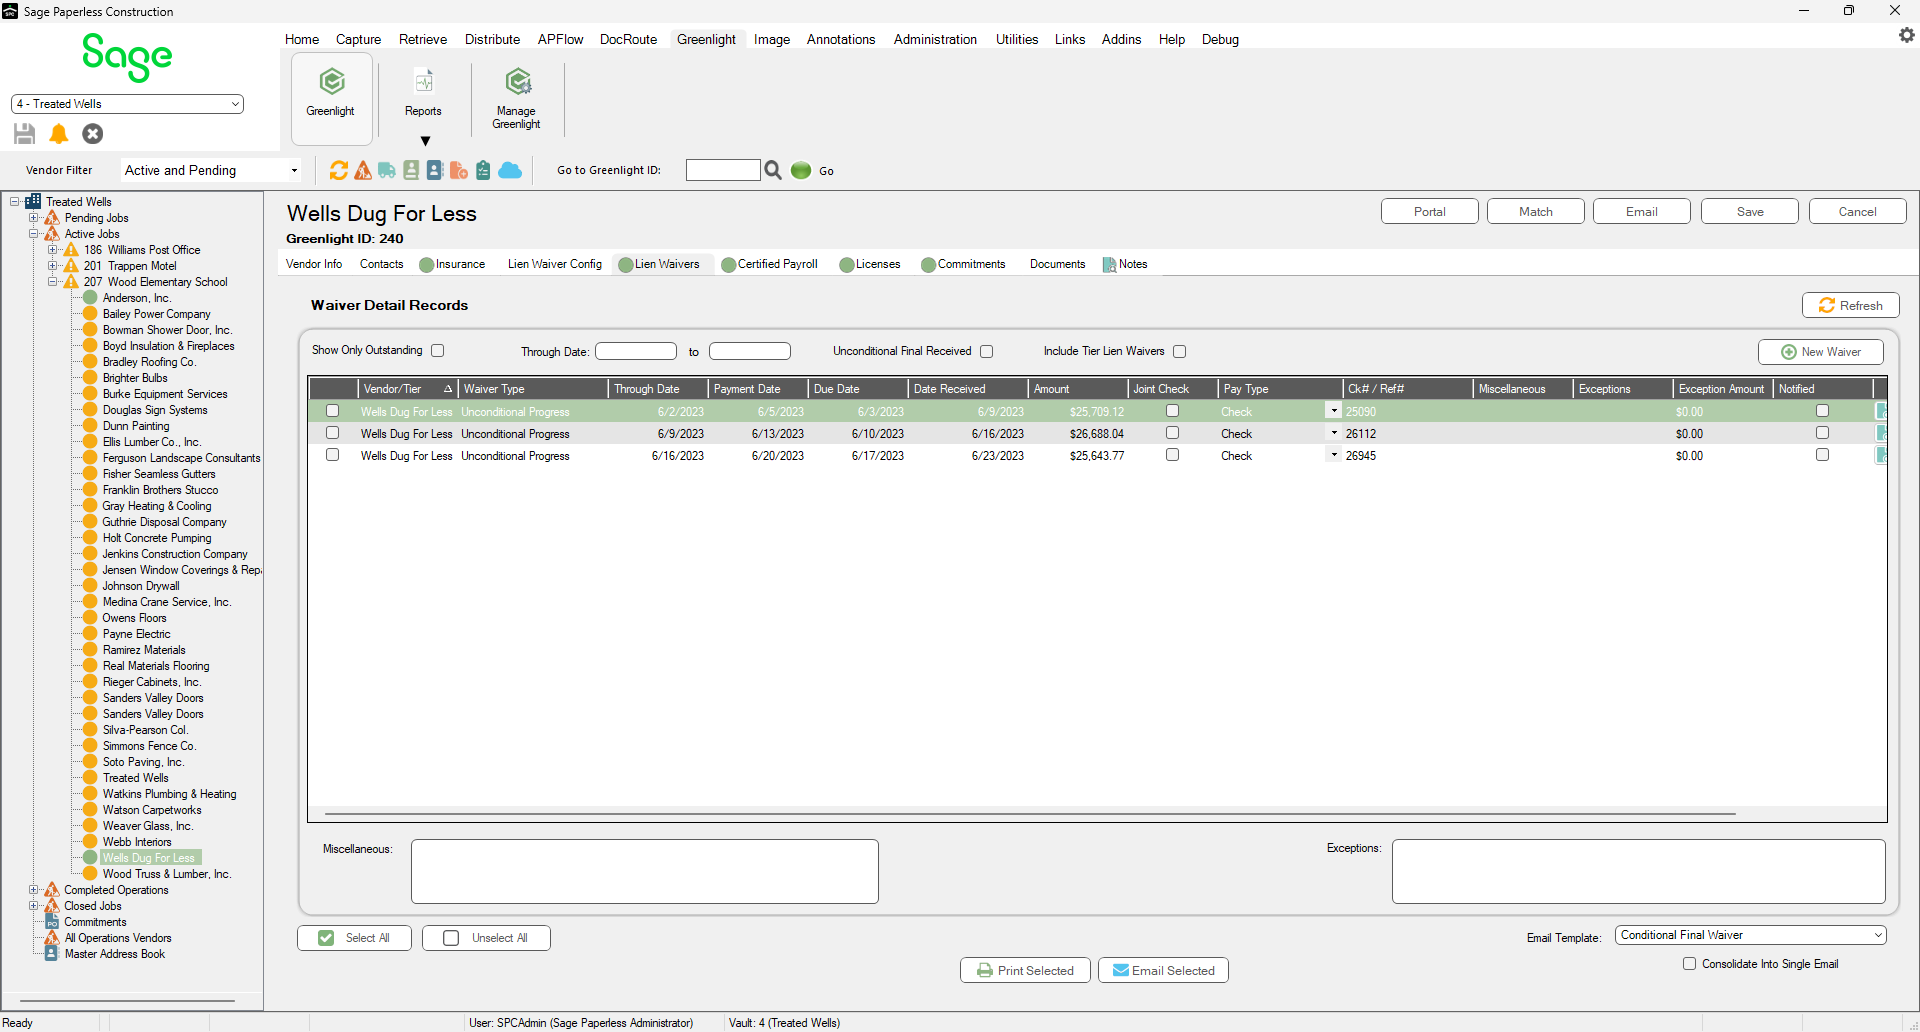
4.Click the Lien Waiver tab.
The following screen displays:
5.Click New Waiver.
The following Add New Waiver dialog displays:
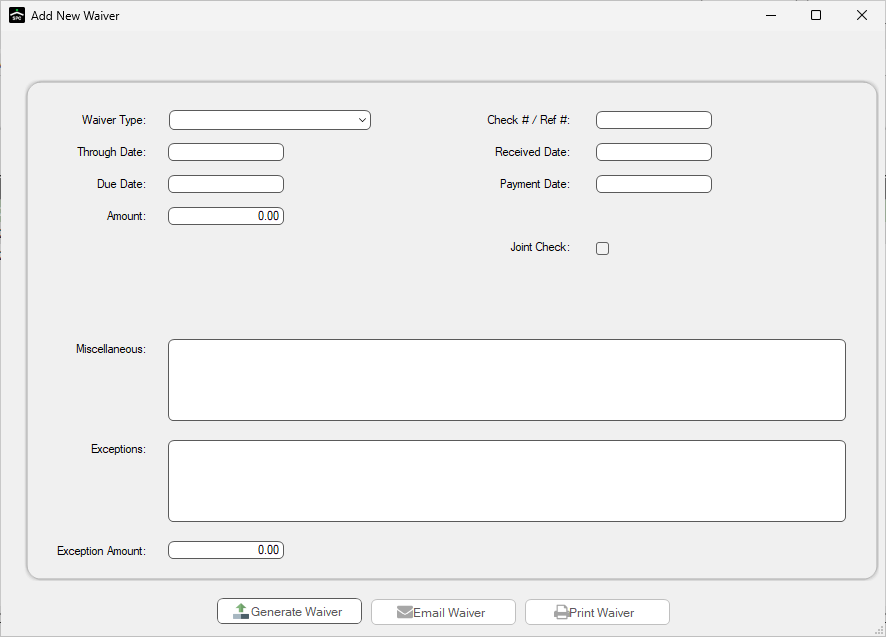
6.In the Waiver Type field, use the dropdown to select the kind of waiver form to use. This field is required.
7.In the Through Date field, enter the date through which this waiver is valid. This field is required.
8.In the Due Date field, enter the date that the signed waiver is due back from the vendor. If the current date exceeds the Due Date, Greenlight flags the vendor as non-compliant and a warning is added to both the Out of Compliance dashboard and to the Outstanding Lien Waiver Reports. This field is required.
9.In the Amount field, enter the amount for the lien release. This field is required.
10. In the Check # / Ref # field, enter the check number or reference number if it is available.
11. In the Received Date field, if you are generating a lien and you have already received a signed copy, enter this received date.
12. In the Payment Date field, enter the date the vendor was paid for the lien.
13. For the Joint Check check box, if the vendor is required to have a joint check, click to select this check box.
14. In the Miscellaneous text box, if notes or extra information, not available in Greenlight, needs to be added to the lien waiver form, enter it here.
15. Once all fields are populated, click Generate Waiver.
The following dialog displays:
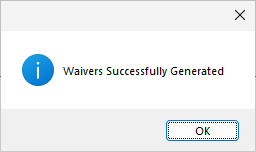
16. Click OK.
After the form has generated, you can click Email Waiver to send the form to the vendor from this dialog. You can also Print Waiver.
Entering Multiple Lien Waivers
1.If you have multiple lien waivers to enter, click New Waiver button.
2.Populate the fields in the Add New Waiver dialog.
Note: While you are entering data, the button located at the bottom right of the dialog is labeled Clear Values.
3.Click Generate Waiver.
Note: The button previously labeled Clear Values is now labeled New Waiver.
4.Click New Waiver.
The fields are blank and you can enter your next lien waiver without having to exit the dialog and return.