As invoices enter the queue (and display in the APFlow™ Sidebar), they are automatically processed by Paperless OCR. Documents still being processed by Paperless OCR will open as read-only until processing is complete.
1.From the ribbon toolbar, click APFlow™.
2.Click Invoice Entry,  .
.
The APFlow™ Sidebar will resemble the following:
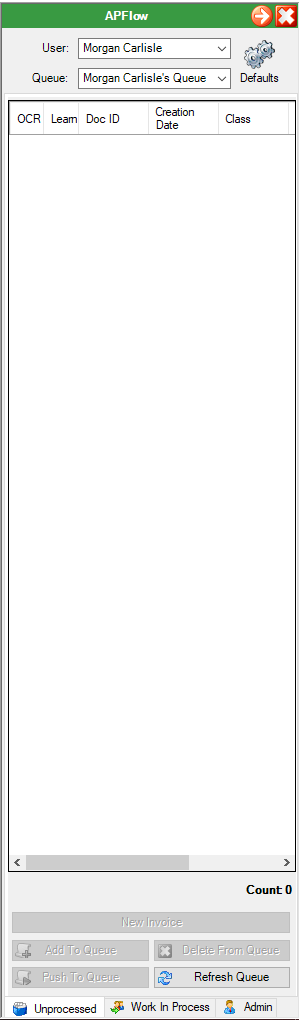
3.Click Add To Queue or click Refresh Queue.
The APFlow™ Sidebar will resemble the following:
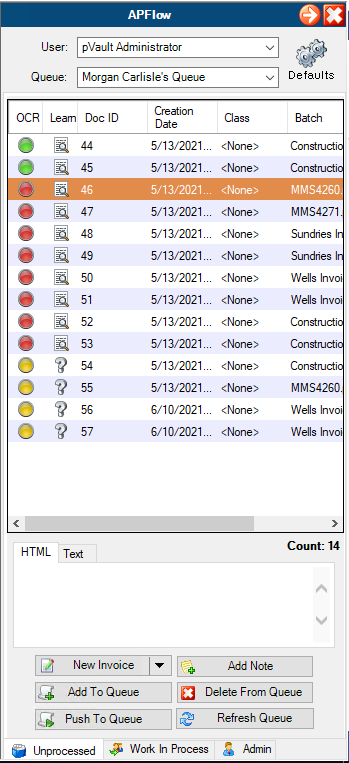
blank OCR entry |
No icon means that the document was not picked up by the Paperless OCR system for processing. |
|
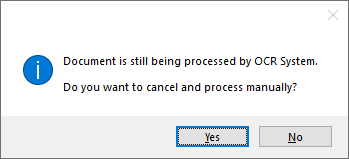
A yellow icon indicates that the document is actively being processed by the OCR system. You can click the associated question mark, |
|
Click the question mark icon for more information about the status of the associated document. The following prompt may display:
Click if you want to process the document manually. This is how you will get an item released for manual processing if it is stuck in OCR because of errors. |
|
A red icon indicates that the OCR system failed the validation that was set up by your implementation specialist. This likely means the OCR system failed to capture all required fields. |
|
Click this icon to display the error. A red circle with an explanation point indicates a system error that occurred during processing. When you click the icon, a dialog box will display that describes the exact error. |
|
Click this icon to access the OCR window. Refer below for the OCR Validation Screen details. |
|
A green icon indicates the Paperless OCR system successfully extracted all fields. For non-invoice document types that still remain in the queue as green, it is because not all fields required before saving were populated by a combination of OCR and backfilling. Non-invoice documents that processed successfully will save and leave the queue. |


OCR Validation Screen
This is where you can "train" the Paperless OCR system to correctly read your document through the magnifying glass icon,  , located in the Learn column.
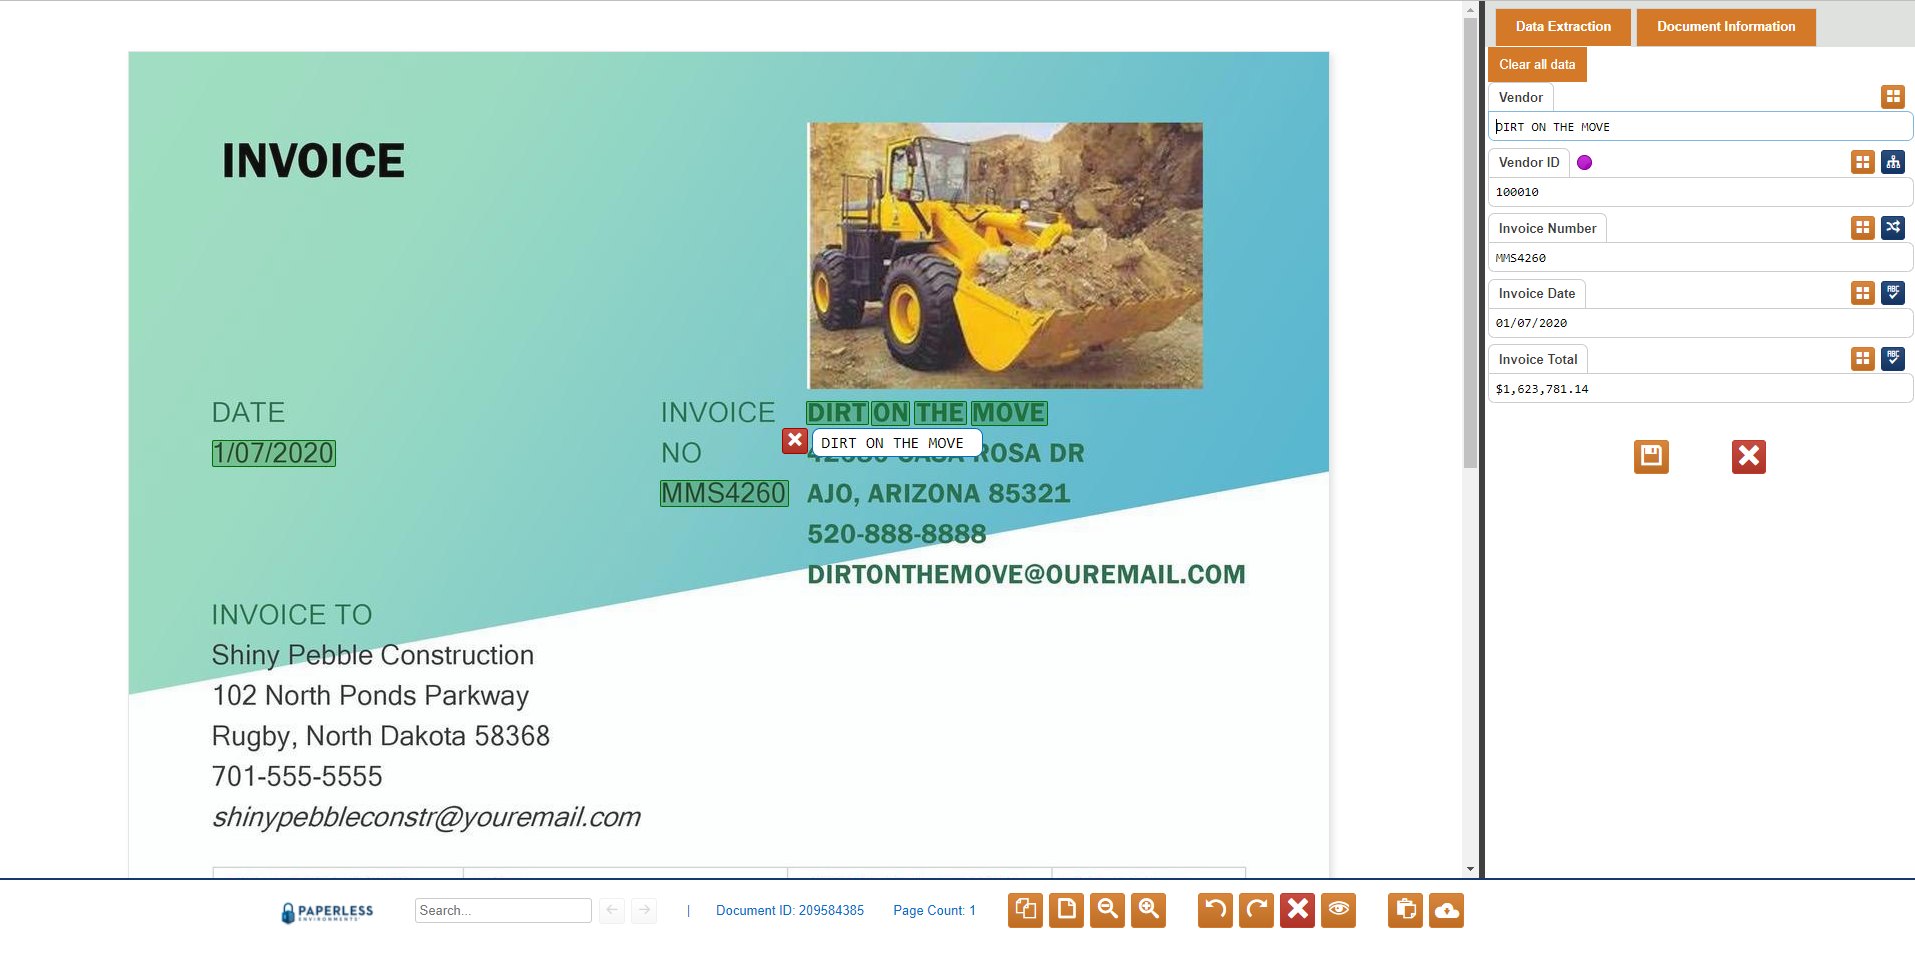
If information is highlighted similar to this:
 ,
,
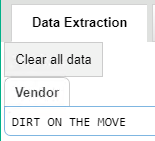
that information was captured and is reflected on the Data Extraction tab similar to the following:

Populating empty fields in the Data Extraction Tab
To capture the required information, click your cursor a blank field such as Vendor.
Highlight the appropriate information on the invoice.

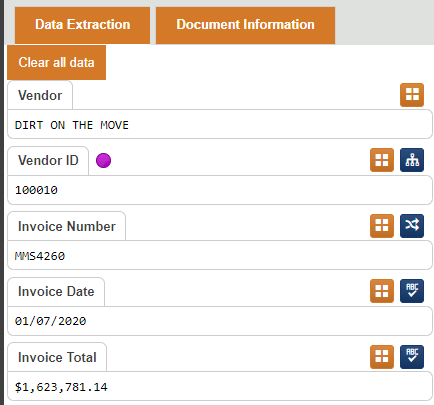
Notice that the highlighted information populates in the field similar to the following:
When you manually capture the Vendor name, the associated Vendor ID field will systematically generate if that Vendor ID exists in your accounting system. A purple circle,  , identifies the information as having been system-generated--similar to the following:
Click the Save and Close icon,  .
.
Click the Close document without saving icon,  , if the information that you changed should not be saved.
Fields, icons and other information across the bottom of the OCR Validation Screen
|
This is the Search field. Enter text on which you wish to search. |
|
The Document ID number is system generated. The Page Count reflects the number of pages for the document that displays here. |
|
Smallest Thumbnails. Click this icon to minimize the document into 2 1/2 x 2 inch squares. In this view you can split documents by hovering your mouse between the thumbnail icons. |
|
Page Fit. Click this icon to maximize the document into filling the pane. |
|
Zoom Out. Click this icon to increase the size of a maximized document. |
|
Zoom In. Click this icon to increase the size of a minimized document. |
|
Rotate Page to the Left. Click this icon to change the presentation of the document layout by rotating the image to the left. |
|
Rotate Page to the Right. Click this icon to change the presentation of the document layout by rotating the image to the right. |
|
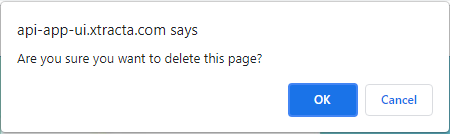
Delete Page. Click this icon to begin the delete process. A confirmation dialog box displays:
Click OK to complete the delete process and remove the document. In the space where the document displayed, the following text displays:
|
|
Show deleted pages. Click this icon to display previously deleted documents. |
|
Hide compare box. |
|
Download original file. Click this icon to display the original document in a new window. |