1.From the ribbon toolbar, click Administration.
2.Click Vaults,  .
.
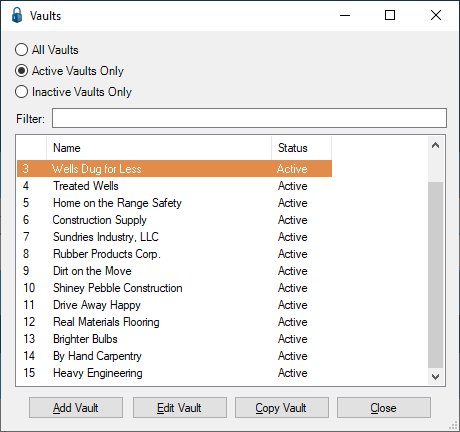
The Vaults window similar to the following displays:

3.Click to highlight the vault if necessary.
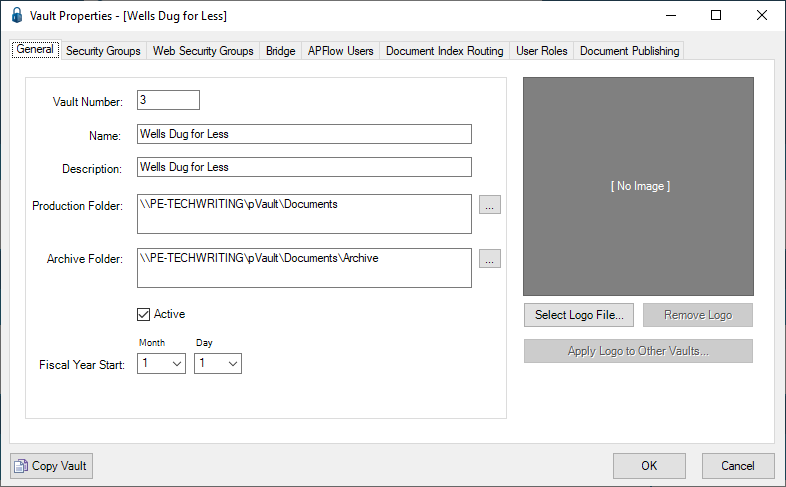
4.Click Edit Vault.
The Vault Properties window similar to the following displays with the General tab active:

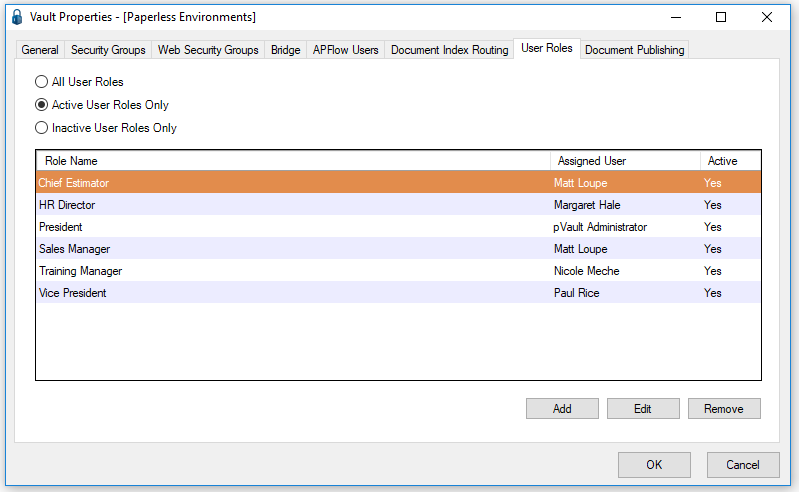
5.Click the User Roles tab.
The following window similar to the following displays:

6.In the Vault Properties screen, click Add.
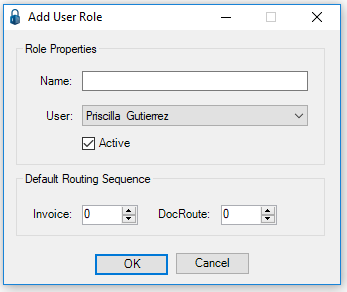
The Add User Role window displays:

7.In the Name field, type the name of the role.
8.In the User field, use the dropdown to select the pVault® user associated with the role.
9.Click the Active check box to mark the user in the associated role as current.
10. In the Default Routing Sequence section, use the Invoice and DocRoute™ arrows to assign a routing sequence number to the role.
If Invoice and/or DocRoute™ routing sequences are set up by user role and an individual leaves, the next person assigned to that user role will systematically inherit that role's routing sequences.
The next person in that role however, will not inherit the previous user's routed documents/invoices.
11. Click OK to save the User Role.
Note: User roles display in the various routing rule screens in bold, and are listed above individual user names.