Important: This functionality is available for Viewpoint only.
How to get to the Custom Field Exporting
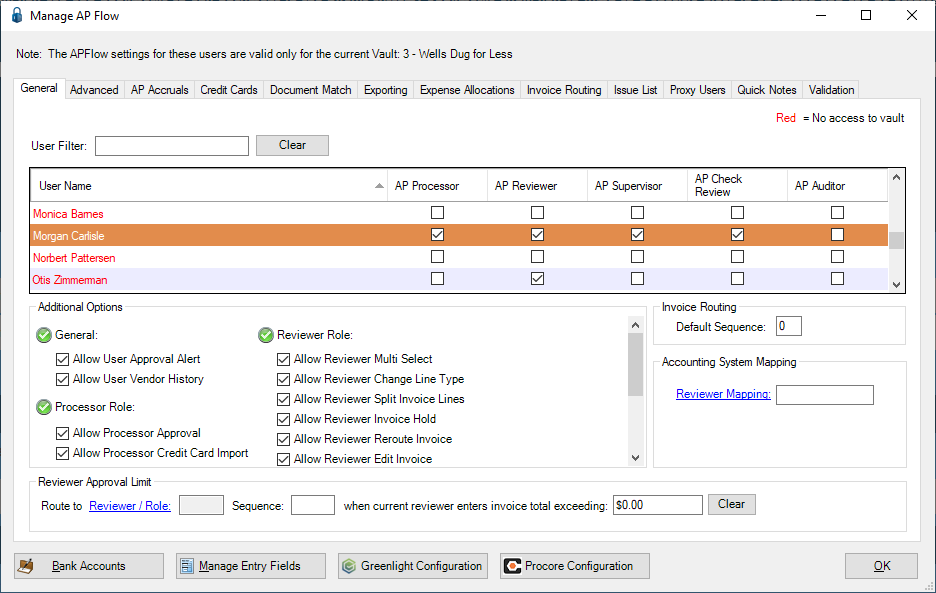
1.From the ribbon toolbar, click APFlow™. 2.Click Manage APFlow™, 3.Click Manage Entry Fields. |
Field Exporting, 
This process takes any selected custom fields that were added to the Invoice Entry screen, and adds those fields to the .csv file. Custom fields are added to the end of the .csv file in the order determined in the Export Custom Fields dialog box grids.
1.In the Manage AP Flow screen, click Manage Entry Fields.
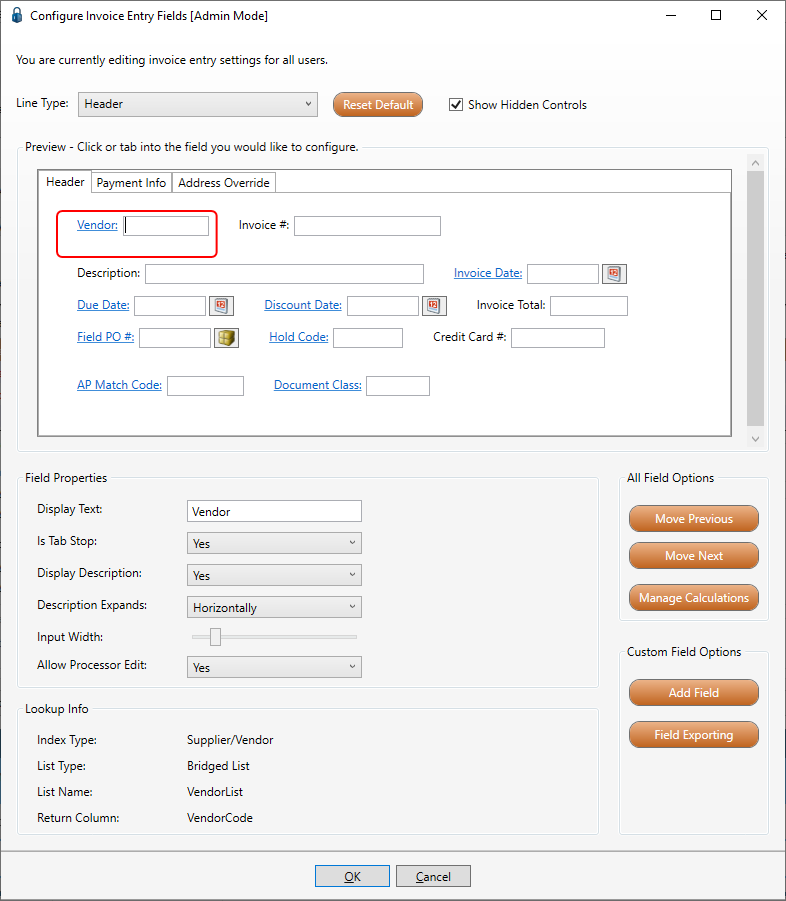
The Configure Invoice Entry Fields [Admin Mode] window similar to the following displays:

2.Click Field Exporting,  .
.
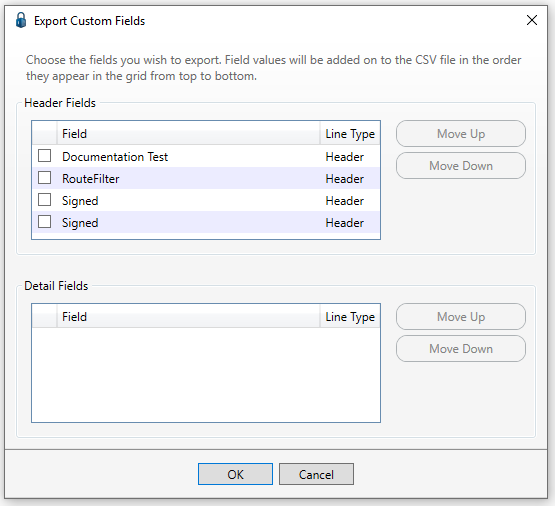
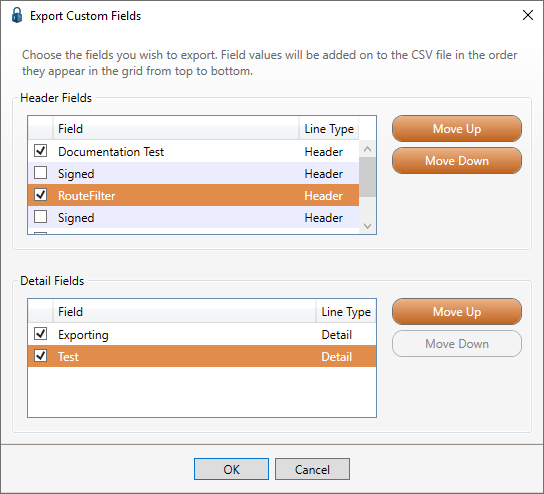
The Export Custom Fields dialog box similar to the following displays:

3.Click on an entry in the grid to activate the Move Up,  , or the Move Down,
  , buttons.
Note: The fields that display in this dialog box are custom fields only.
4.Determine the order of each selected custom field by using the Move Up and the Move Down buttons to establish the export order at the bottom of the .csv file.

5.Click OK.
When the .csv file is exported to a folder, the selected custom fields will be included in the export.
This is the pVault® export that is imported into Viewpoint as part of the regular invoice import.
These custom fields in pVault® will match the corresponding custom fields created in Viewpoint.

