Document types can be set up to have a pre-determined amount of time (in months or years) before the document types are eligible for purging. (Refer to Editing Document Type Properties)
Important: All purging is performed on a manual basis. There is no job that “automatically” purges documents from the system.
1.From the ribbon toolbar, click Administration.
2.Click the Documents dropdown, 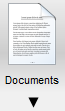 .
.
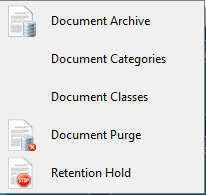
3.Click Document Purge,  .
.
The following Document Purge window displays:
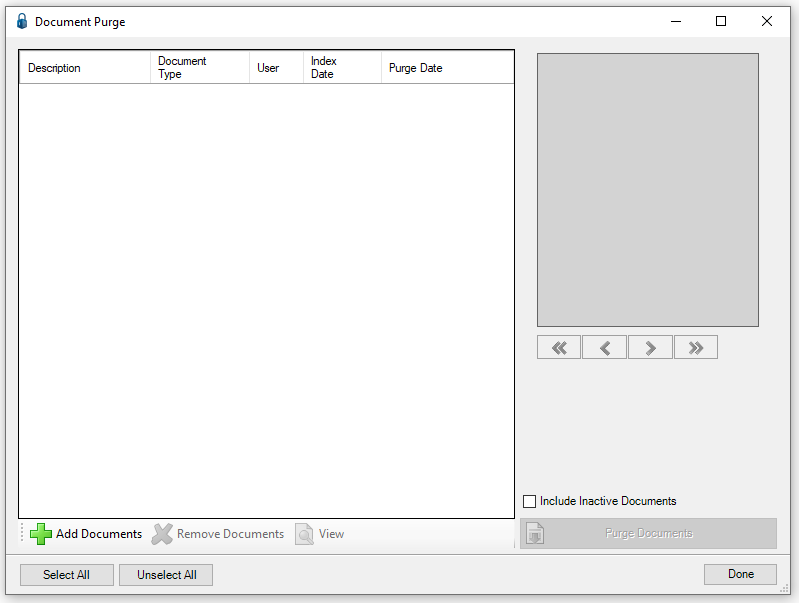
4.Click Add Documents to select documents to purge.
A Search Utility window similar to the following displays:
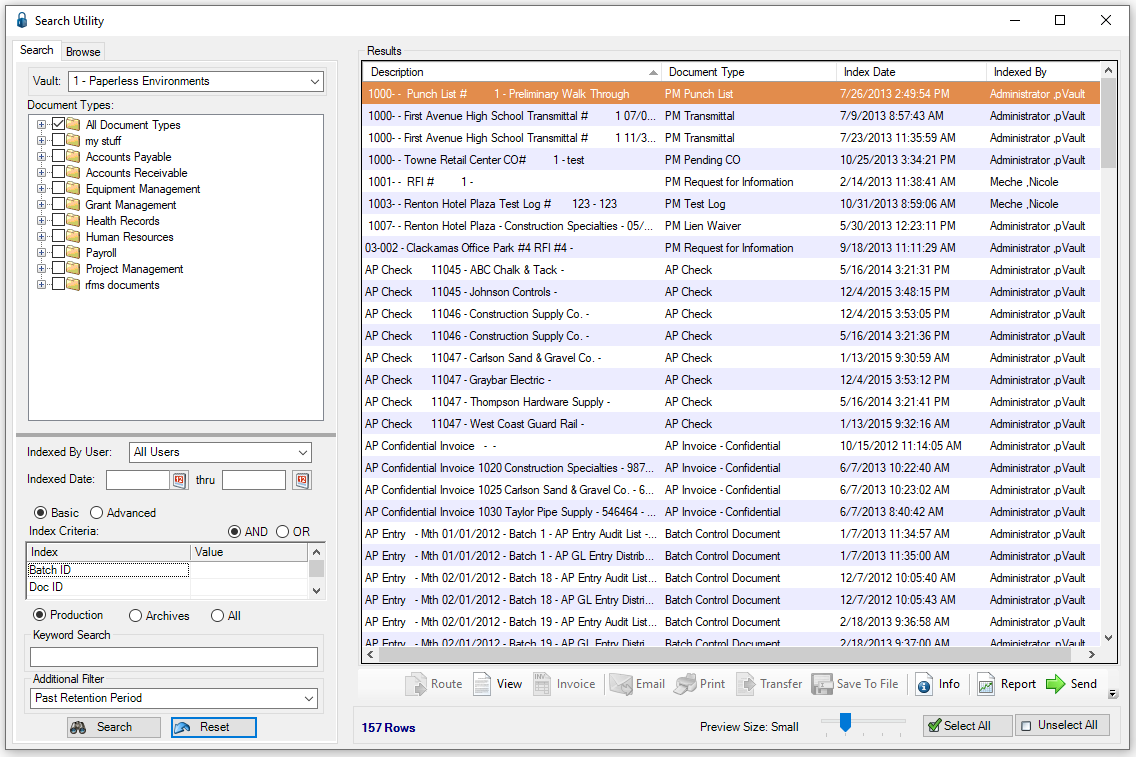
Notice that there is an Additional Filter field that displays in the lower left corner. This provides a search filter if a menu setting is set to "Past Retention Period".
If the setting is left as "None", no filter will be used and any document may be selected to purge.
5.Select the document types and index type combinations for the documents to purge.
6.Review the list of document eligible for purging.
7.Check off all documents to be purged.
Note: Use Select All and Unselect All as shortcuts.
8.Click Send.
The Document Purge window re-displays.
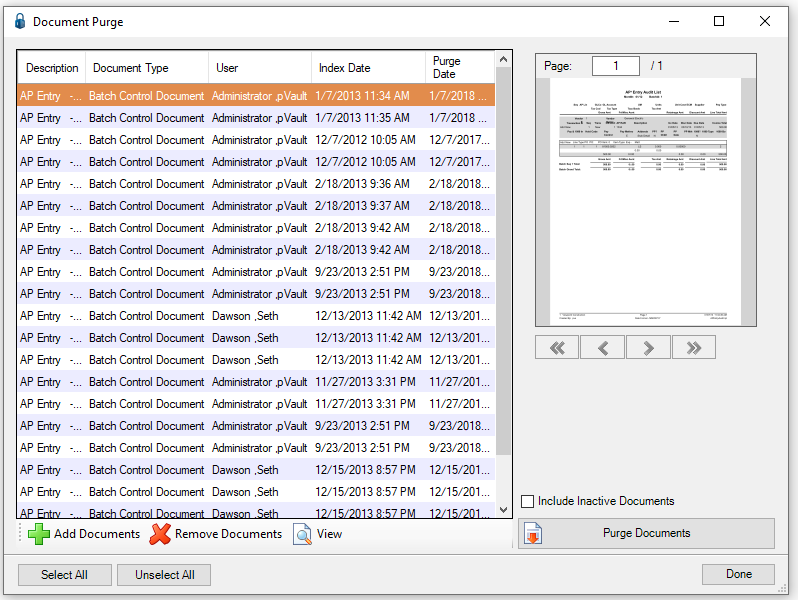
Column headings
Description |
description of document to be purged
|
Document Type |
document type of document
|
User |
name of user who originally indexed document
|
Index Date |
date document was originally indexed
|
Purge Date |
calculated purge date based upon retention settings of document type
|
Add Documents |
add additional documents to list
|
Remove Documents |
remove selected documents from purge list
|
View |
open selected document in pVault® main viewer window |
Important: Deleted documents are not physically deleted from the pVault® system until they are purged. Deleted documents are marked Inactive.
9.Click the Include Inactive Documents check box to purge inactive files too.
10. Once satisfied with the list of documents, click Purge Documents to permanently purge the documents from the pVault® system.
The following warning prompt displays:
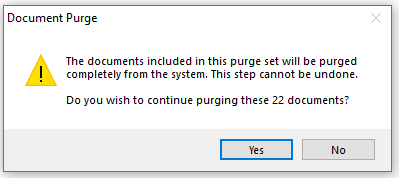
Warning: Once a document is purged from the system it is no longer accessible.
11. Click Yes to continue with the purge.
Click No to cancel the purge.
Clicking Yes will cause the following:
• The document image will be deleted.
• All database records will be deleted for each selected document.
• A purged document audit entry will be created in a database table providing the Document ID, Vault ID, Document Type, Document Description, User ID (person performing the purge), and Purge Date.
When completed, a prompt similar to the following displays:
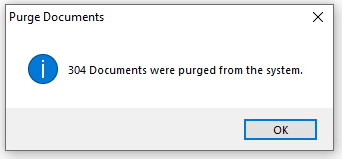
12. Click OK.