In addition to setting up routing rules in pVault®, you can leverage your job configuration in your bridged accounting system to route to users designated on the job. Once configured, any invoice lines coded to a job will be auto routed to the appropriate approvers assigned to your jobs in Sage 300.
To configure job routing in pVault®, the following steps must be completed:
•Turn on Job Routing in pVault®
•Configure users on your Jobs in Sage 300
•Turn on Auto Route to PM Advanced Bridge Setting (optional)
•Map your accounting system's Approver IDs to pVault® Reviewers
Turn On Job Routing in pVault®
1.From the ribbon toolbar, click Administration.
2.Click Vaults,  .
.
The Vaults window similar to the following displays:
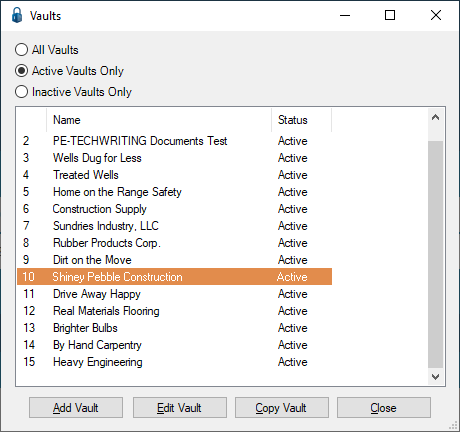
3.Click to highlight the Sage 300 vault, if not already highlighted.
4.Click Edit Vault.
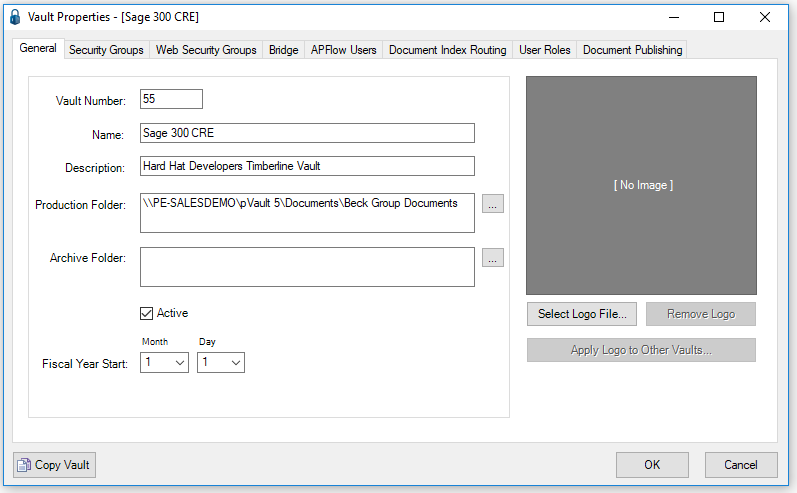
The Vault Properties window similar to the following displays with the General tab active:
5.Click the Bridge tab.
The window similar to the following displays:
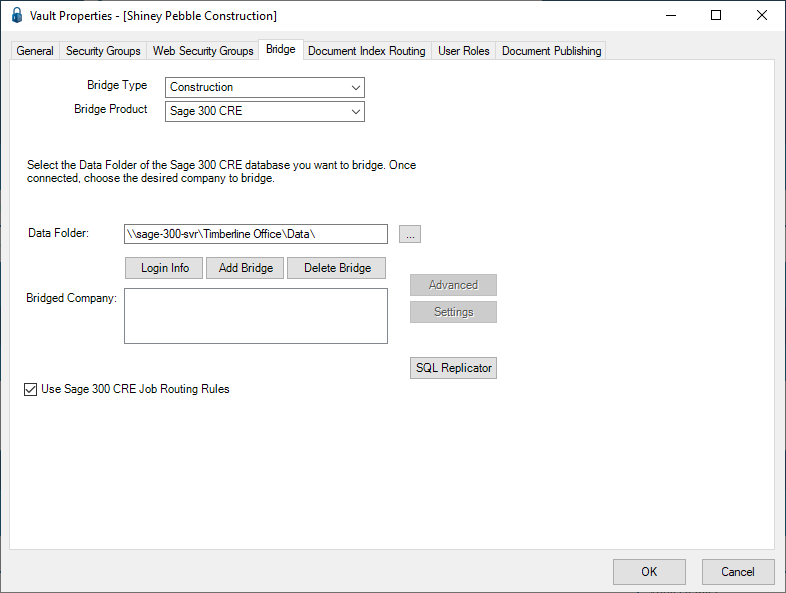
6.Click to select the Use Sage 300 Job Routing Rules check box.
7.Click OK to close the Vault Properties window.
8.Click Close to close the Vaults window.
9.Minimize or close pVault®.
Configure Users On Your Jobs in Sage 300
With Use Sage 300 CRE Job Routing Rules turned on in pVault®, invoices coded to the job will be routed to the user designated in the Approval ID field on the job setup in Sage 300.
In addition, you can turn on the Advanced Bridge Setting, Auto Route to PM, to additionally route to the user designated in the Project Manager field.
1.Log in to Sage 300, Job Cost module.
2.From the toolbar, click Setup.
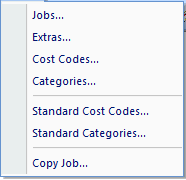
3.From the dropdown, click Jobs.
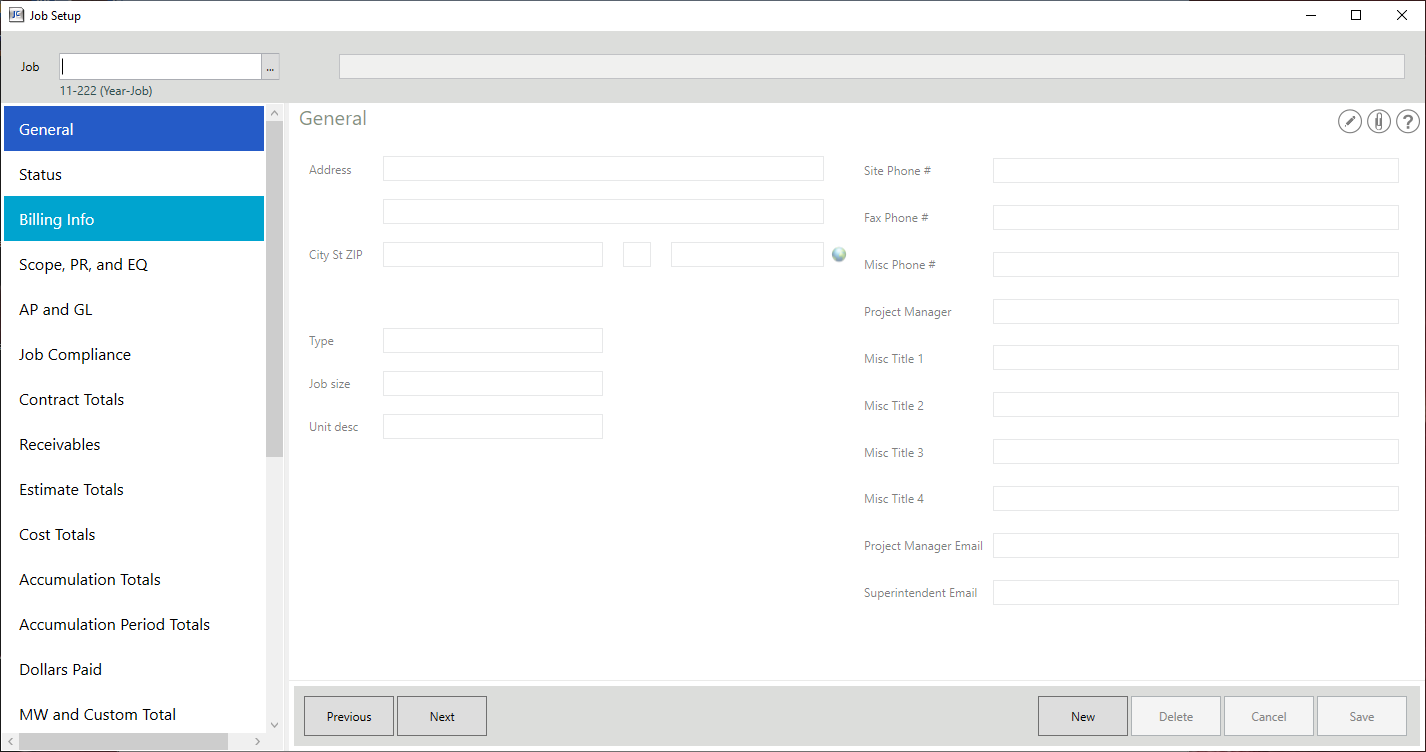
A Job Setup window similar to the following displays with the General pane open:
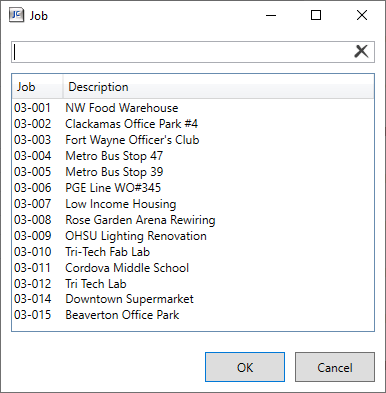
4.In the Job field, click the ellipsis,  , to access the Job lookup dialog box similar to the following:
5.Click OK.
These field entries are associated to the job identified in the Job field.
6.In the left navigation bar, click AP and GL.
The following window displays:
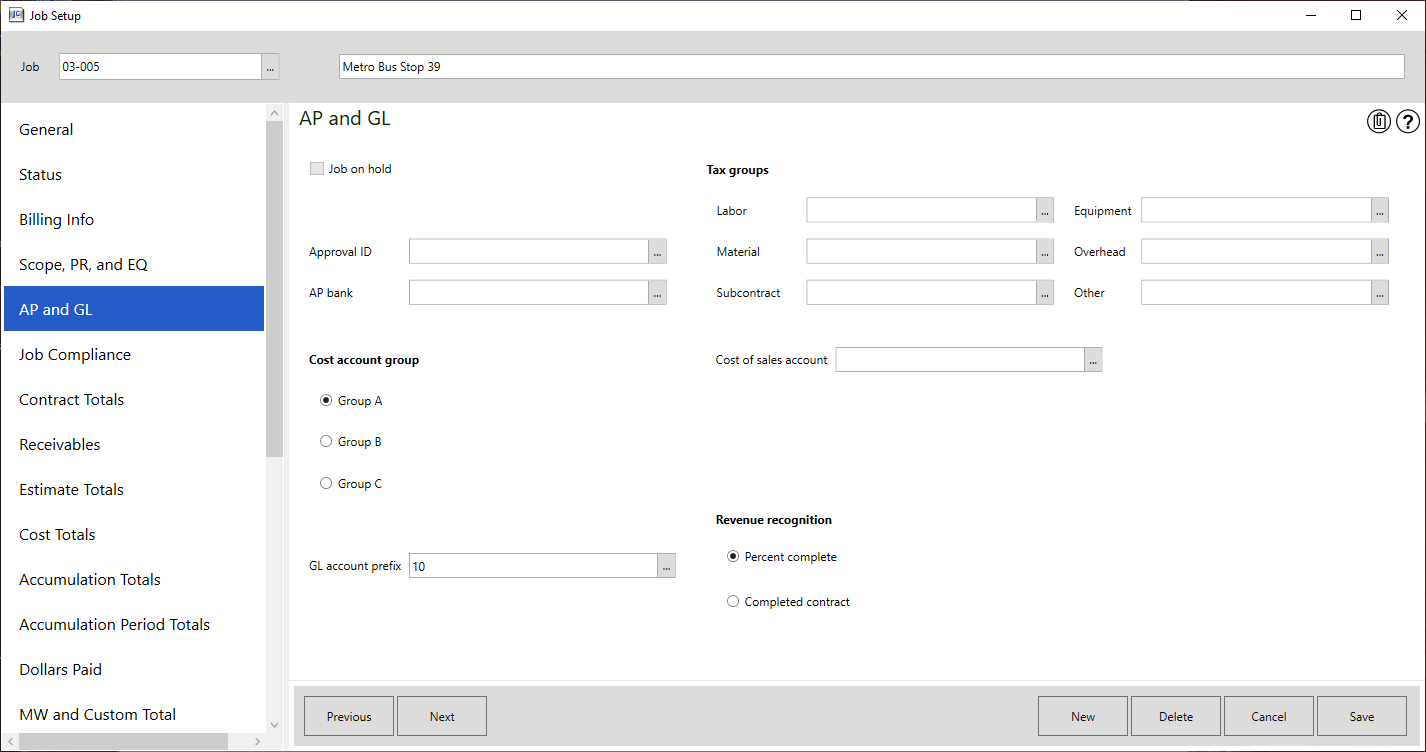
7.In the Approval ID field, click the ellipsis, , to access the Approval ID lookup dialog box similar to the following:
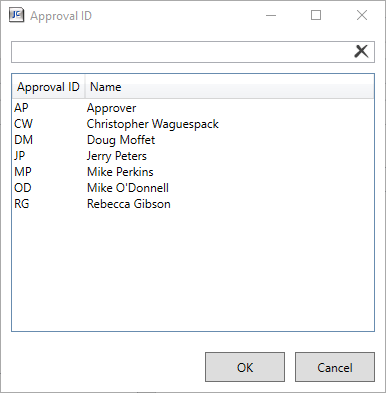
8.Click to highlight the appropriate name.
Important: This name (ID) may also display in the Project Manager field on the General pane. You can change the initials that display in the Project Manager field, as appropriate. If the Use Sage 300 CRE Job Routing Rules check box is selected (pVault® Vault Properties window, Bridge tab), the individual selected in this lookup will be the individual to whom the invoices will be routed.
9.Click OK.
The Approval ID field will resemble the following:

10.In the left navigation bar, click General.
The Project Manager field could resemble the following, based on your selection in the Approval ID field lookup:

Note: This field can be modified.
Important: Do not change the Project Manager field label. If the Advanced Bridge setting, Auto Route to PM is set to True and this field label was changed, an error will generate.
11.Click Save.
12.Click the X in the Job Setup window to close.
13.From the toolbar, click File.
14.From the dropdown, click Exit to close the screen and exit the Sage application.
Turn on Auto Route to PM Advanced Bridge Setting in pVault® (Optional)
1.In the ribbon toolbar, click APFlow™.
2.Click Manage APFlow™,  .
.
The Manage AP Flow window similar to the following displays with the General tab active:

3.Click the Advanced tab.
The following window displays:
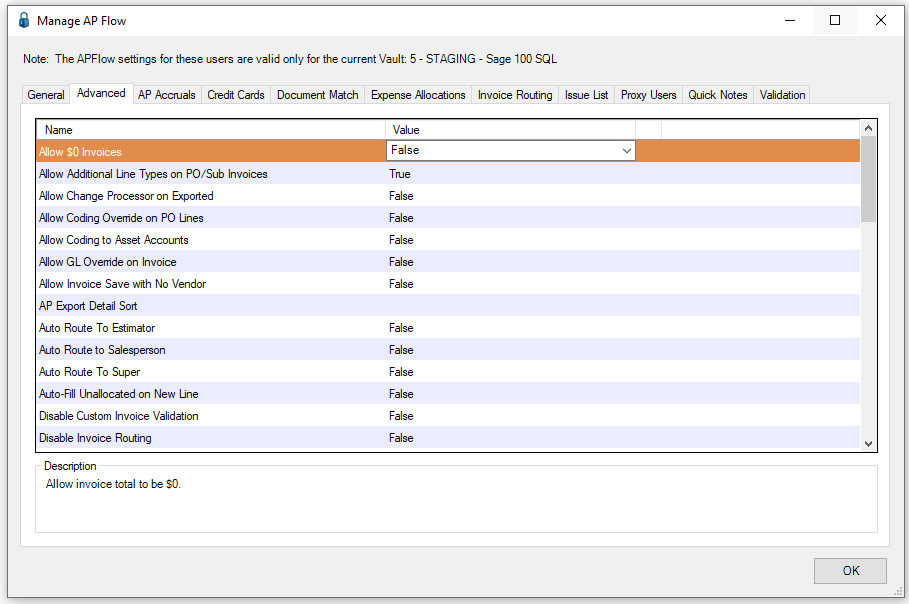
4.Depending on which fields were populated, one or more of the following Advanced Bridge settings must have a Value of True:
Auto Route To PM
5.Click OK to close the Manage AP Flow window.
Map your Accounting System's Approver IDs to pVault® Reviewers
1.From the pVault® ribbon toolbar, click APFlow™.
2.Click Manage APFlow™, .
The Manage AP Flow screen similar to the following displays with the General tab active:
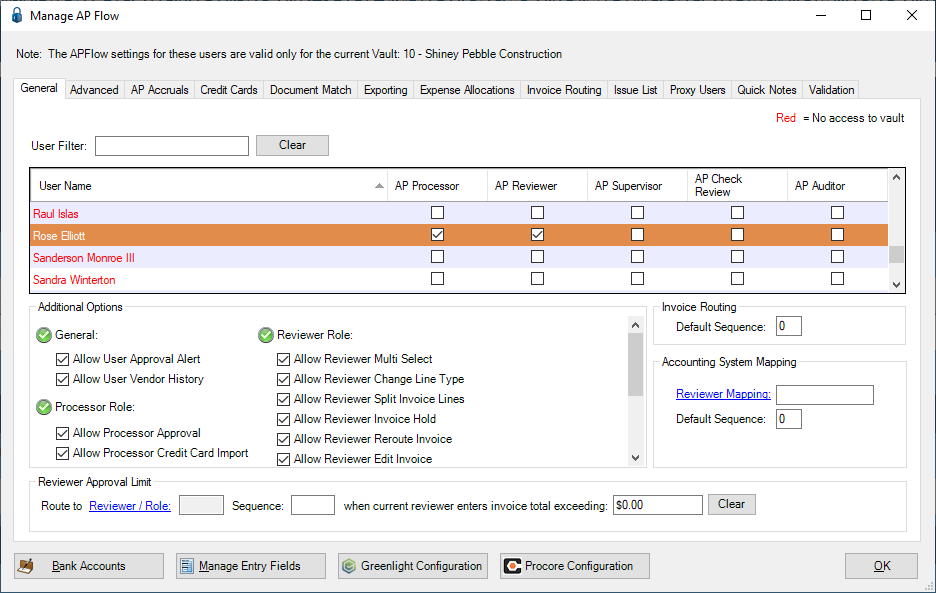
3.Highlight a name in the grid with Reviewer permissions. This will systematically associate in the Accounting System Mapping pane.
4.In the Accounting System Mapping pane, click the Reviewer Mapping field label.
The Reviewer lookup dialog box similar to the following displays:
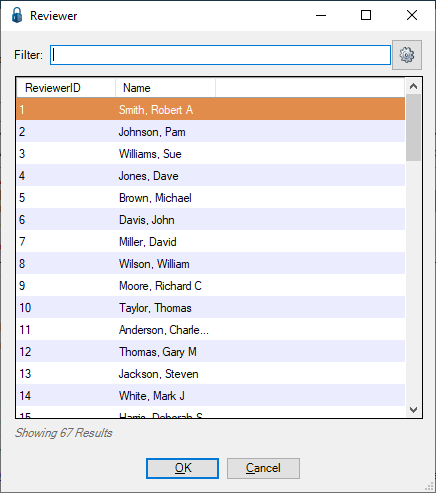
5.Click to highlight the same name that you highlighted in the Sage 300 Project Manager field.
6.Click OK.
The ReviewerID initials will display in the Reviewer Mapping field similar to the following:

7.Click OK to close the Manage AP Flow window.