In Vista
1.From the Main Menu navigation screen, click Accounts Payable in the left navigation bar.
2.Click Programs.
3.From the Forms listing, double click AP Payment Workfile.
The AP Payment Workfile Detail screen similar to the following displays:

4.Click Create Payment Batch.
The Batch Selection window similar to the following displays:
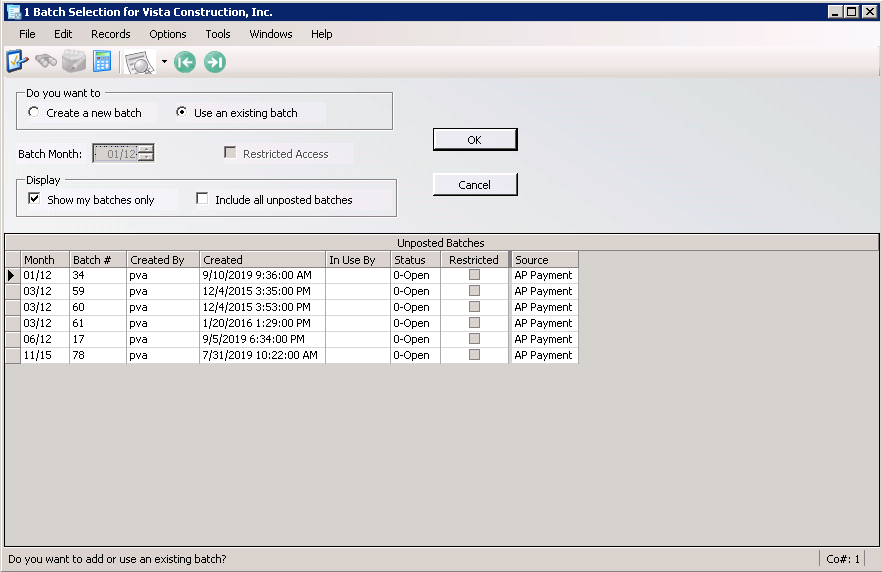
Note: Batch entries should be automatically indexed.
5.Click OK.
The AP Payment Posting Detail window similar to the following displays:
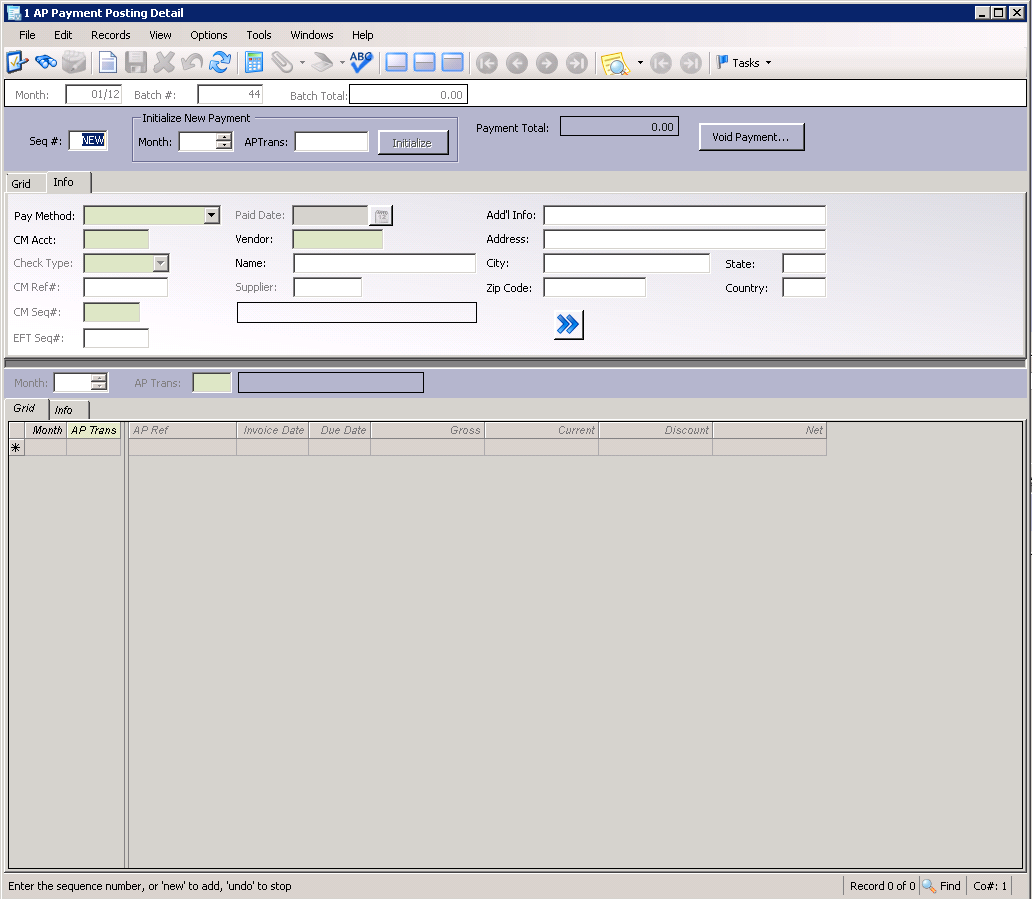
6.On the AP Payment Posting Detail window toolbar, click File.
7.From the dropdown menu, select Download EFTs.
The AP EFT Download dialog box similar to the following displays:
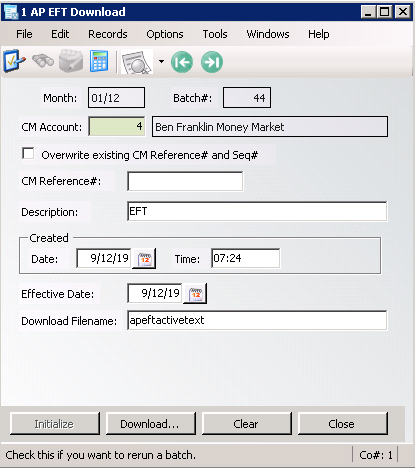
8.Click Download.
The following prompt may display:
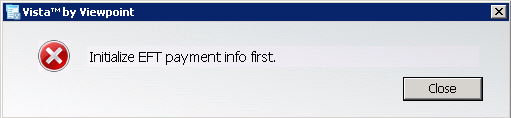
9.Click Close.
10.In the AP EFT Download dialog box, update the CM Reference# field.
This is the reference number for all payments in the current batch.
11.Click Initialize.
The following prompt similar to the following should display:
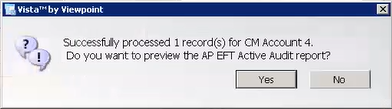
12.Click No.
13.In the AP EFT Download dialog box, click Download again.
A Save Export File As window similar to the following displays:
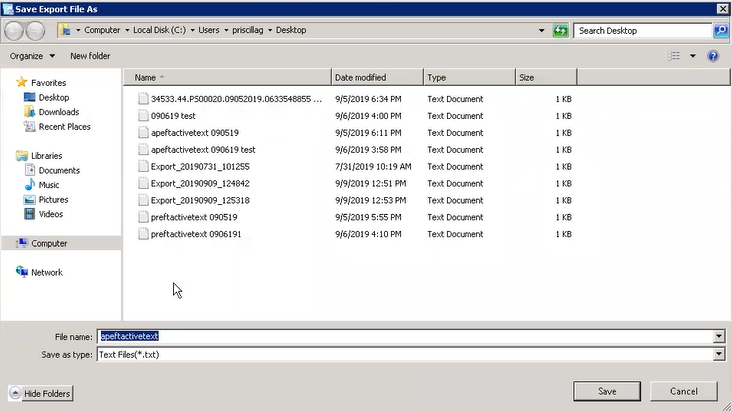
This action creates an ACH file for EFT payments to be uploaded; typically, these files are uploaded directly to the bank.
14.Click Save.
The following file success prompt displays:
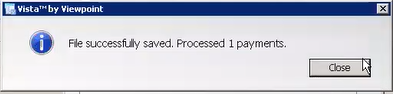
15.Click Close.
16.On the AP EFT Download dialog box toolbar, click File.
17.From the dropdown, click Close.
18.On the AP Payment Posting Detail window toolbar, click File.
19.From the dropdown menu, click Generate Viewpoint ePayments Export.
The AP Viewpoint ePayment Export window similar to the following displays:
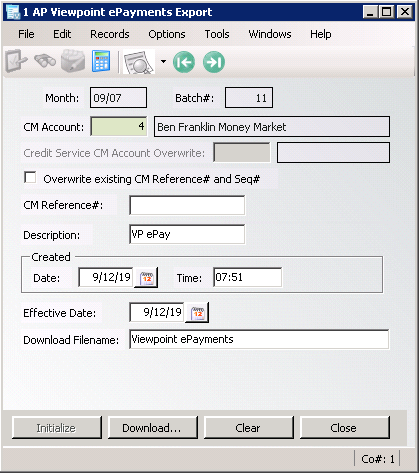
20.Click Close.
21.On the AP Payment Posting Detail window toolbar, click File.
22.From the dropdown menu, click Process Batch.
The AP Batch Process window similar to the following displays:
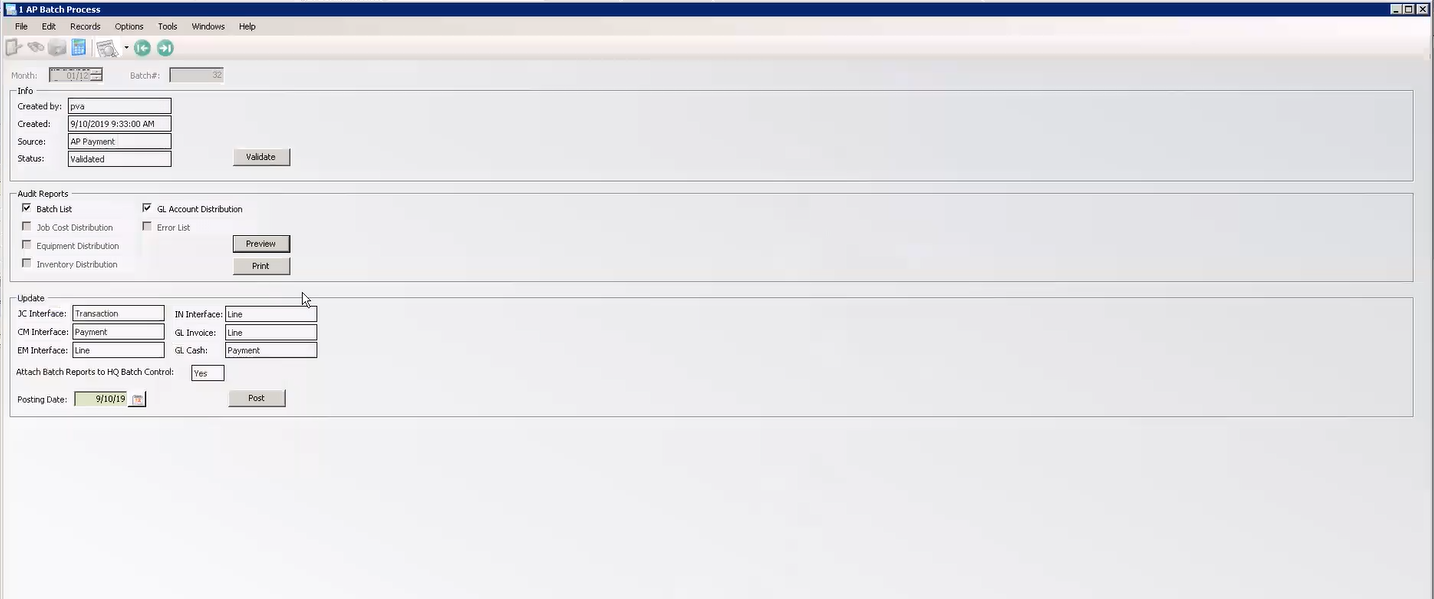
Validated should display in the Status field.
23.Verify that the Attach Batch Reports to HQ Batch Control field is Yes.
24.Click Post.
The following prompt should display:
25.Click Close.
In pVault®
Verify that three reports are generated.
1.From the ribbon toolbar, click Retrieve.
2.Click Search,  .
.
The Search Utility screen similar to the following displays with the Search tab active.
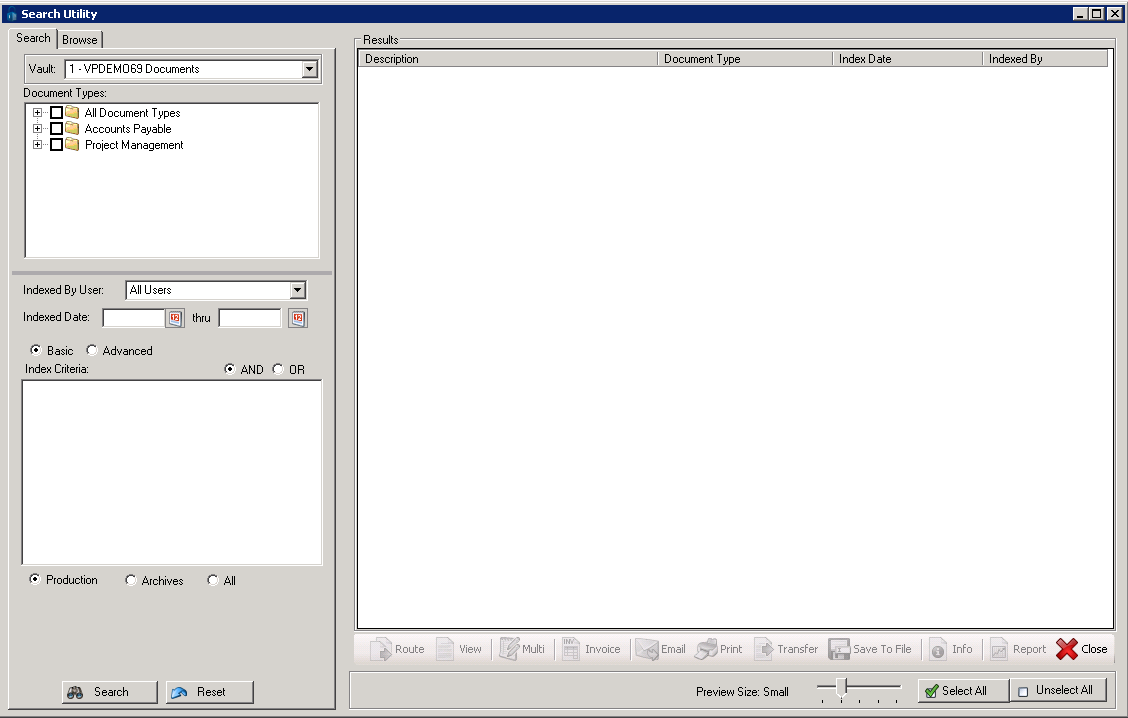
3.Click the All Document Types check box to select every document type.
4.In the Indexed Date field, click the calendar to select the date the batch was indexed.
5.Click Search.
Viewpoint creates a separate report for every module into which it is posting.
The three reports should be listed similar to the following:
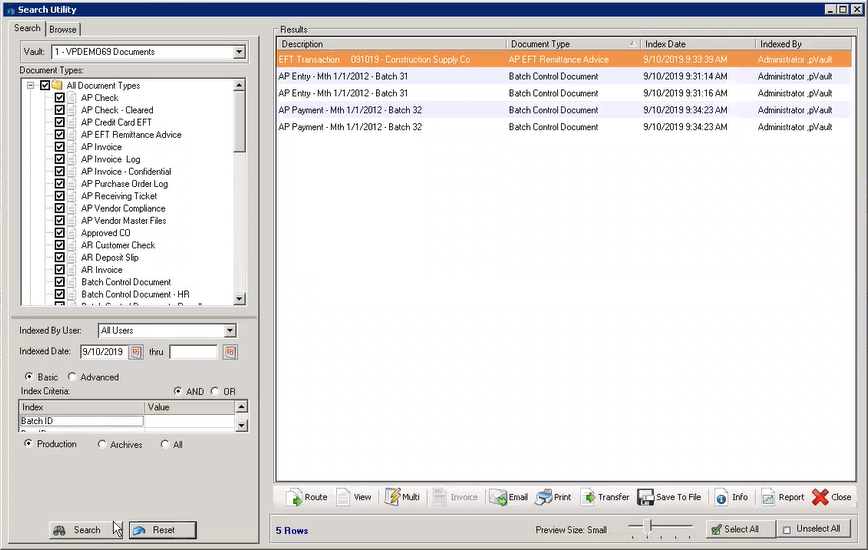
6.Click the first entry. This is the EFT Remittance. This is the "check stub" for EFT payments and is indexed as an AP EFT Remittance Advice.
The report will resemble the following:

7.Close the first report.
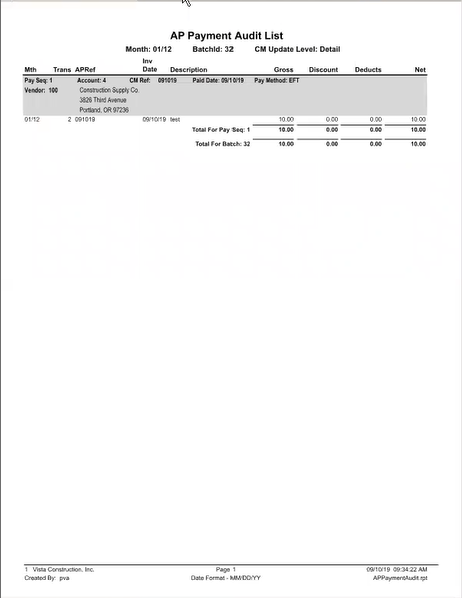
8.Click the next entry. This is the AP Transactions report.
The report will resemble the following:
9.Close the next report.
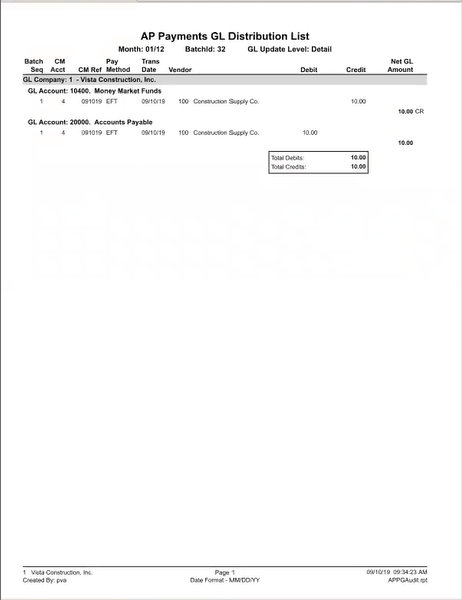
10.Click the third report. This is the GL Posting report.
The report will resemble the following:
11.Close the report.