In pVault®
Identify the Bridge User.
This is important because this is the individual who must have the proper payroll security to access the payroll company through which the checks are running.
1.From the ribbon toolbar, click Administration.
2.Click Vaults,  .
.
The Vaults window similar to the following displays:

3.Highlight the appropriate vault and click Edit Vault.
The Vault Properties window similar to the following displays with the General tab active:
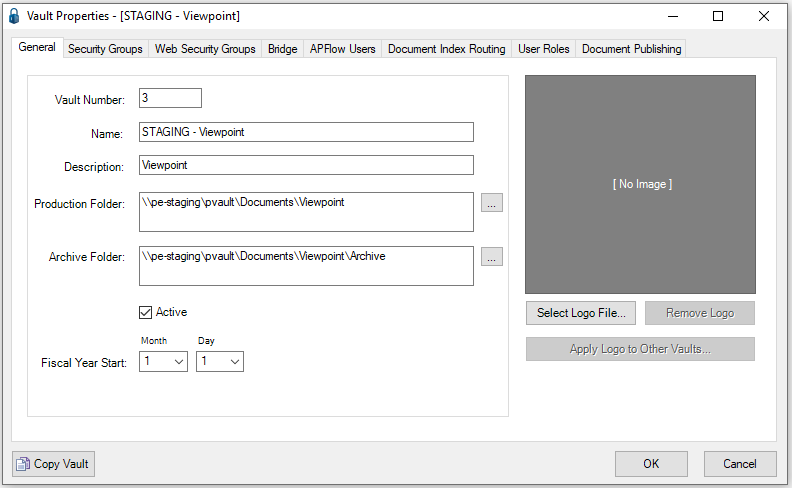
4.Click the Bridge tab.
A window similar to the following displays:
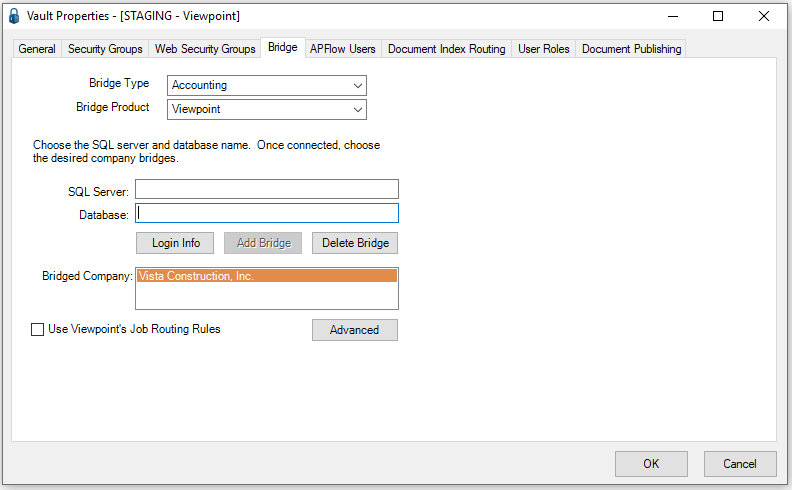
5.Click Login Info.
The User Login For Viewpoint dialog box similar to the following displays:

Important: The name entered in the User Name field is the Bridge User.
6.Click OK.
7.In the Vault Properties, Bridge tab window, click OK.
8.In the Vaults dialog box, click Close.
9.Close the pVault® application.
In Vista
PR Company Parameters
1.From the Main Menu navigation screen, click Payroll in the left navigation bar.
2.Click Programs.
3.In the Forms listing, double click PR Company Parameters.
The PR Company Parameters screen similar to the following displays with the Info tab active:

4.Click the Report Info tab.
A screen similar to the following displays:
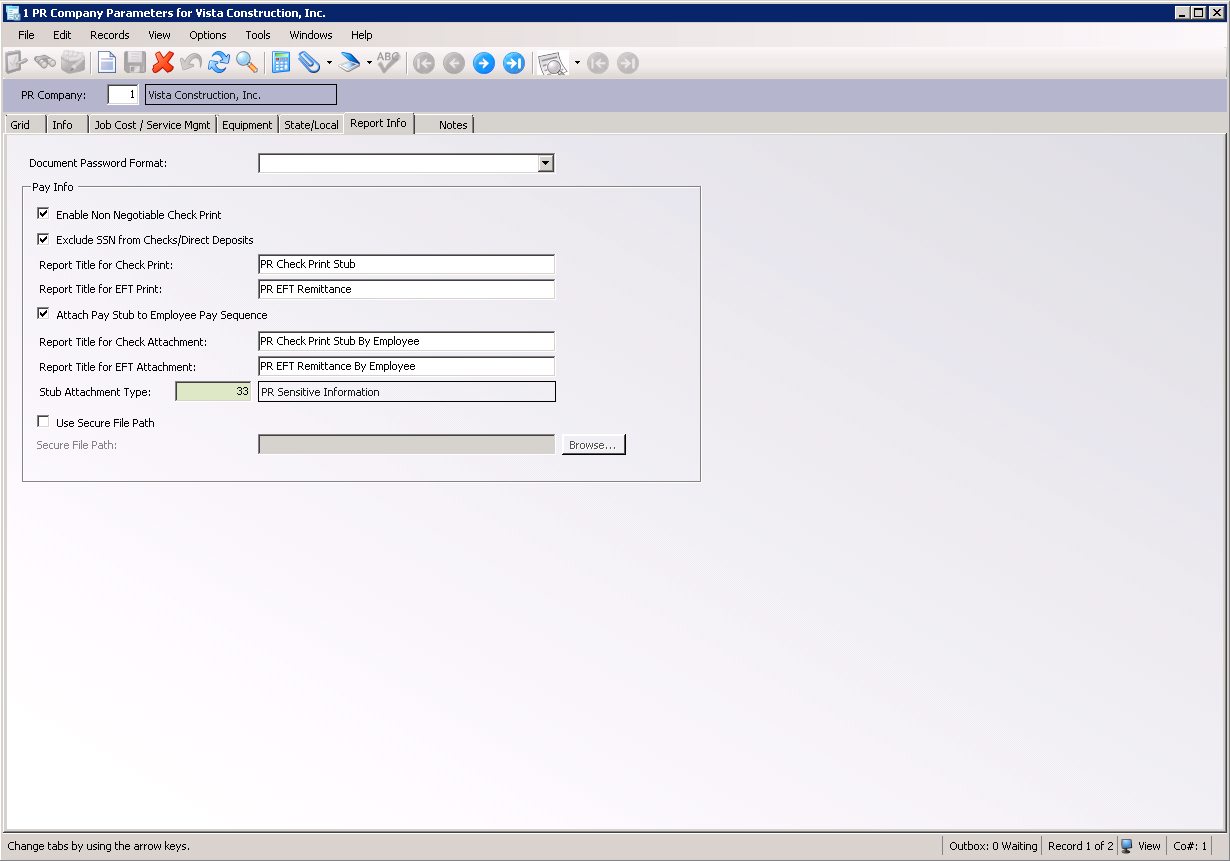
5.Verify that the Attach Pay Stub to Employee Pay Sequence check box is selected.
6.Make a note of the following field information:
- Report Title for Check Attachment
In this example: PR Check Print Stub By Employee
- Report Title for EFT Attachment
In this example: PR EFT Remittance By Employee
7.On the PR Company Parameters screen toolbar, click File.
8.From the dropdown menu, click Close.
PR Employee Pay Seq Control
1.In the Forms listing, double click PR Employee Pay Seq Control.
The PR Employee Pay Seq Control screen similar to the following displays with the Info tab active:

2.In the toolbar, click the attachment icon,  .
.
This connects to pVault®.
In pVault®
After clicking the attachment icon, , the pVault® AttachmentForm window displays.
Note: The pVault® Login window may or may not display.

1.Click the Configure Viewpoint API icon on the AttachmentForm window,  .
.
The Configure Table window displays with the Document Categories tab active:

2.Click the Document Types tab.
A window similar to the following displays:

3.Scroll through the list. If not already selected, click the PR Check check box.
4.Scroll through the list. If not already selected, click the PR Daily Timesheet check box.
5.Scroll through the list. If not already selected, click the PR Direct Deposit Advice check box.
6.Scroll through the list. If not already selected, click the PR Weekly Timesheet check box.
7.Click the Index Types tab.
The following window displays:

8.Verify that the field mapping is an identical match.
9.Click Finish.
10.Click Done to close pVault®.
In Vista
VA Form Security
1.From the Main Menu navigation screen, click Viewpoint Administration in the left navigation bar.
2.Click Programs.
3.In the Forms listing, double click VA Form Security.
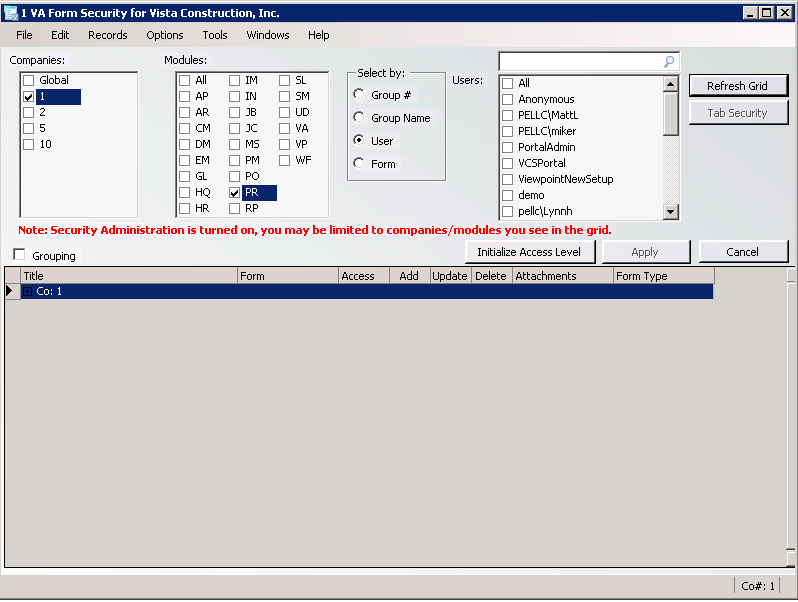
The VA Form Security window similar to the following displays:

4.In the Companies box, click to check the Company number.
5.In the Modules box, click to check PR.
6.In the Select by box, click to check User.
7.In the Users box, click the previously identified Bridge User.
8.Click Refresh Grid.
The bottom half of the VA Form Security window will resemble the following:
9.Click the Grouping check box.
A grid displays similar to the following:

10.From the grid, locate and select PR Employee Pay Seq Control.
11.In the Access column for PR Employee Pay Seq Control, use the dropdown to select FULL.
This gives the Bridge User permission to attach payroll document.
The completed VA Form Security window should resemble the following:

12.Click Apply.
The following prompt will display:
13.Click Close.
14.On the VA Form Security window toolbar, click File.
15.From the dropdown menu, click Close.
VA Report Security
1.From the Main Menu navigation screen, click Viewpoint Administration in the left navigation bar.
2.Click Programs.
3.In the Forms listing, double click VA Report Security.
The VA Report Security window similar to the following displays:
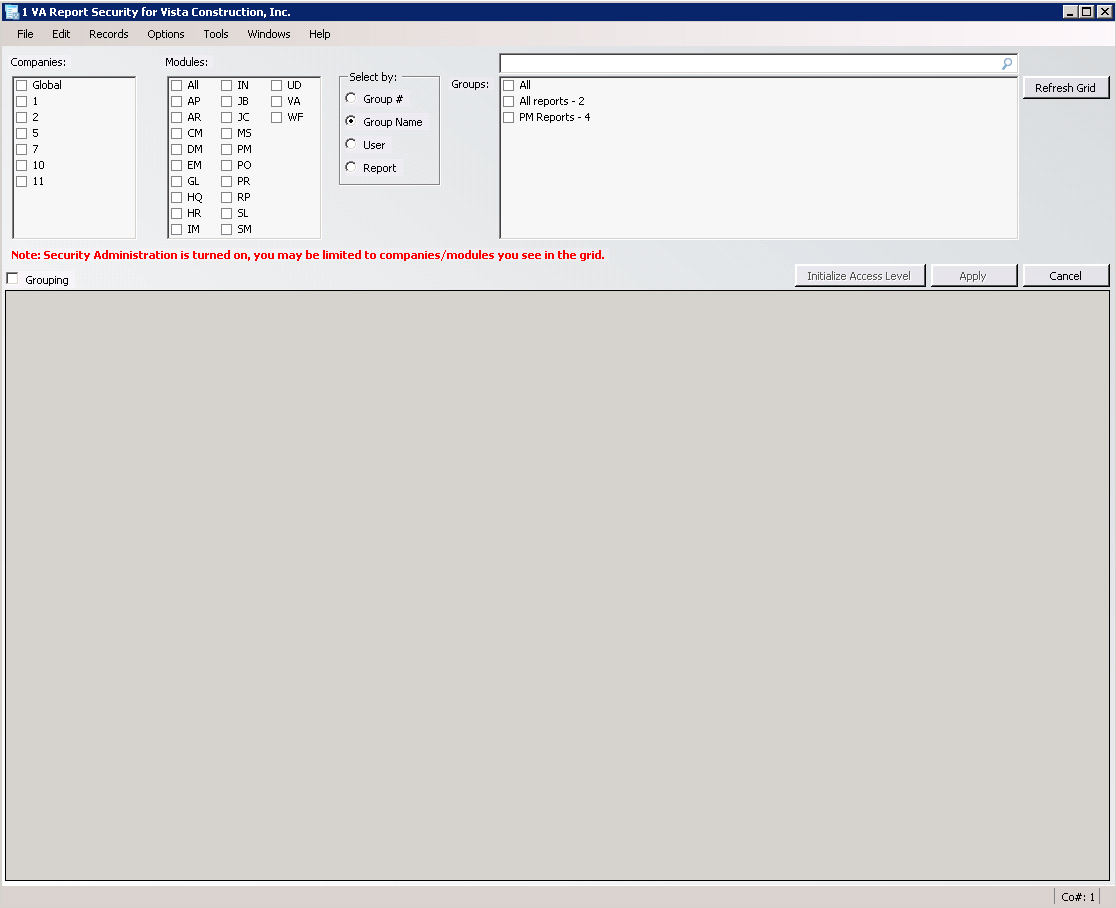
4.In the Companies box, click to check the Company number.
5.In the Modules box, click to check PR.
6.In the Select by box, click to check User.
7.In the Users box, click the previously identified Bridge User.
8.Click Refresh Grid.
The bottom half of the VA Report Security window will resemble the following:

9.Click the Grouping check box.
A grid displays similar to the following:

10.From the grid, locate and select the first of the two reports identified earlier in this process.
In this example: PR Check Print Stub by Employee
11.In the Access column for PR Check Print Stub by Employee, use the dropdown to select ALLOWED.
This gives the Bridge User permission to generate the report.
12.From the grid, locate and select the second of the two reports identified earlier in this process.
In this example: PR EFT Remittance by Employee
13.In the Access column for PR EFT Remittance by Employee, use the dropdown to select ALLOWED.
This gives the Bridge User permission to generate the report.
The completed VA Report Security window should resemble the following:

14.Click Apply.
The following prompt will display:

15.Click Close.
16.On the VA Report Security window toolbar, click File.
17.From the dropdown menu, click Close.
18.From the Main Menu screen toolbar, click File.
19.From the dropdown menu, click Exit.