In Vista
1.From the Main Menu navigation screen, click Payroll in the left navigation bar.
2.Click Programs.
3.In the Forms listing, double click PR Employee Pay Seq Control.
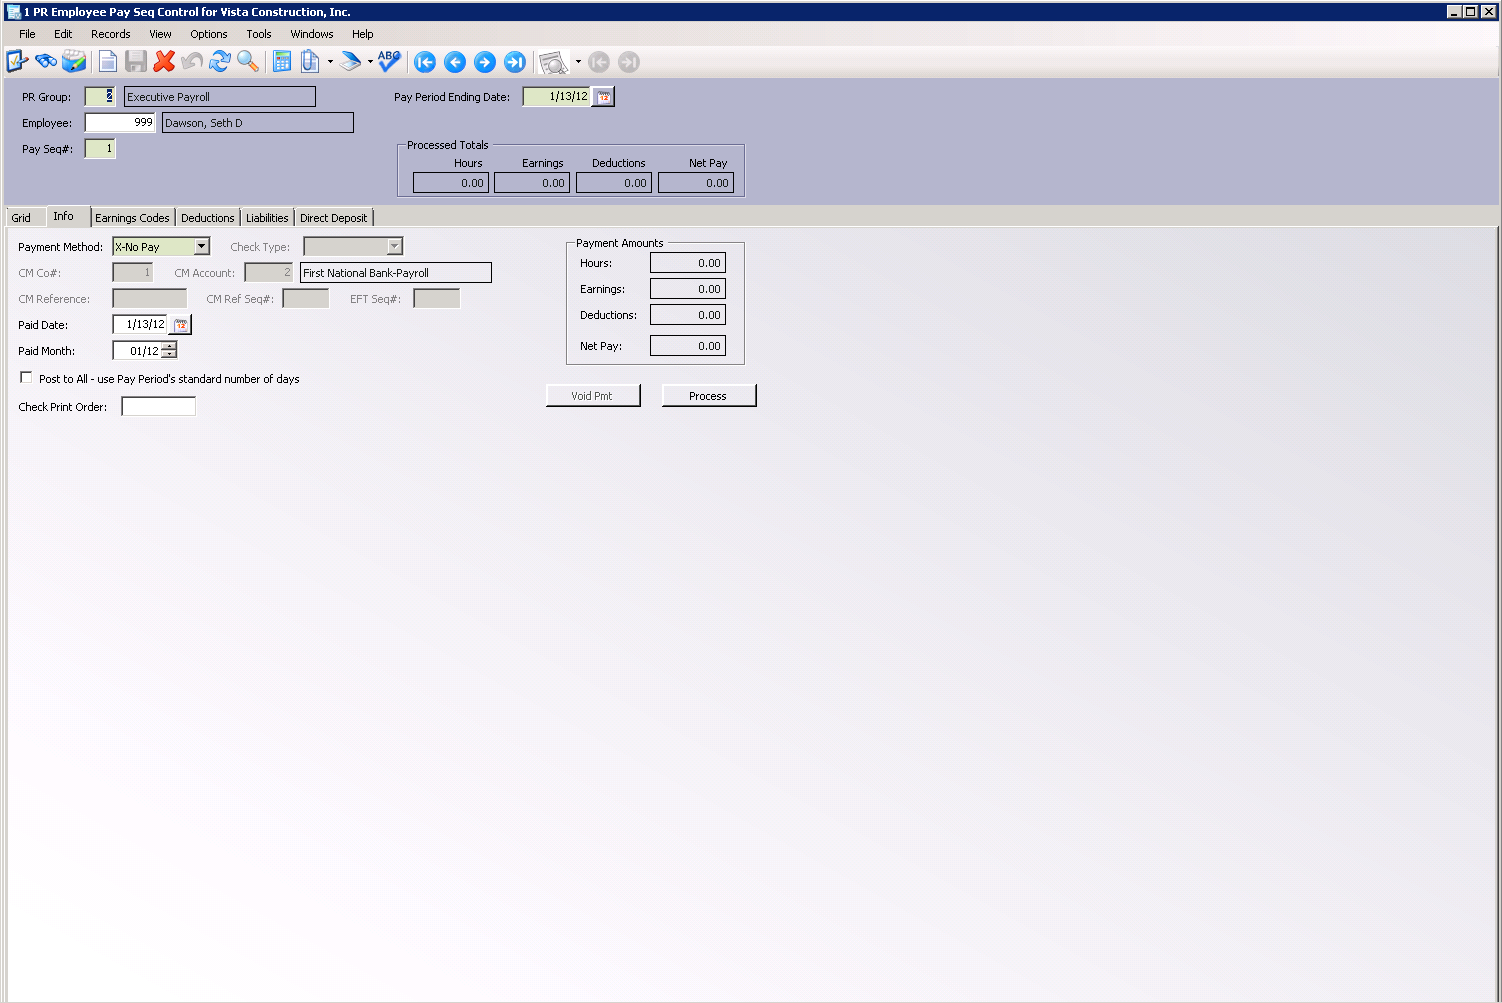
The PR Employee Pay Seq Control screen similar to the following displays:
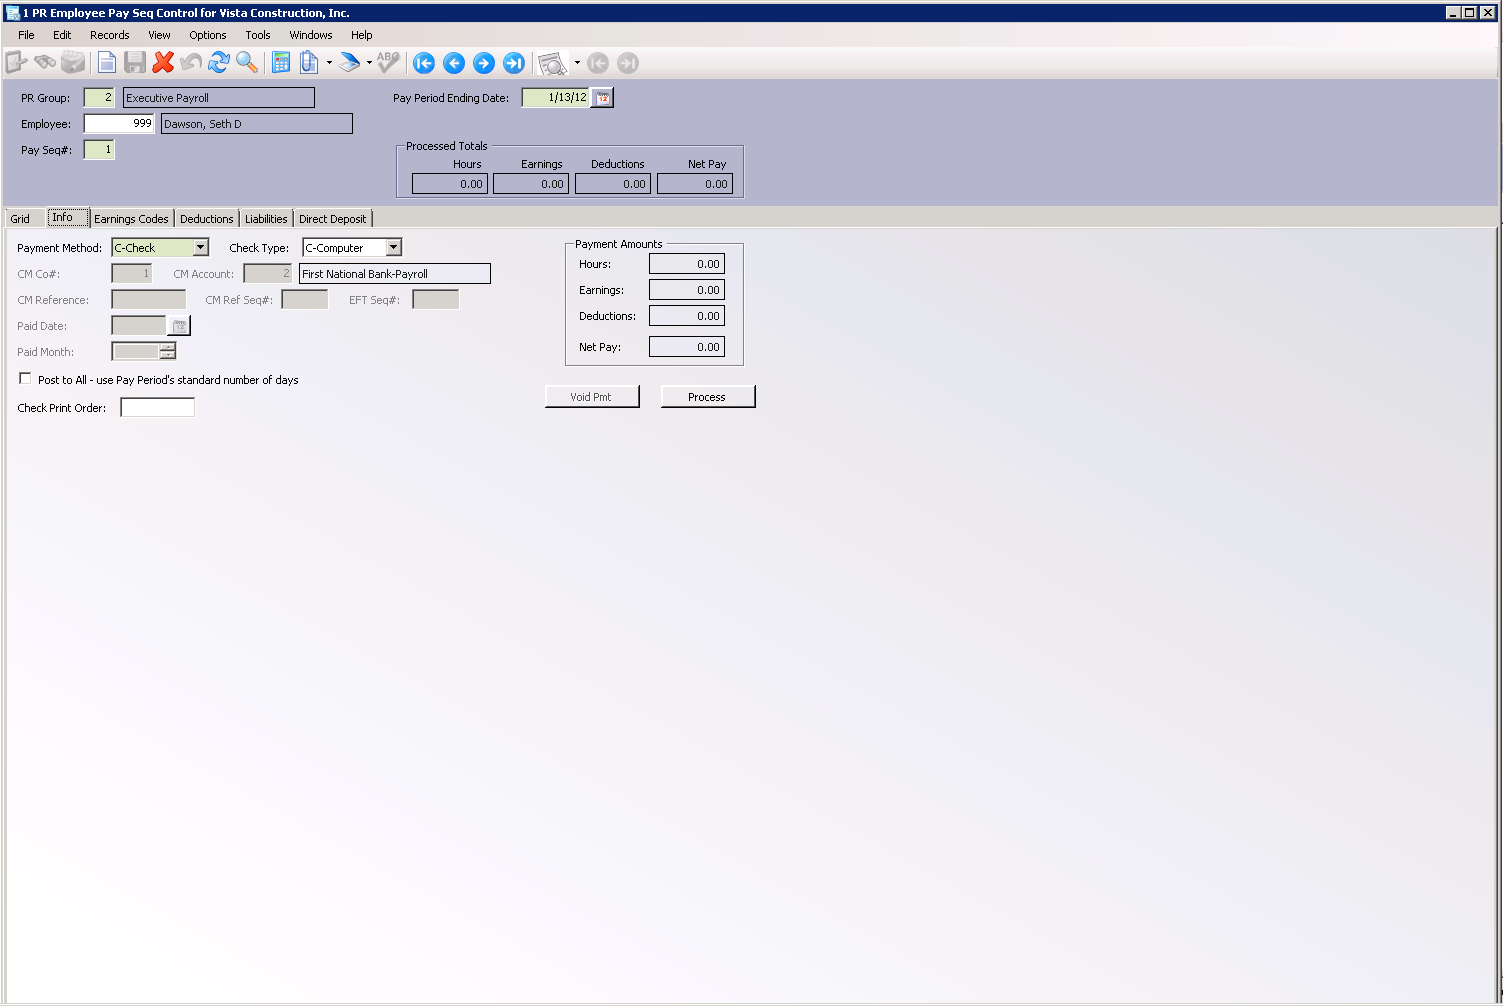
4.In the Info tab, Payment Method field, use the dropdown to select C-Check.
5.In the Check Type field dropdown, select C-Computer.
The PR Employee Pay Seq Control screen should resemble the following:
6.Click Process.
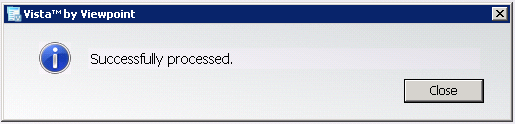
A prompt indicates the entry was successfully processed displays:
7.Click Close.
8.On the PR Employee Pay Seq Control screen toolbar, click File.
9.From the dropdown menu, click Close.
10.In the Forms listing, double click PR Check Print.
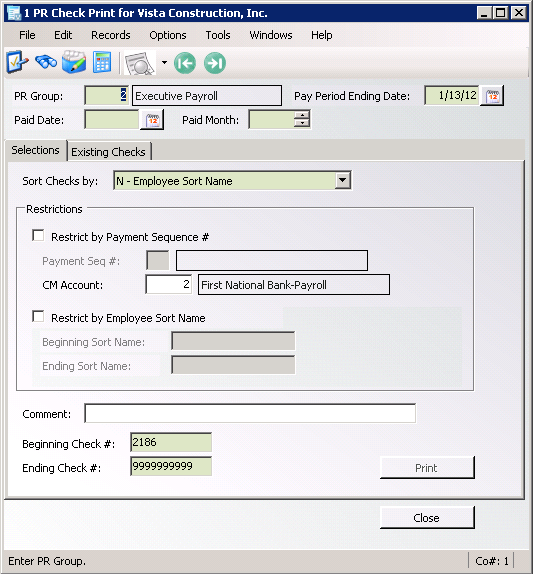
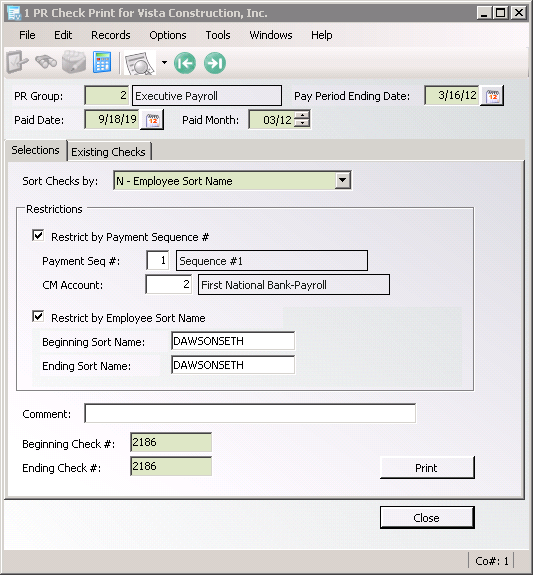
The PR Check Print dialog box similar to the following displays:
11.In the Paid Date field, use the calendar to select the appropriate date.
12.In the Pay Period Ending Date field, use the calendar to select the appropriate date.
13.Click to select Restrict by Payment Sequence #.
14.In the Payment Seq # field, enter the sequence number.
In this example, 2 is the payment sequence number.
15.In the CM Account field, enter the appropriate bank account.
16.Click to select Restrict by Employee Sort Name.
17.In the Beginning Sort Name field, click F4 to display a list of employee names.
18.Click on the employee name. The Beginning Sort Name field will systematically fill.
19.In the Ending Sort Name field, click F4 to display a list of employee names.
20.Click on the employee name. The Ending Sort Name field will systematically fill.
21.Verify that a check number displays in the Beginning Check # field.
The PR Check Print window should resemble3 the following for fields entered, etc.:
22.Click Print.
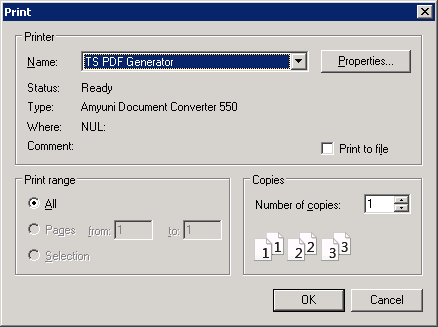
The Print dialog box displays:
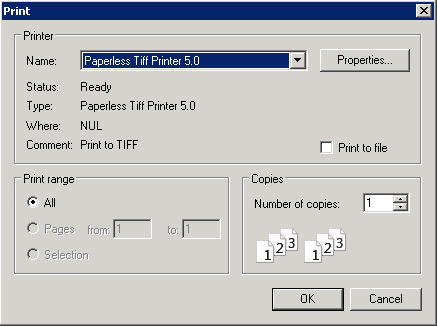
23.From the Name field dropdown, select TS PDF Generator.
Internal Note: Because there is no printer attached to the in-house version of Vista, a series of error prompts display:
- Printer not activated, error code -30
- Sending to print . . . failed: The device is not ready
Click Close to each prompt.
The print non-negotiable copies prompt displays:
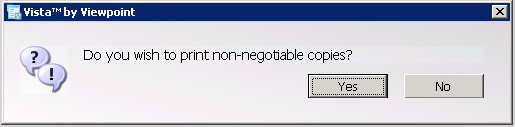
24.Click Yes.
The following reminder prompt displays:
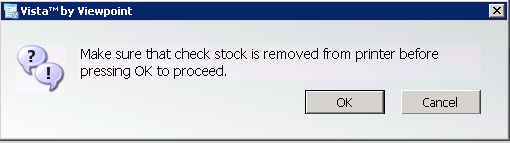
25.If appropriate, remove check stock.
26.Click OK.
The Print dialog box similar to the following redisplays:
27.From the Name field dropdown, select TS PDF Generator.
The printer error prompts will redisplay.
28.Click OK.
In pVault®
Verify the payroll check generated.
1.From the ribbon toolbar, click Retrieve.
2.Click Search,  .
.
The Search Utility screen similar to the following displays with the Search tab active:
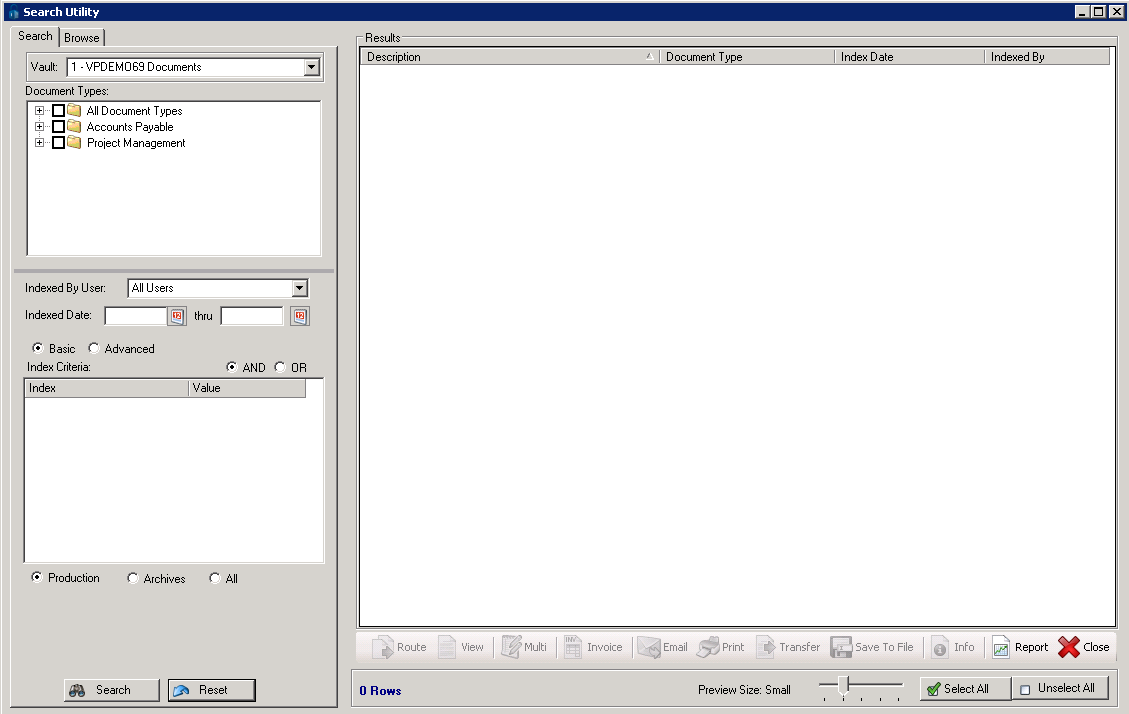
3.Click the All Document Types check box to select every document type.
4.In the Indexed Date field, click the calendar to select the date the batch was indexed.
5.Click Search.
The non-negotiable check should be listed similar to the following:
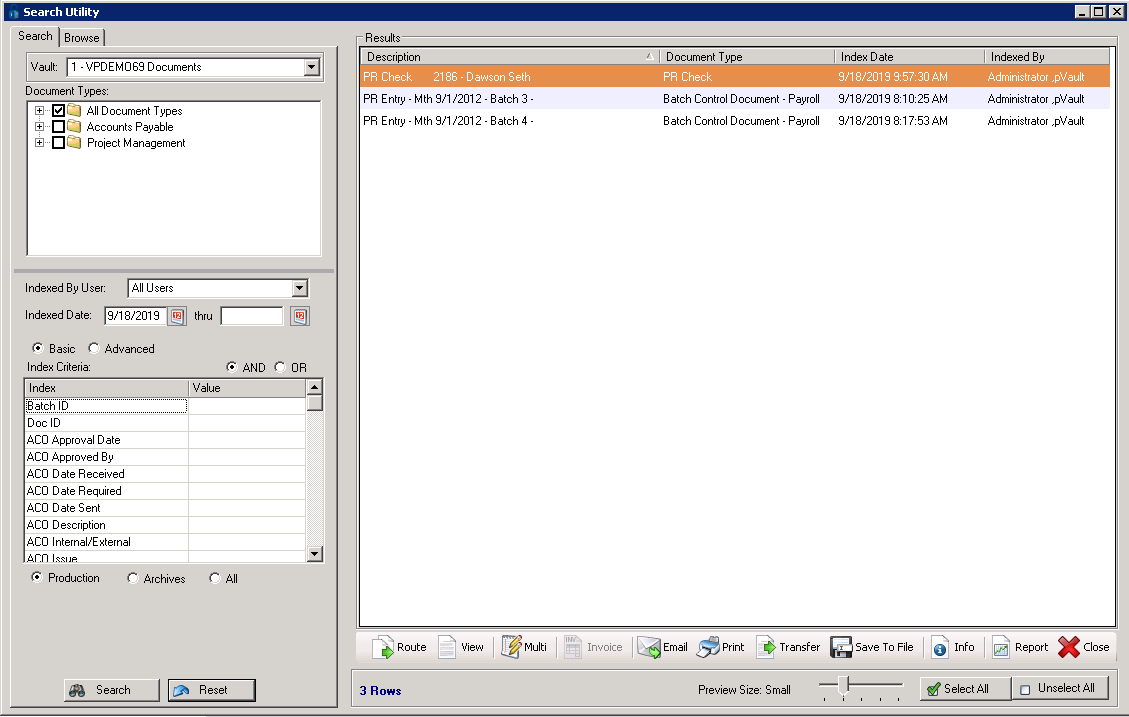
6.Click the PR Check entry.
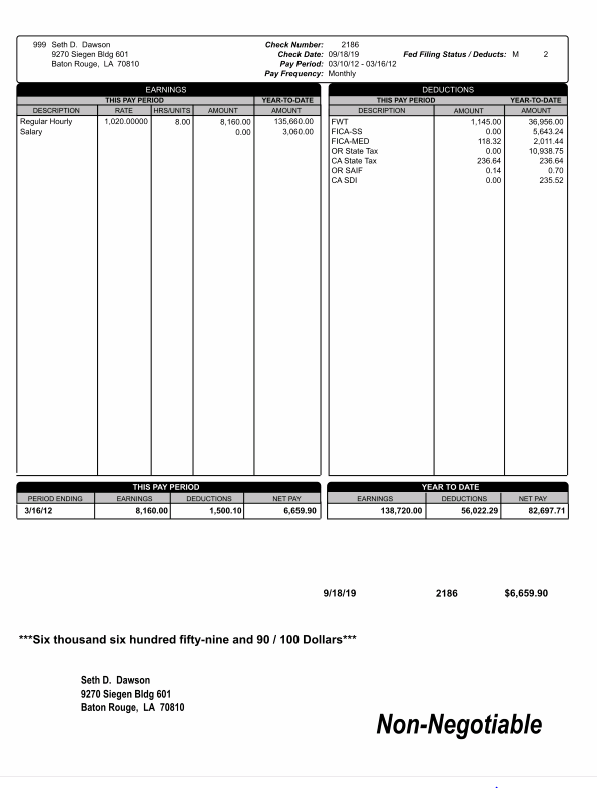
The report will resemble the following:
7.Close the report.