RFMS can be integrated with pVault® to store all documents in pVault® but still be accessible in RFMS through the paperclip.
1.Click the RFMS desktop icon,  .
.
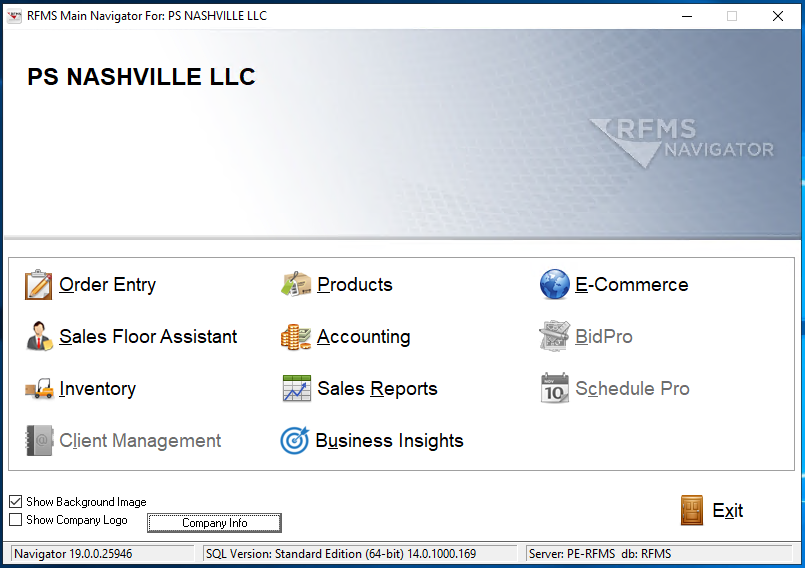
The RFMS Main Navigator screen for a specific location similar to the following displays:
2.Click the appropriate task-related icon.
A screen, based on the task-related icon clicked on the RFMS Main Navigator screen, similar to the following displays:
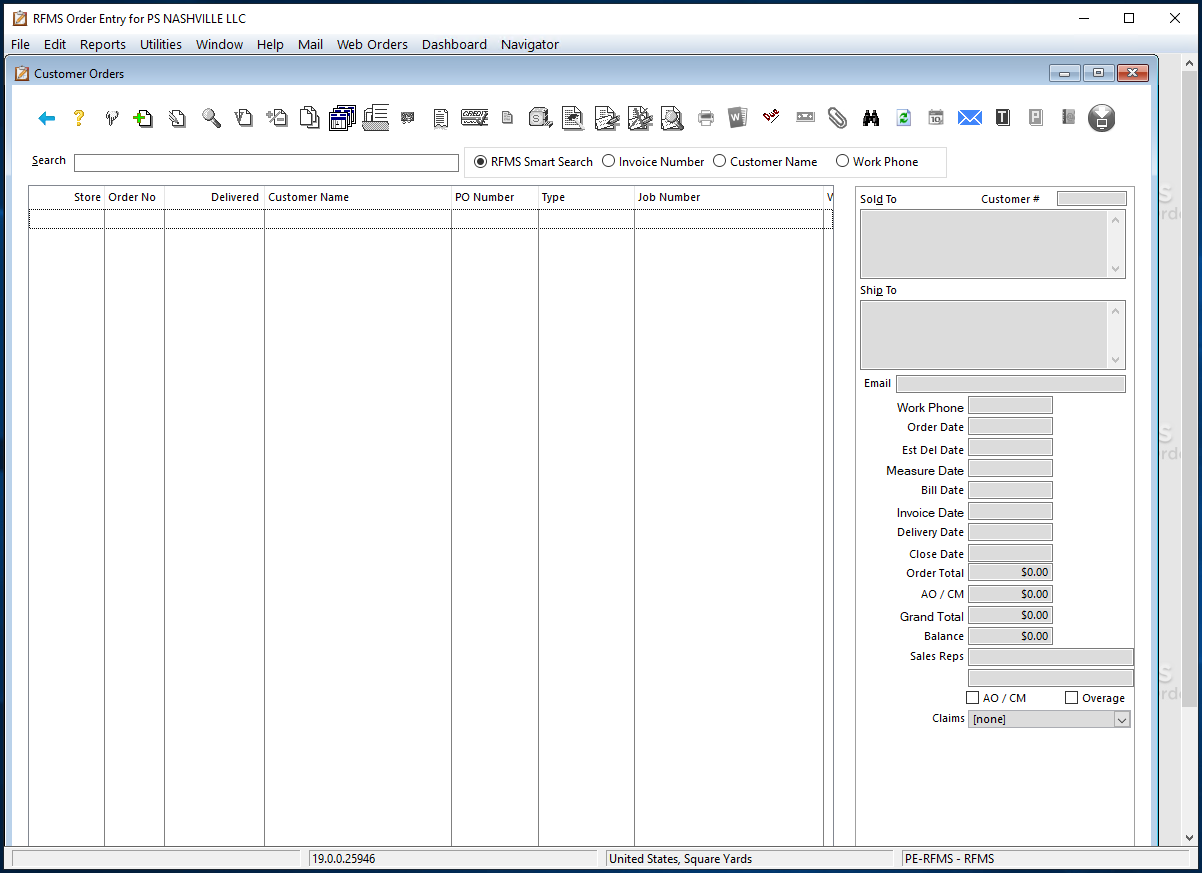
Note: This screen is associated with the Order Entry icon.
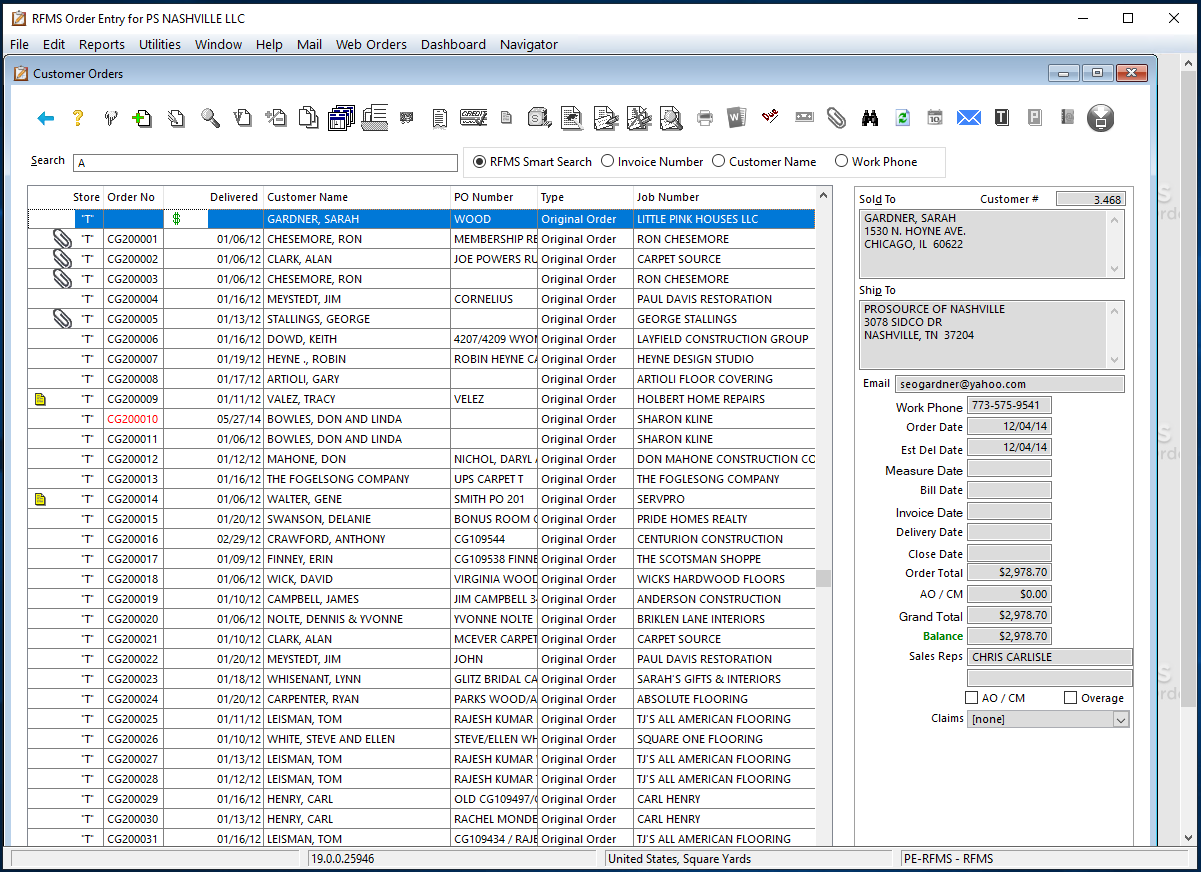
3.In the Search field, enter search criteria.
4.Click Enter.
The Customer Orders window similar to the following displays:
Associated Entry Icons
Icon |
Column |
Description |
|
Store |
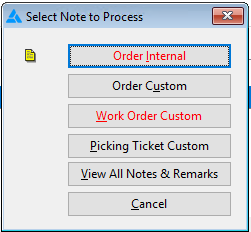
Indicates one or more note(s) are associated with this entry. Click the icon in the toolbar to access the Select Note to Process dialog box similar to the following:
Note: The red font indicates the type of existing note(s). |
|
Store |
Indicates one or more document(s) are attached to this entry for the line level, the header level or both. |
|
Delivered |
Indicates that there is a credit amount in the Balance Due field. |


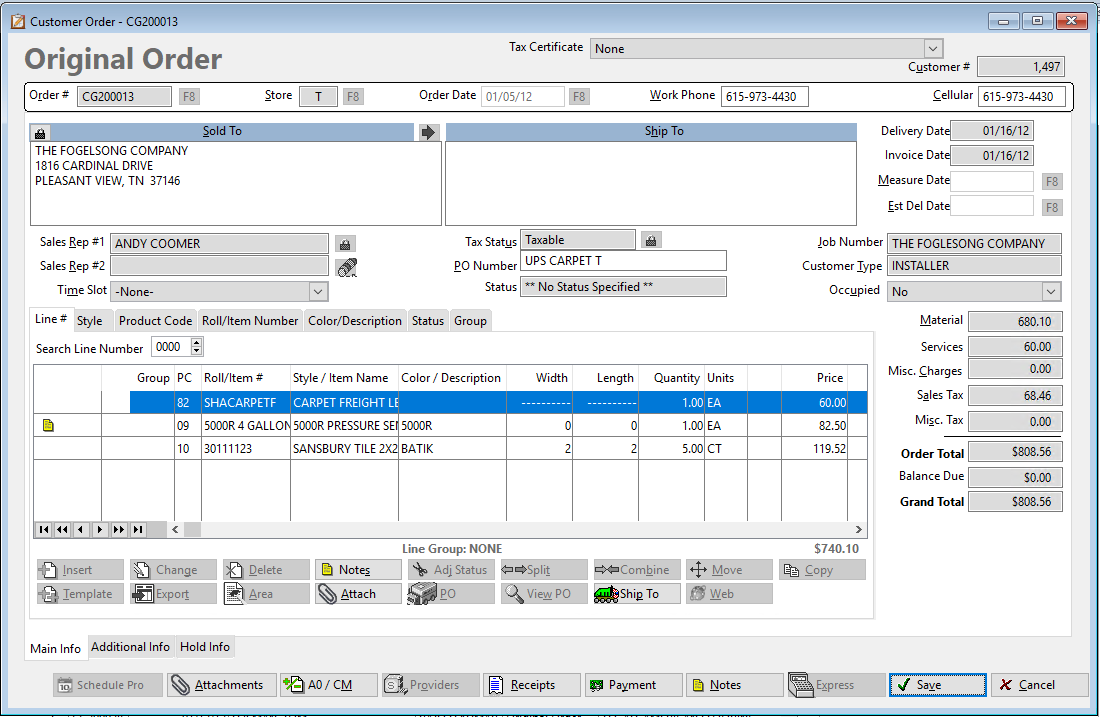
5.Click on a row to display the Original Order, similar to the following or to drill down into the order:
6.To view attached documents at the line level, click  , located in the Line Group area.
The Attachments window similar to the following displays:
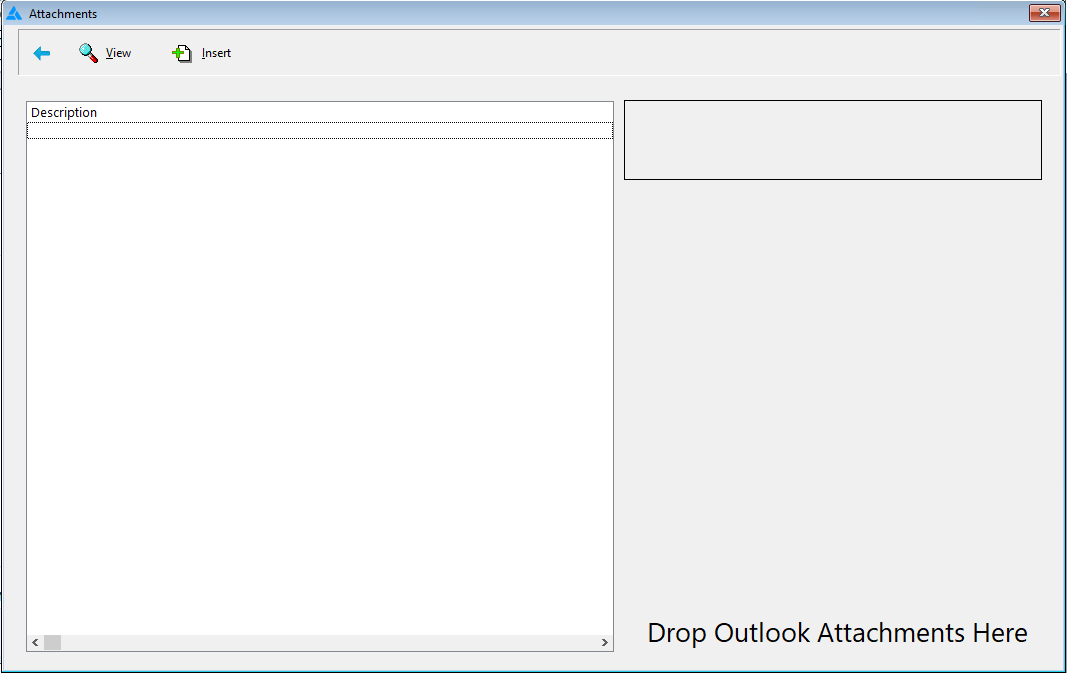
No attached documents exist at the line level for this particular order.
7.To view attached documents at the header level, click  , located in the Main Info area.
In this specific instance, attached documents exist and the Attachments window similar to the following displays:
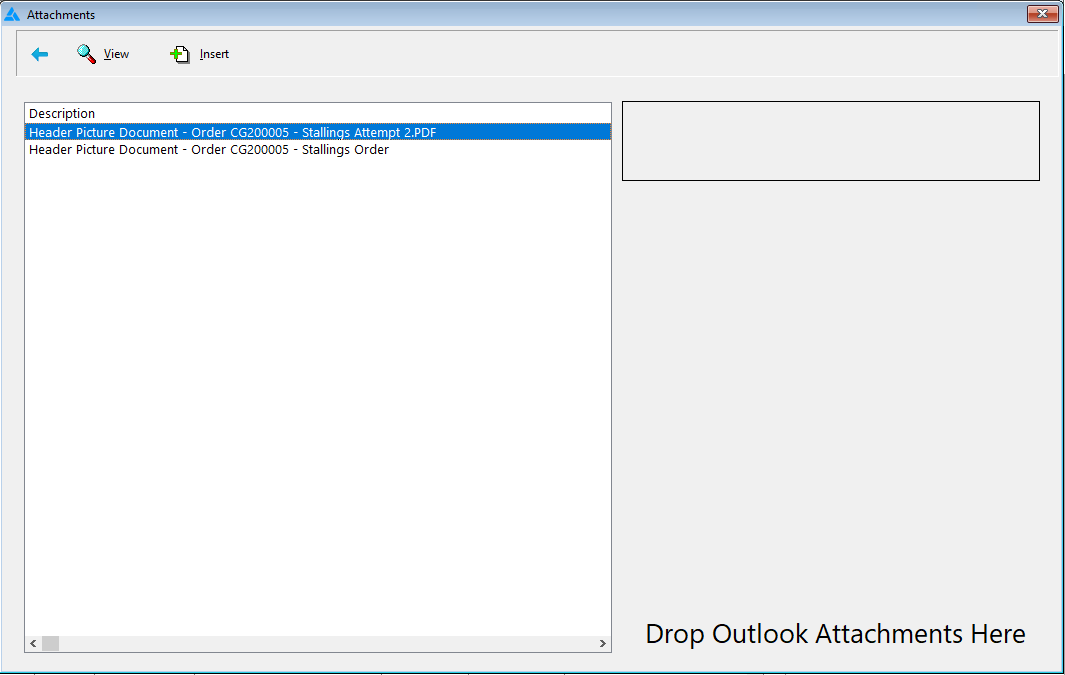
8.Click to highlight an entry in the Description pane.
9.Click View,  .
.
The document may resemble the following:
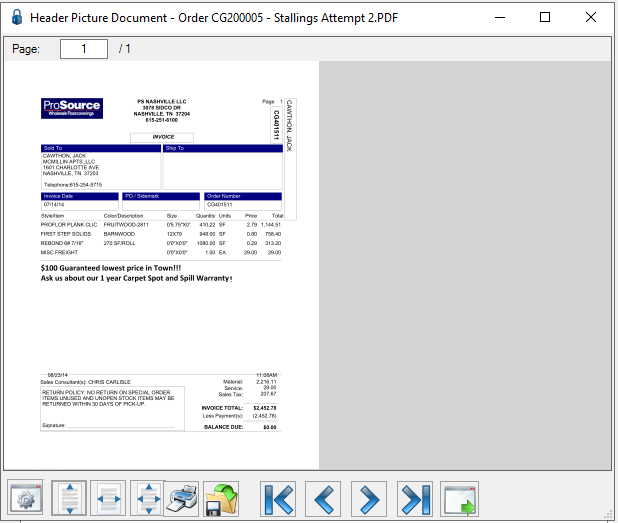
10.If appropriate, click the Fit to Height icon,  , so the image is more readable similar to the following:
Configuring an Attachment Point
1.Click the Configure Attachment Interface icon,  .
.
The Configure Table dialog box similar to the following displays with the Document Categories tab active:
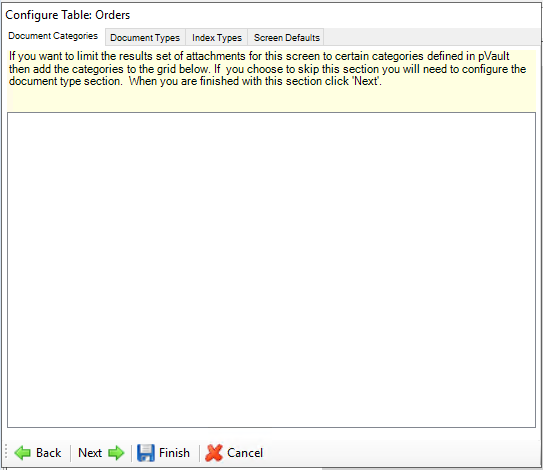
To narrow the filter to specific categories that are defined in pVault®, add the document categories in the text box.
If no specific categories need to be added, move to the next tab and leave the text box blank.
2.Click Next to move to the Document Types tab.
A window similar to the following displays:
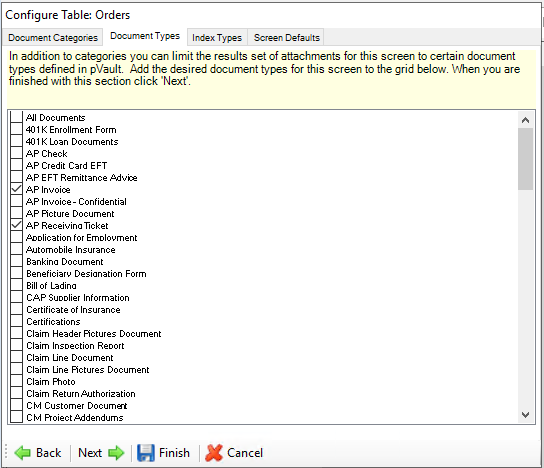
The checked document types are the default selections. Click to select more, if necessary, or accept selections and move to the next tab.
Note: At least one document type must be selected.
3.Click Next to move to the Index Types tab.
A window similar to the following displays:

Existing entries are based on the selections made on the Document Types tab.
4.Map the data values entered in RFMS with index values configured in pVault®. Use the field dropdowns to make the appropriate selections.
The left two columns display the table and column name of all RFMS data fields on the current form. The right two columns are used to map these data fields to index values set up in pVault®. In addition, the Config Type column is a key factor in determining if pVault® should be searched based on the submitted value (Search), if the document should be indexed with the submitted value (Index), or both (Both).
When pVault® receives a search request from RFMS, such as when the paperclip is clicked on a form, it looks at the configuration values for that form and performs a search for all index fields set to Search or Both. If a document is sent to pVault® for indexing, the index values are filled in with data from the RFMS form for every index field set to Index or Both.
5.Click Next.
A window similar to the following displays:
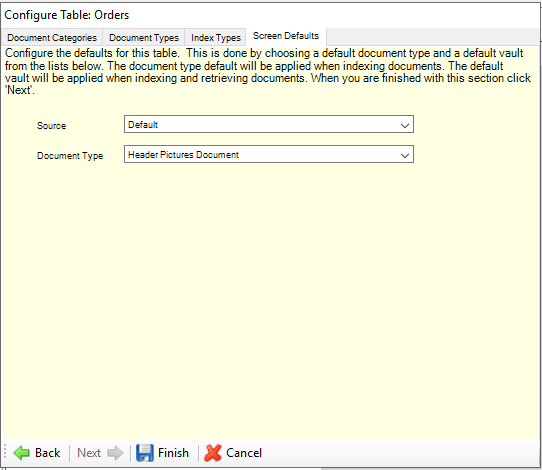
Important: Completing this dialog box is optional.
Go here if setting a default document type for a specific form such as Job Photo.
6.In the Source field, keep Default, which is the RFMS program and is based on the RFMS application. Other sources available from the dropdown are MOE (Mobile Order Entry), Customer API or Measure.
7.In the Document Type field, the default is based on the Source field. Use the dropdown to choose a document type to display on the pVault® indexing screen when sending a document to pVault® for indexing, or keep the default document type.
8.Click Finish.
Warning: If dragging and dropping a document type other than the document default, the defaults will override.
The Attachments View window similar to the following redisplays:
9.Click the Send to Paperless Application icon,  .
.
Note: If all required indexes are not systematically backfilled based on the configuration, the document will open in pVault® with the Index Document form active to allow information to be entered in the missing required fields.
The pVault® login window displays.
10.Log into pVault®.
The ribbon toolbar displays with the Home tab active.
11.Click the Indexer icon,  .
.
The Index Document window similar to the following displays:
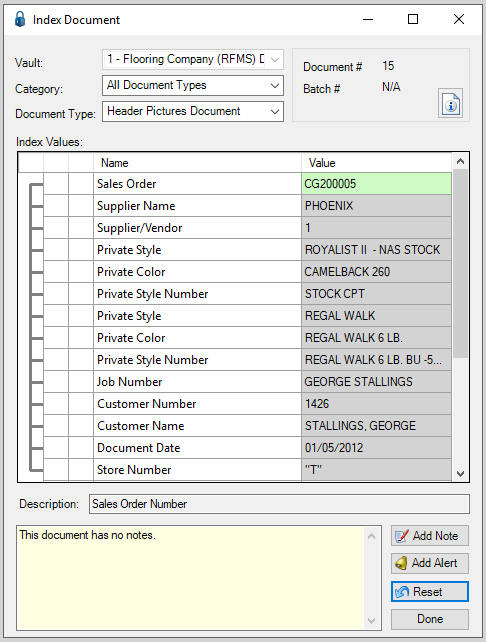
Notice that Index Values are backfilled.
12.Click the Document Info icon,  .
.
The Document Information dialog box similar to the following displays with the Document tab active.
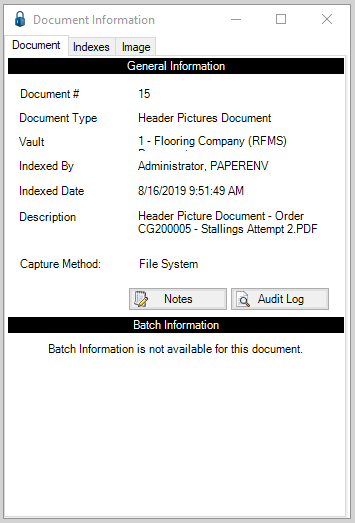
13.Review the General Information.
14.Click the Indexes tab.
The Document Index Information similar to the following displays:
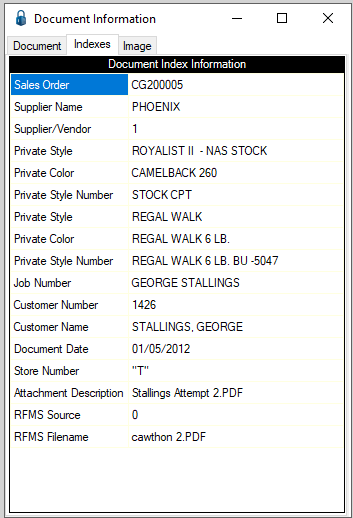
15.Review the index values detailed here.
16.Click Image.
The Image Information similar to the following displays:
17.Review the file size and number of pages in the document here.
18.Click the X in the upper right corner of the dialog box.
19.If no changes are needed on the Index Document window, click Done.