Within RFMS, you can turn on the barcode feature that will embed the CG (Sales Order) number which triggers the backfills in the Index table. The backfills are set up based on specific customer requirements and can include date, amount, etc. The barcode itself is located at the bottom of the document. Once the barcode is printed on the document, pVault® will scan and index it systematically.
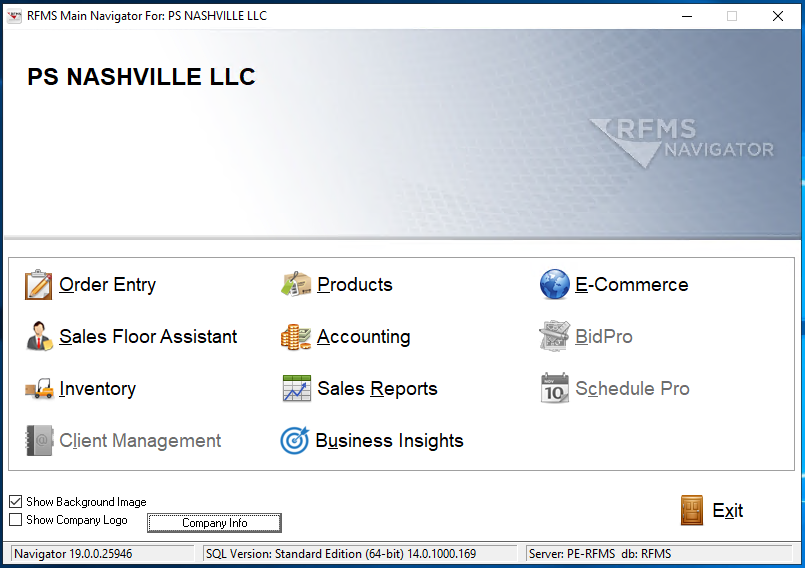
1.Click the RFMS desktop icon,  .
.
The RFMS Main Navigator screen for a specific location similar to the following displays:
2.Click the appropriate task-related icon.
A screen, based on the task-related icon clicked on the RFMS Main Navigator screen, similar to the following displays:
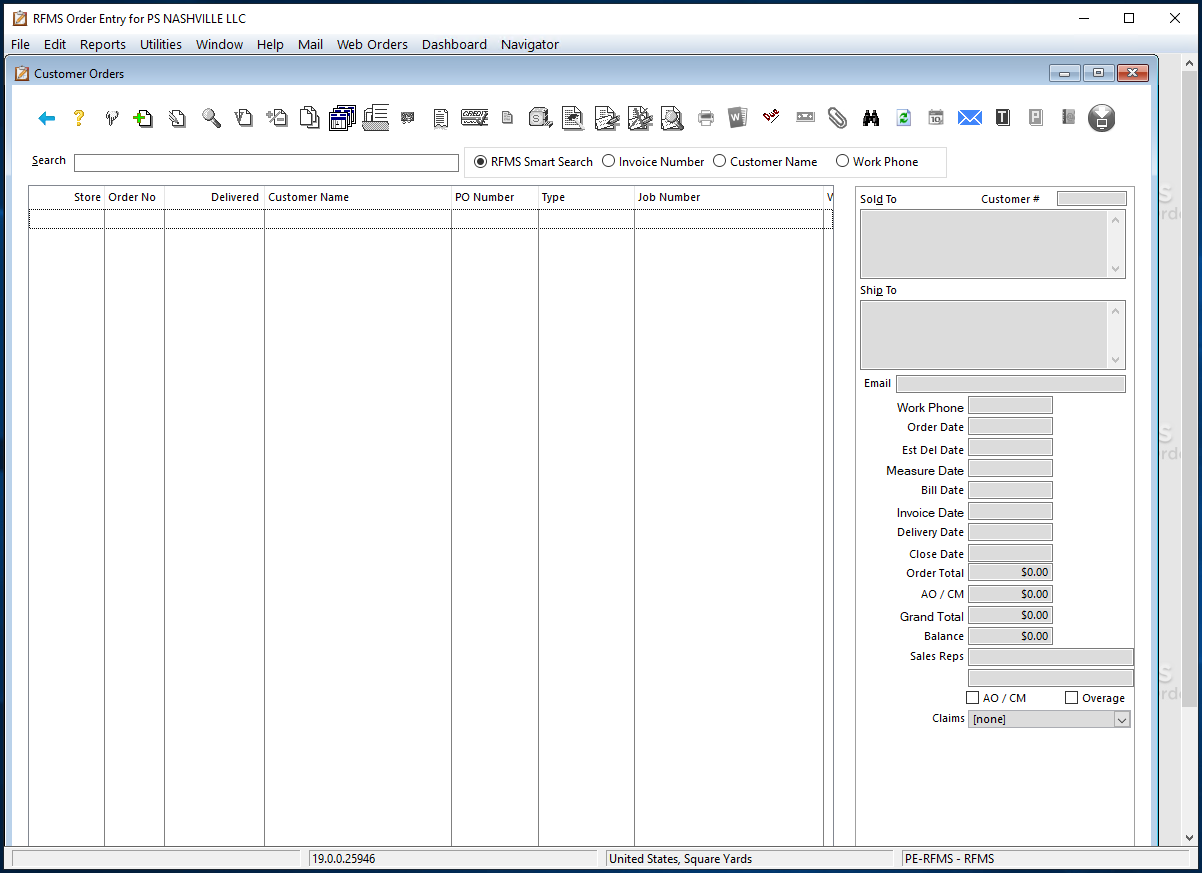
Note: This screen is associated with the Order Entry icon.
3.From the toolbar, click Utilities.
4.Click System Options.
The Browse System Options screen similar to the following displays:
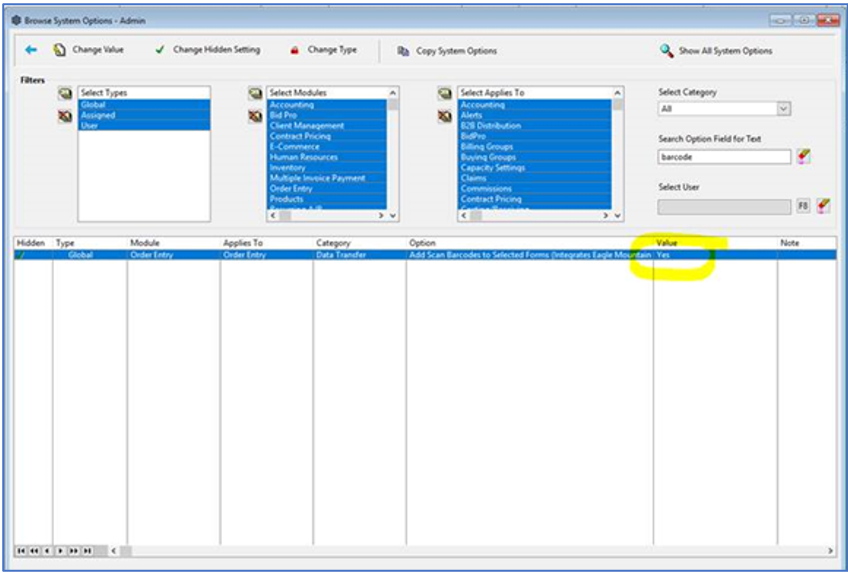
5.In the Search Option Field for Text, select barcode.
6.In the Value column, enter Yes.
7.Return to the Utilities screen.
8.Click Printing Purchase Orders.
The window similar to the following displays:
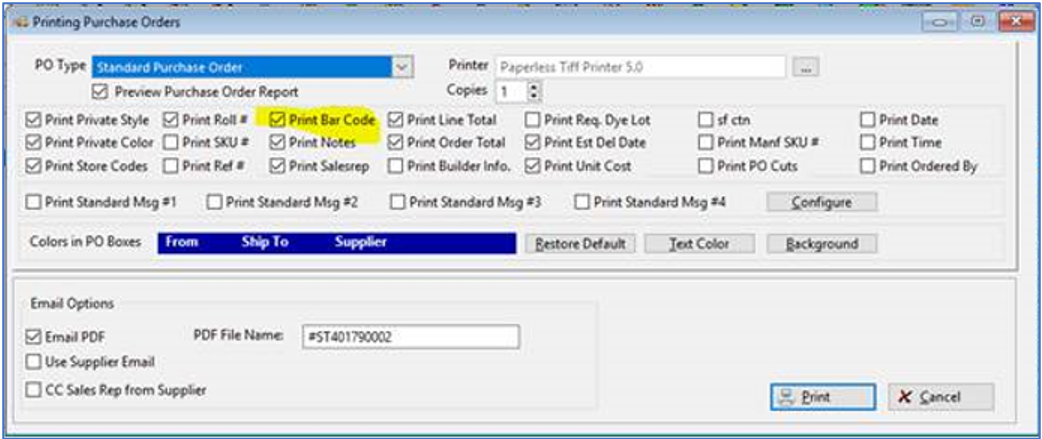
9.From the PO Type field dropdown, select Standard Purchase Order.
10.Check to select Print Bar Code.
11.Click Print.