In pVault®
1.From the ribbon toolbar, click APFlow™.
2.Click Invoice Entry, ![]() .
.
The Invoice Entry screen similar to the following displays:
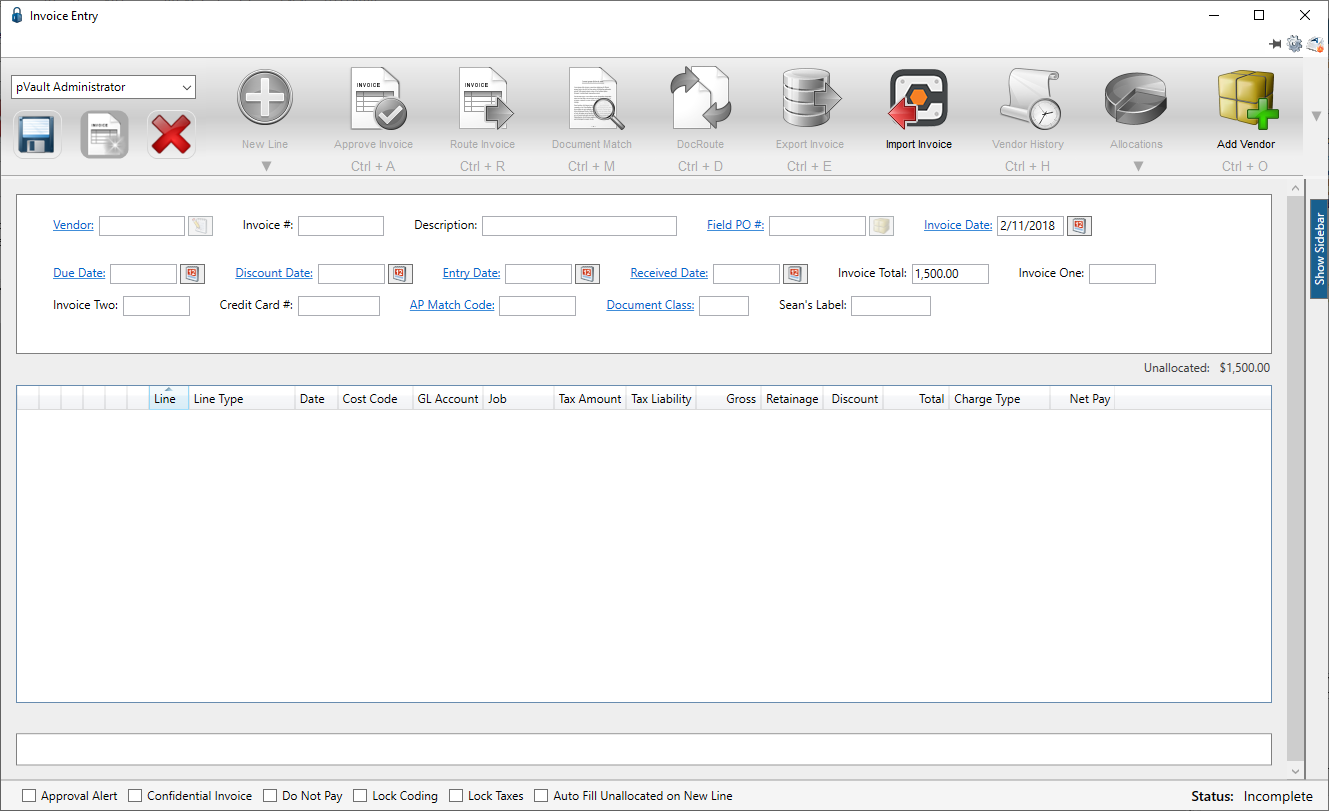
The Discount Date field displays in the header pane similar to the following:

In Sage 300
Default terms and correct Discount date are based on selected vendor and Accounting date. The Accounting date can be the invoice date or the Received date, based on Invoice settings. If the Accounting date is set to the Received date, there is an additional setting for calculating discount and payment dates based on the Invoice date or the Date Received. If the user selects Entry Date as the Accounting Date (in the Advanced Bridge settings), the defaults are based on the Invoice date.
The setting must be set first, and then the number of days must be entered.
1.In the Accounts Payable module, from the ribbon toolbar, click File.
2.From the File dropdown menu, click Company Settings.
3.Click AP Settings.
The AP Settings window similar to the following displays:
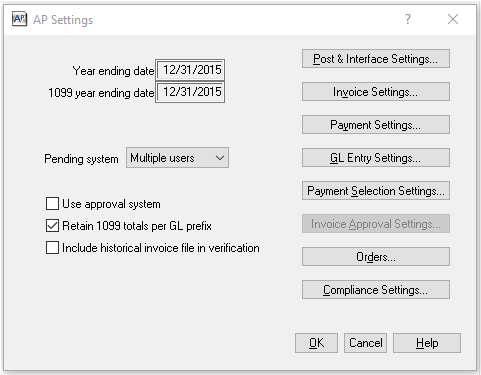
4.Click Invoice Settings.
The following AP Settings - Invoice Settings window similar to the following displays:
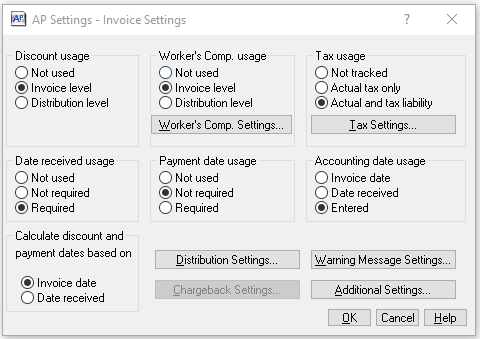
5.In the Discount usage box, the Invoice level radio button will be selected.
6.In the Calculate discount and payment dates based on box, either the Invoice date radio button will be selected or the Date received radio button will be selected.
Entering the Number of Days
1.In the Accounts Payable module, from the ribbon toolbar, click Setup.
2.From the Setup dropdown menu, click Vendors.
The Vendor Setup window similar to the following displays with the General tab active:
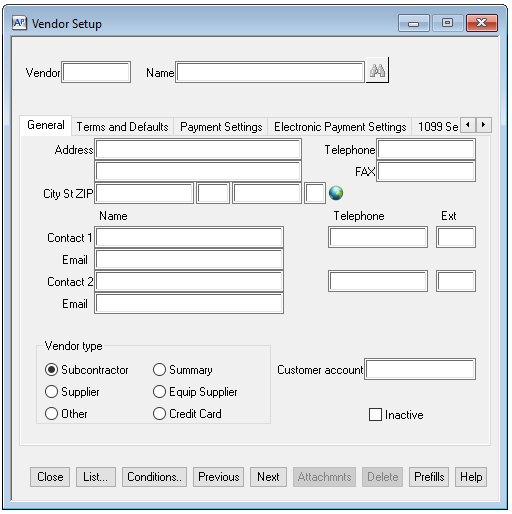
3.Fill in the Vendor field.
4.Click the Terms and Defaults tab.
The window similar to the following displays:
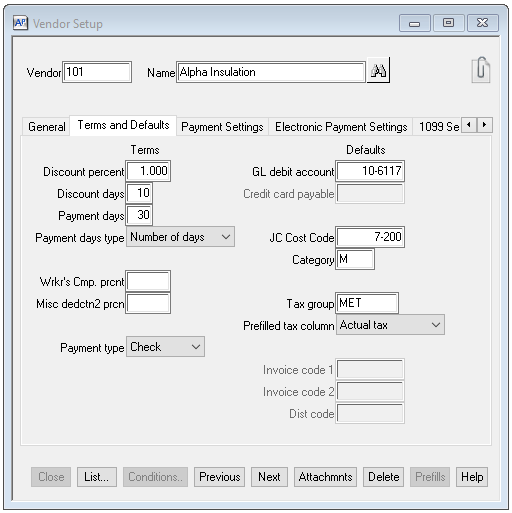
The number entered in the Sage Discount days field will display in the pVault® Discount Date field as a date.