In Sage
1.Log in to Sage Accounts Payable.
The Accounts Payable screen similar to the following displays:

2.From the ribbon toolbar, click File.
3.From the dropdown menu, click Company Settings.
4.From the dropdown menu, click AP Settings.
The AP Settings window similar to the following displays:
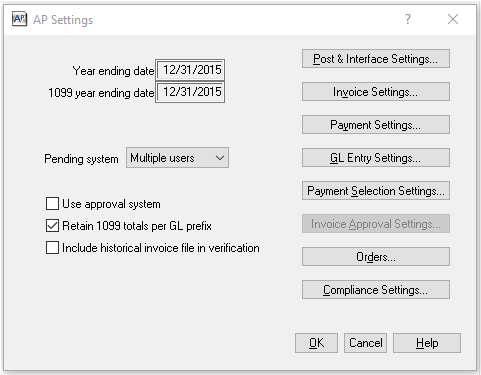
5.Click Invoice Settings.
The AP Settings - Invoice Settings window similar to the following displays:
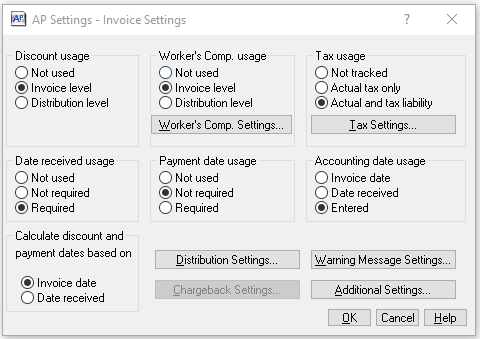
6.Click Additional Settings.
The AP Settings - Additional Settings dialog box similar to the following displays:
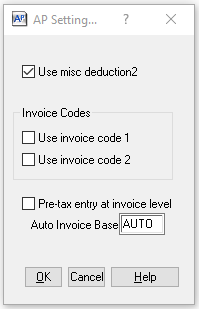
7.Click to select Use invoice code 1.
If applicable, click to select Use invoice code 2.
8.Click OK.
9.Click OK to close the AP Settings - Invoice Settings window.
10.Click OK to close the AP Settings window.
11.Click the X to close out of Sage Accounts Payable.
In pVault®
1.In the ribbon toolbar, click APFlow™.
2.Click Manage APFlow™,  .
.
The Manage AP Flow screen similar to the following displays with the General tab active:
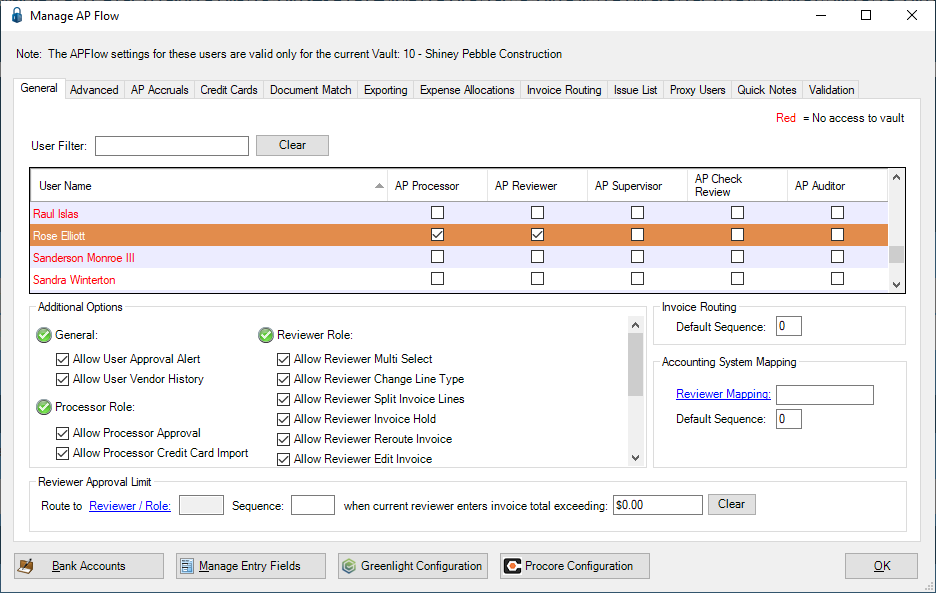
3.Click the Advanced tab.
The window similar to the following displays:
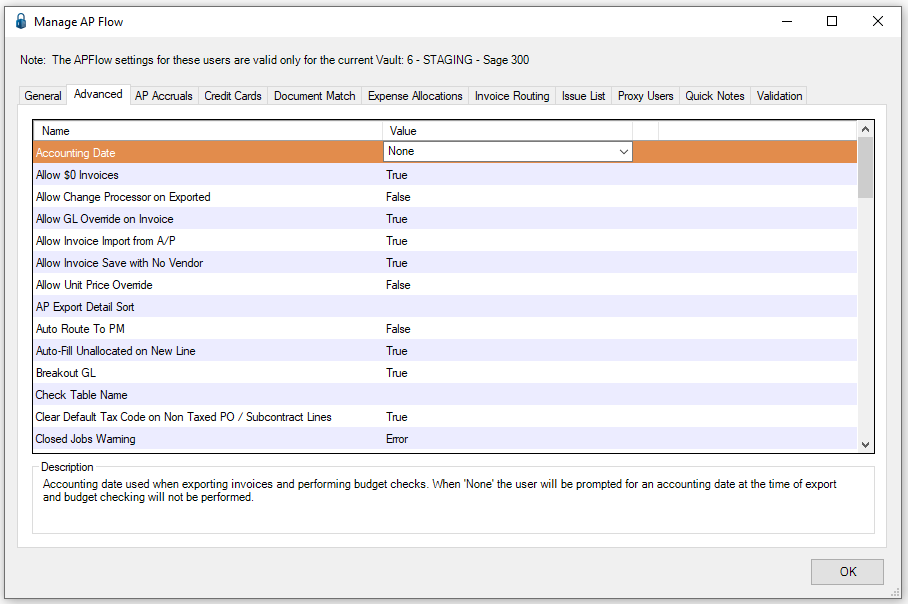
4.Scroll through the Advanced Bridge settings to locate Invoice Code 1 Field Name and Code 2 Field Name (if applicable).

5.In the Value column, enter a label to associate with the invoice code field.
6.Click OK.
The Invoice Code 1 and Invoice Code 2 (if appropriate) fields will display in the invoice header similar to the following:

Values entered in the associated Invoice Code 1 and Invoice Code 2 (if appropriate) fields will export to Sage 300 Accounts Payable when the invoice is exported.