1.From the ribbon toolbar, click Image.
2.Click Insert Pages,  .
.
The Insert Page utility displays:
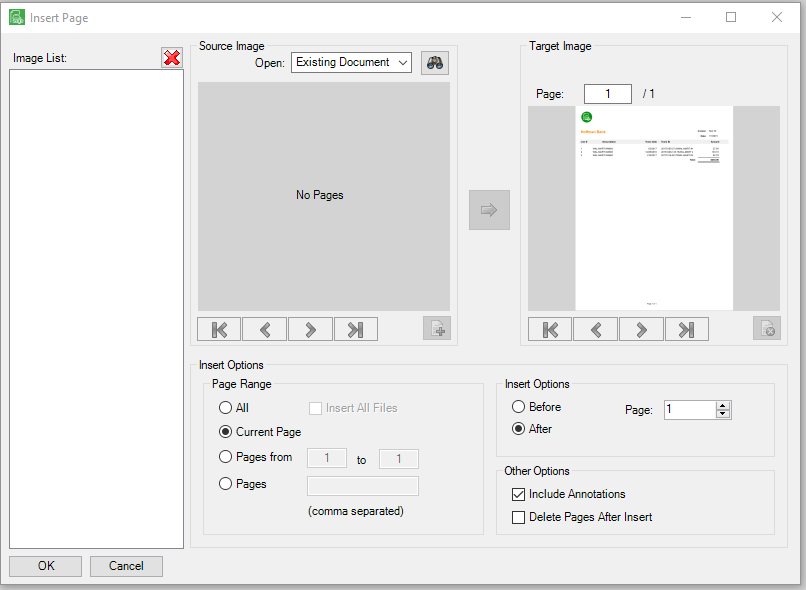
Notice there are two areas for document displays:
•Source Image - where the pages are coming from displays in the left pane.
•Target Image - where the pages are going to displays in the right pane.
3.In the Open field, click the dropdown list to select the Source Image type.
Select from the following options:
•Existing Document - an existing indexed document stored in Sage Paperless Construction.
•Existing Batch - an existing, pending batch currently in Sage Paperless Construction.
•Existing File - any file that can be located on the local machine or network.
•Recent History - from a file listed in the recent history listing.
•Scan an Image - use the scanner to scan in the document from which to insert.
4.Click  to begin the selection process.
➢If Existing Document was selected, a Search Utility window similar to the following displays:
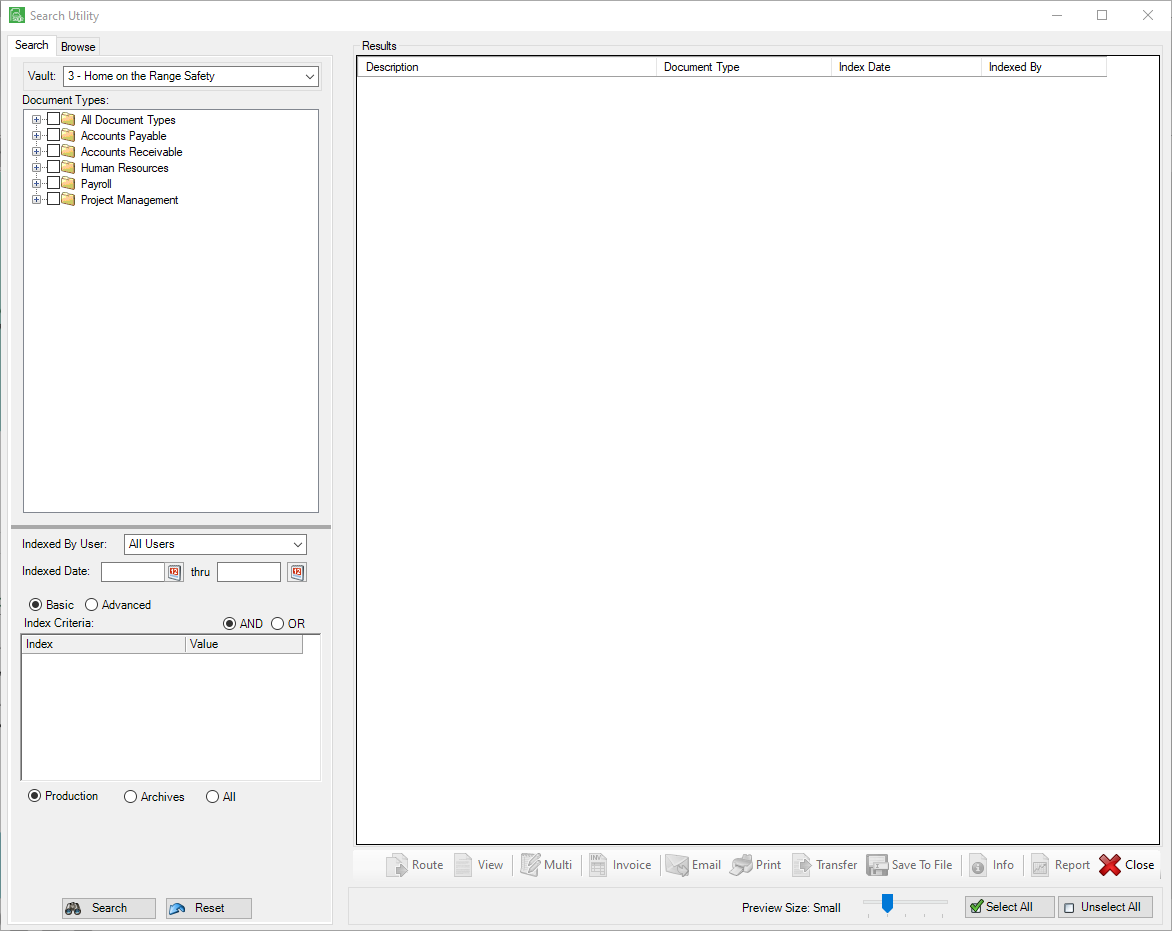
Open up the folder tree in the left pane to view the available file(s) in the right pane.
The Search Utility window similar to the following displays:

Highlight the file(s) and then click Send.
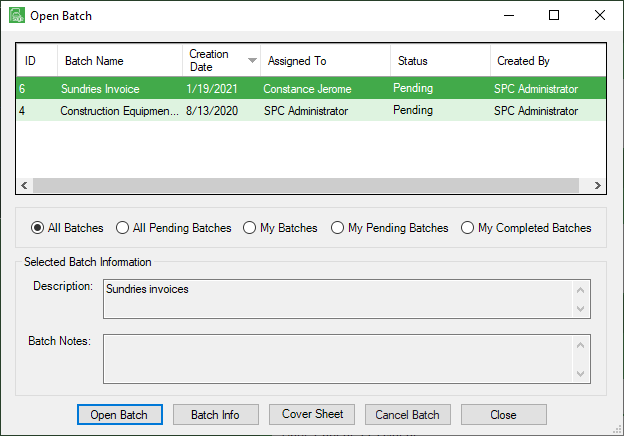
➢If Existing Batch was selected, an Open Batch dialog box similar to the following displays:
➢If Existing File was selected, the user's Open window similar to the following displays:

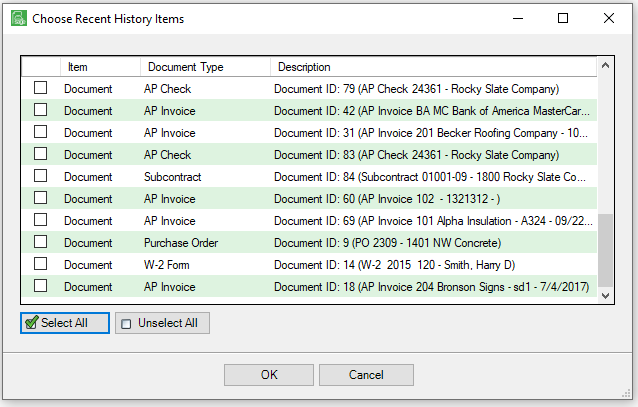
➢If Recent History was selected, a Choose Recent History Items dialog box similar to the following displays:
➢If Scan an Image was selected, a Capture Utility window displays.
No matter how the document, file, batch is identified in the Open field of the Source Image, the Insert Page screen should resemble the following:
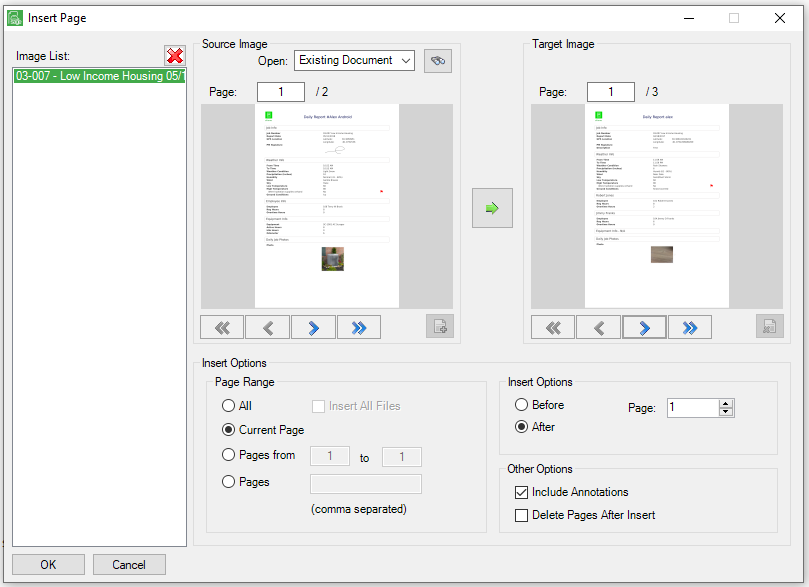
5.Under the Page Range option, select one of the following:
•All
•Current Page
•Pages from / to
Note: Be sure to enter the appropriate page numbers.
•Pages
Note: Separate each page number with a comma. Do not use spaces.
6.Under Insert Options, select from one of the following:
•Before
•After
Note: Be sure to use the page selector to identify the appropriate page number.
7.Under Other Options, select optional fields as required.
•Include Annotations - Click to include existing annotations on the source document when the document is inserted.
•Delete Pages After Insert - Click to delete the source document page(s) after the successful insertion into the target document is complete.
8.Click  to perform the insert.
9.Click OK to save the insertion and return to the document.