1.From one of the following locations, click the Print icon,  :
:
Viewer toolbar
Search Screen (from Retrieve in the ribbon toolbar)
Distribute tab in the ribbon toolbar
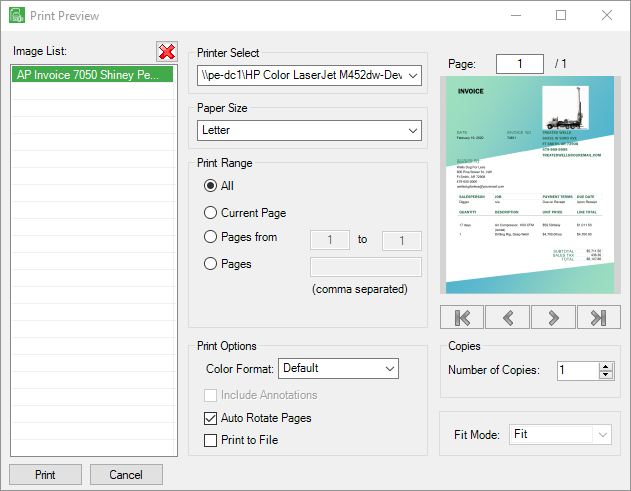
The Print Preview window similar to the following displays:
Important: All settings are saved on a document-by-document basis. Printing specifics must be reselected after every print job.
Notes: If accessing the Print icon through the Search Utility, the Image List allows more than one document to be printed at a time.
If accessing the Print icon from elsewhere, a single document will display in the Image List.
2.Highlight the file to select it for printing.
The view-only document will display on the far right side of the screen.
3.From the Printer Select field dropdown, identify the printer where this document will print.
4.From the Paper Size field dropdown, select the size of the paper or envelope being printed.
5.Under the Page Range option, select one of the following:
•All
•Current Page
•Pages from / to
Note: Be sure to enter the appropriate page numbers.
•Pages
Note: Separate each page number with a comma. Do not use spaces.
6.In the Color Format field, keep the default of Black & White or use the dropdown list to select either Color or Gray Scale.
7.In the Include Annotations field, click to print the document with existing annotations.
Note: The default print setting does not include existing annotations.
8.Click the Auto Rotate Pages field to systematically rotate landscape pages when printing on a portrait printer.
9.Click the Print to File field to print the document to a file instead of a printer.
Note: A prompt will display requiring a location and a file type.
10.In the Number of Copies field, use the up and down arrows to select the number of copies to print.
11.Click Print to print the document.