Set up allocation rules based on header invoice values. Allocation rules identify when to apply which allocation, thus saving processor time when entering invoices. For instance, Processors no longer need to remember what allocation goes to which vendor.
To read about Expense Allocations, click here.
Access
1.From the ribbon toolbar, click APFlow™.
2.Click Manage APFlow™,  .
.
The Manage AP Flow screen similar to the following displays with the General tab active:
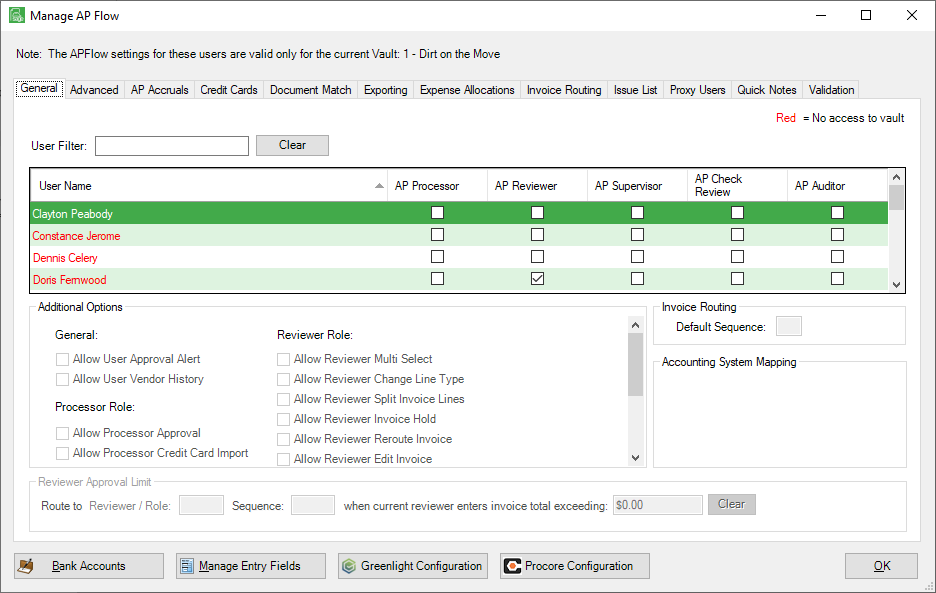
3.Click Expense Allocations.
The Expense Allocations window similar to the following displays with the Add / Edit Allocations tab active:
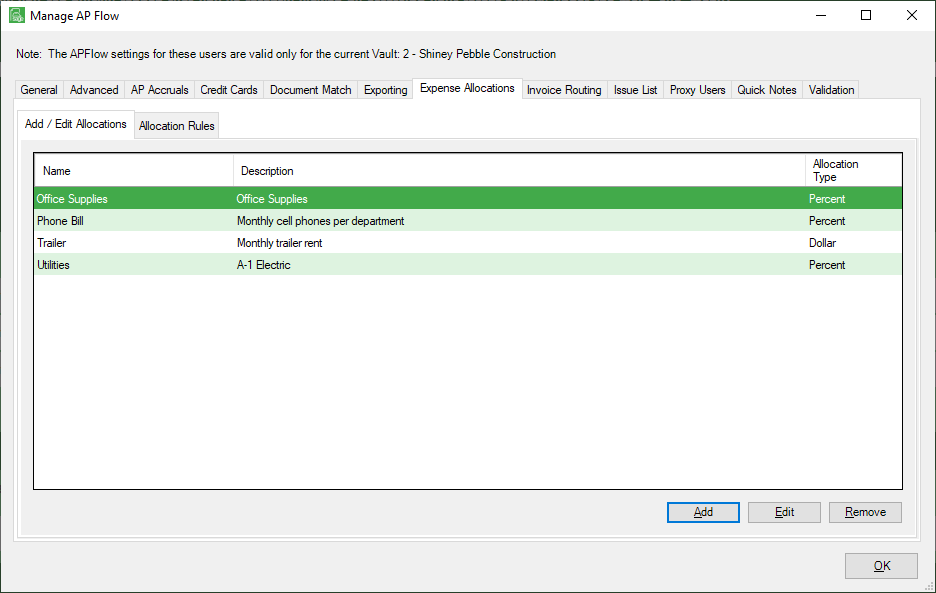
4.Click the Allocation Rules tab.
The following window displays:
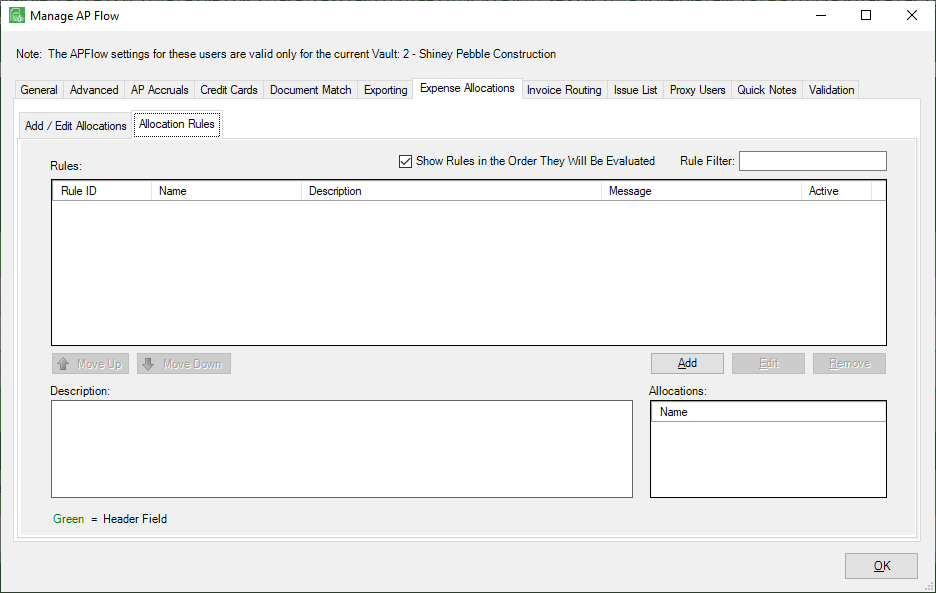
5.Click Add.
The Invoice Allocation Rule Properties screen similar to the following displays:
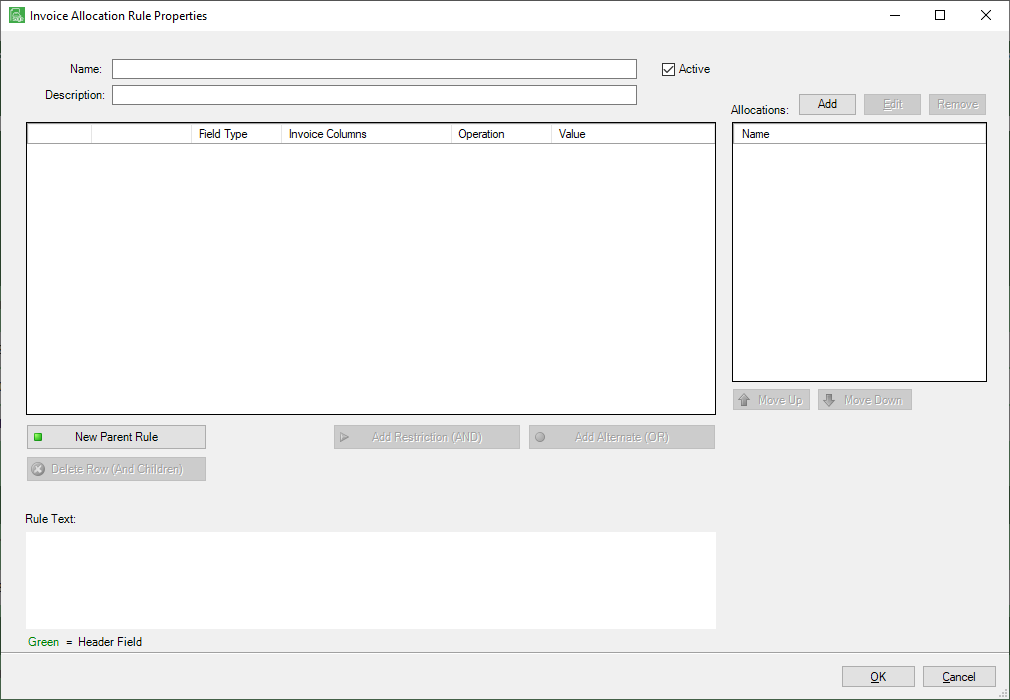
6.In the Name field, enter the rule name.
7.In the Description field, the field will auto-populate with whatever is entered in the Name field. Keep the default or enter a description.
8.Click New Parent Rule to create an allocation rule.
9.In the Invoice Columns row, use the dropdown to select an appropriate entry.
For example: Vendor
10.Use the row field dropdown in the Operation column to select the appropriate operation rule. The default is =.
11.In the Value column, click F4 to access the associated lookup window.
12.Click Add in the Allocations section.
A list of previously created allocations displays:
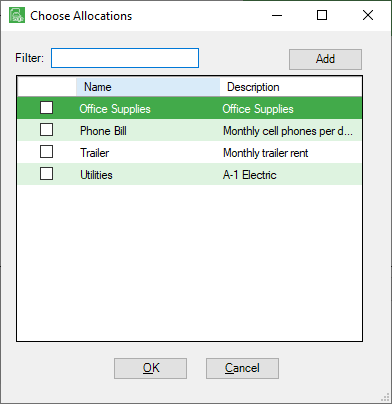
13.Select one or more allocations in this list.
Note: If you need to create a new allocation, click Add in this dialog box. Click here for more information on creating expense allocations.
If you have multiple entries in the Allocations grid, there is Move Up and Move Down functionality to visibly identify which allocation takes precedence.
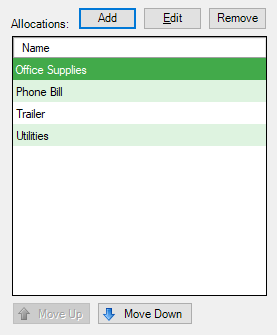
14.Click OK.
The completed Invoice Allocation Rule Properties screen will resemble the following:
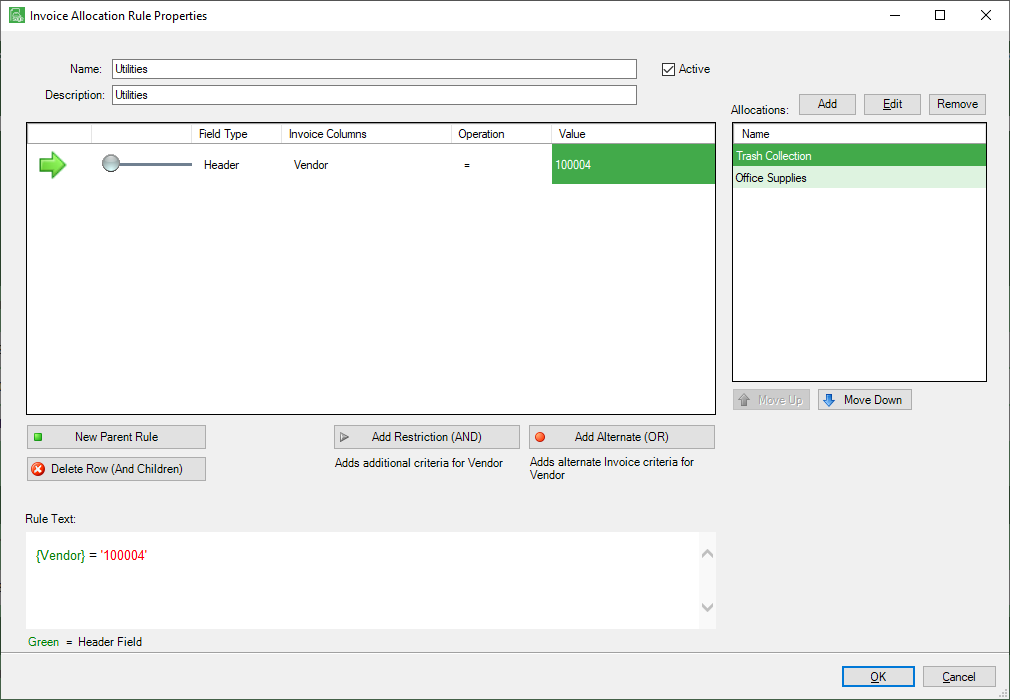
15.Click OK.
16.Click here for details of including expense allocations in invoices.