1.From the ribbon toolbar, click Administration.
2.Click the Types dropdown,  .
.
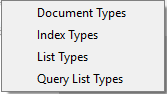
3.Click Query List Types.
The Query Lists dialog box similar to the following displays:
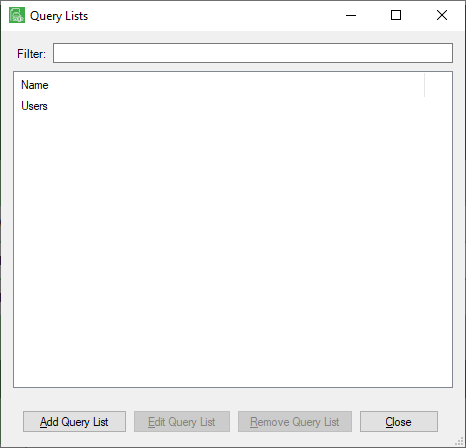
There is a Filter text field where you can start to enter a query list type to narrow the list.
4.Start typing in the Filter field to narrow the list.
5.Click Add Query List.
The following Query List Properties window displays:
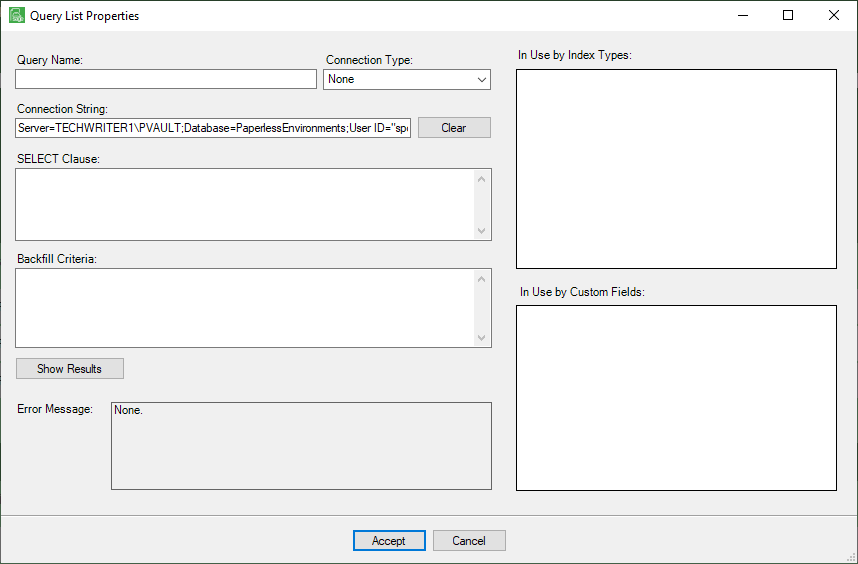
6.In the Query Name field, type the name of the new query.
7.From the Connection Type field drop down list, select the type of database being queried.
▪OLEDB – (Object Linking and Embedding Database) – a database which uses and OLE type connection to extract data.
For example: Sage 100 Contractor’s 19.X database is an OLEDB type database that can connect with Microsoft’s Visual Foxpro OLE driver.
▪ODBC – (Open Database Connectivity database) – a database which uses and ODBC driver to connect and extract data.
For example: Sage 300 CRE uses the Timberline Data Source ODBC driver to connect to the Sage 300 CRE database.
▪SQL Server – a database that can use the standard SQL Server connection.
▪Bridge Connection – the connection that is currently used to bridge the vault to the accounting database. Use this type to create a custom connection to the accounting database.
8.In the Connection String text box, complete if using a connection type other than Bridge Connection. This will vary depending on the type of connecting database.
Tip: Googling “xxx database connection string” should provide sample connection strings for the database. A standard SQL connection string, the most common, is comprised of the following:
▪SERVER = the sql server database name here; DATABASE= the name of the database to connect to; USER ID = the user id to connect with; PWD = the password of the user id
9.In the SQL SELECT Clause text box, type in the select clause. This is the language that is used to “select” the fields and values from the database being queried. The select clause syntax may vary depending on the type of database being queried.
The following are two sample select strings for a SQL database:
▪SELECT * FROM tablename. This simple selection string with the “*” wildcard will select all fields of the table that is specified as the “tablename”.
▪SELECT [field one name] AS “column 1 title”, [field two name] AS “column 2 title”, [field 3 name] AS “column 3 title” FROM tablename. This selection string selects individual field names specified by the [field one name] indicators, followed by the AS “column title” clause to specify what the name of the result column should be.
10.In the Backfill Criteria text box, complete if using the query in a Sage Paperless Construction backfill. This is comprised of a Where clause and is used as the input parameters in the backfill.
For example: To limit the results of the query to a particular job number, type WHERE [JOB Number] = @JobNumber. “Job Number” is an actual field in the database table being queried. The “@JobNumber” is a variable used as a backfill input parameter to allow the system to “pass in” the job number being worked with into the query.
11.Click Show Results to test the connection and select statement.
12.If no information was entered in the Backfill Criteria section, skip to step 14.
If information was entered into the Backfill Criteria section, a Query List Parameters dialog box similar to the following displays:
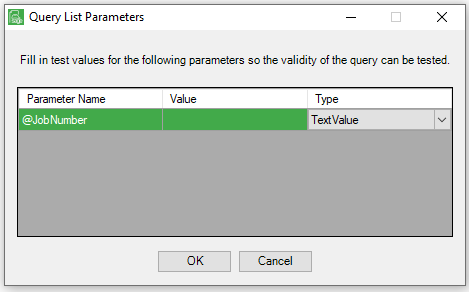
13.In the Value field, enter a value that should be in the database table.
14.In the Type field, use the dropdown list to select the type of data that is being sent in the query (text, number, date, etc.).
15.Click OK to test the query.
Note: Data that populates the In Use by Index Types or In Use by Custom Fields text boxes is for informational purposes only.
If the query is successful:
•A Query List Results window will display.
•Click OK to close the Query List Results window.
•The Query List Properties window re-displays.
•Click Accept to close the Query List Properties window and save the new query list.
If the query is unsuccessful:
•A Query List Results window will not display.
•The Query List Properties window re-displays.
•Errors display in the Error Message text box of the Query List Properties window.
•Make any necessary changes to the Query List Properties information.
•Return to step 8 or 9, depending on the error message.
•Repeat applicable steps.