1.From the ribbon toolbar, click Administration.
2.Click the Types dropdown,  .
.
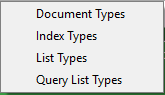
3.Click List Types.
The List Types dialog box similar to the following displays:
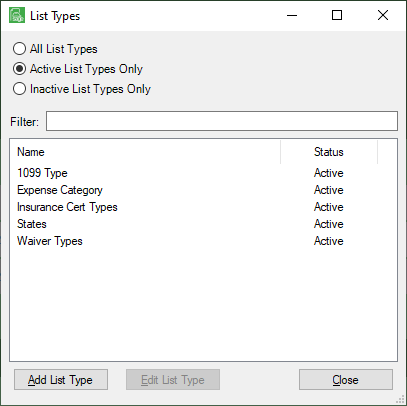
There is a Filter text field where you can start to enter a list type to narrow the list.
4.Start typing in the Filter field to narrow the list similar to the following:
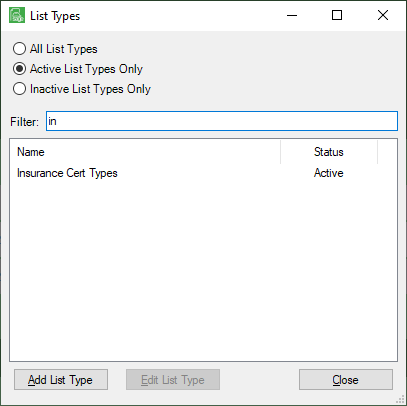
Not only can you filter on the Name column entries, but you can also filter on the Status column entries too.
Adding a List Type
When you click Add List Type, the List Type Properties window will display:
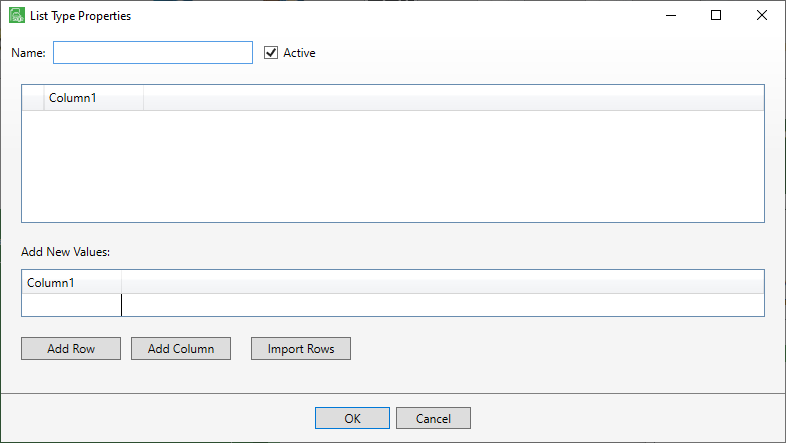
This is where you can add rows and add columns. When you import rows, these are "CSV Importer" style where column headers from the first line of the CSV file are read; where comma delimiter and double quotes are the defaults.
1.Click in the Column1 column to view the edit and delete icons:
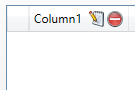
2.Click the edit icon,  , to change the column heading.
An Edit Column dialog box similar to the following displays:
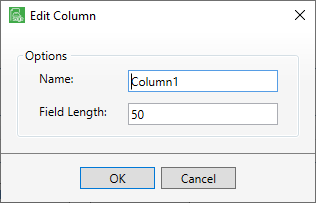
3.In the Name field, enter the column heading.
4.In the Field Length field, keep the default or lengthen (or shorten) the field length as appropriate.
5.Click OK.
6.In the Add New Values grid, enter a value in the first column.
7.Click Add Row.
8.Click Add Column as necessary.
9.Repeat until all values are entered.
10.Click Save.