Note: eInvoice Review follows the same functionality as Approve Invoices.
Click DETAILS,  , to open a specific invoice.
The window similar to the following displays:
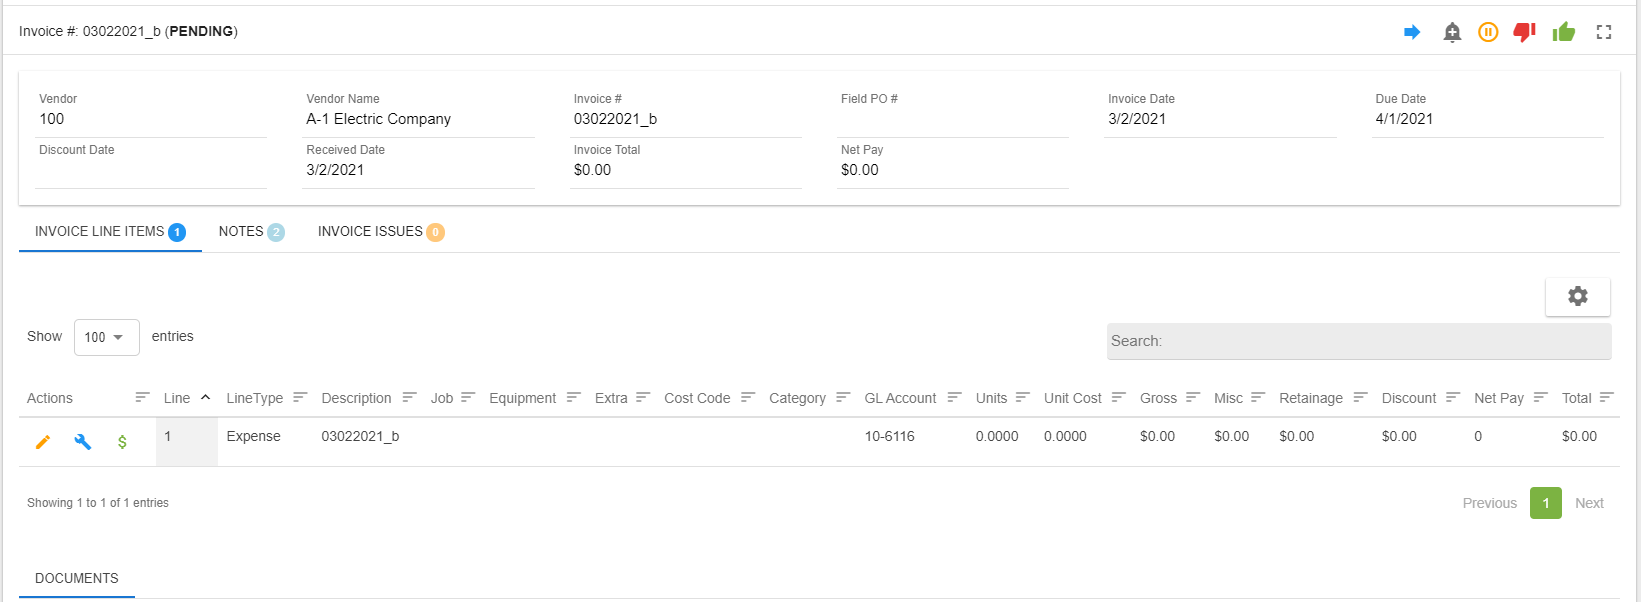
Important: Only the invoice line item(s) to which the user is assigned to review displays. There may be other line items that are associated with the invoice reviewed by other users.
Adding and Editing Columns
Click the icon,  , that displays in the middle of the pane, on the right side.
The Edit Column Visibility dialog box similar to the following displays:
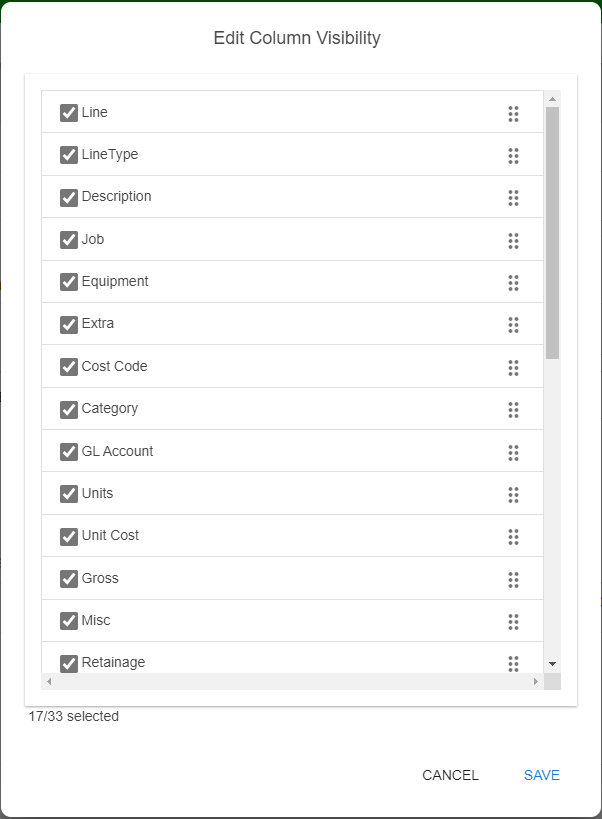
Those column headings with the visible checkmarks display. You may remove the checkmarks which will remove that column.
To select additional or other columns, click the box to add a checkmark. Those columns will not display.
To change the column order, click the six dots that display at the end of each column heading entry:

Click SAVE to keep the changes you have made.
DOCUMENTS
Any attached supporting document images, including the invoice, will display in a row in the DOCUMENTS space similar to the following:
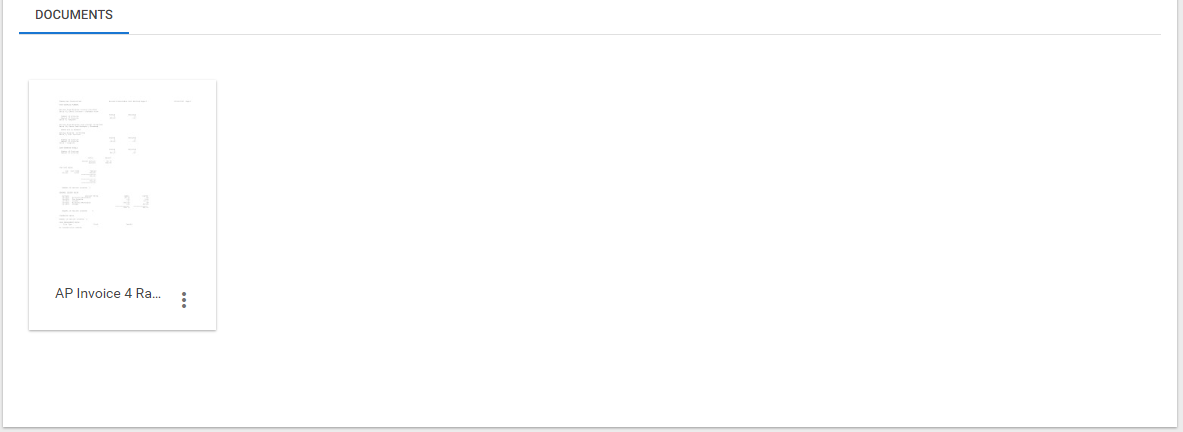
Click the ellipsis located in the bottom right of the image to download it.
Important: Only the first five (5) pages of the document are viewable. To view additional pages of a multi-page document on the portal, you must click the Download option.
The invoice number, current status and a validation error identifier (if present) display in the upper left.
|
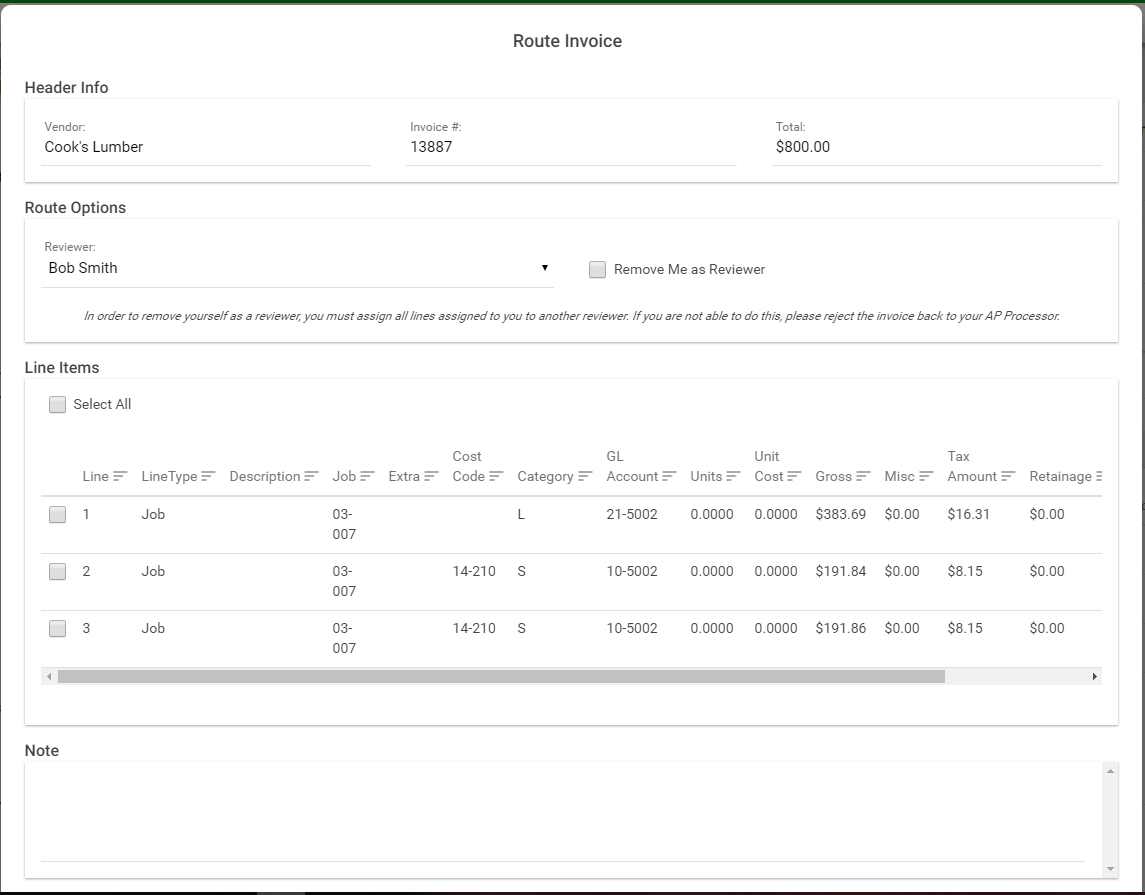
Route Invoice Click to start the routing process for an invoice. A route window similar to the following displays:
Use the dropdown in Route Options, Reviewer field to select a reviewer. In Line Items, select one or more of the invoice lines for the selected reviewer to review. In the Note pane, add pertinent information for the reviewer. Click ROUTE. Note: To reroute line item(s), re-access the invoice, select the line(s) to send out to review and follow the steps for routing invoice lines. |
|
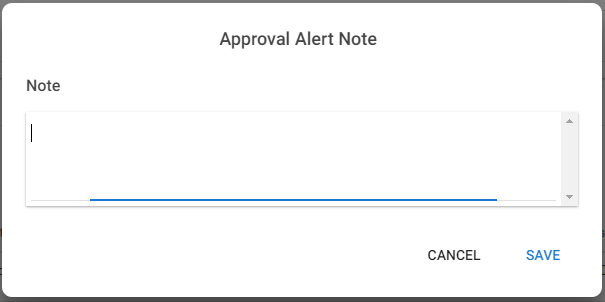
Add Approval Alert There is an Additional Option in the Manage APFlow™ screen, General tab: Allow User Approval Alert. If this option is checked, this icon will display for the current user. Click if the invoice line items should include an Approval Alert. Depending on the accounting system, there may be an Advanced Bridge setting: Require Invoice Approval Alert Notes. If this setting is set to True, the following dialog box will display:
Once the note is saved, the invoice details is systematically closed. The invoice is moved into the Attention category. |
|
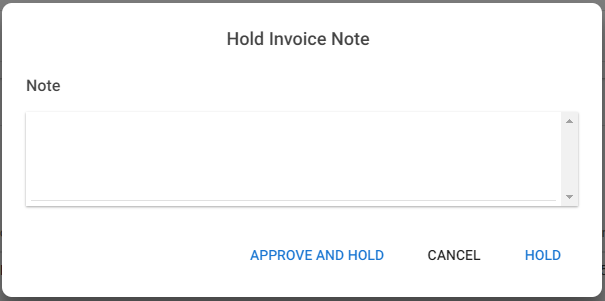
Put on Hold: Click if the invoice line items should be placed on hold. There is an Additional Option in the Manage APFlow™ screen, General tab: Allow Review Invoice Hold. If this option is checked, this icon will display for the current user. Note: If the invoice line items were placed on hold, an additional status icon, Depending on the accounting system, there may be an Advanced Bridge setting: Require Invoice On Hold Notes. If this setting is set to True, the following dialog box will display:
|
|
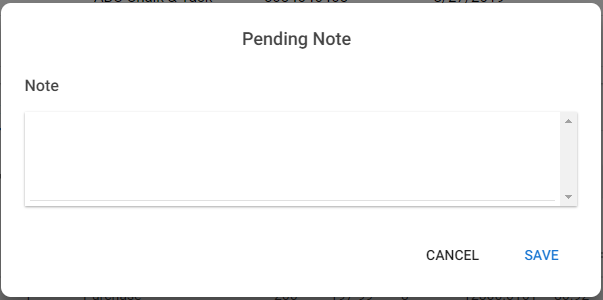
Set to Pending: Click if the invoice line items were previously Approved or Rejected and the status should now be changed to Pending. Depending on the accounting system, there may be an Advanced Bridge setting: Require Invoice Reset to Pending Notes. If this setting is set to True, the following dialog box will display:
|
|
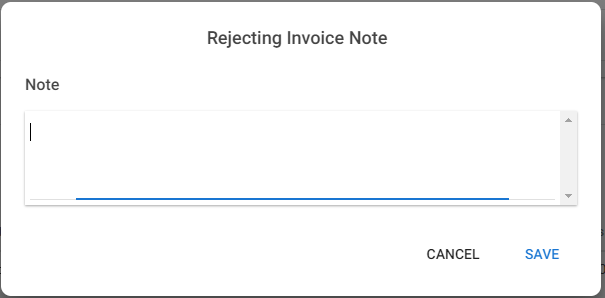
Reject: Click if the invoice line items should be rejected. Note: If the invoice line items were rejected, the icon in the Status column will change to Depending on the accounting system, there may be an Advanced Bridge setting: Require Invoice Reject Notes. If this setting is set to True, the following dialog box will display:
|
|
Approve: Click if the invoice line items should be approved. Note: If the invoice line items were approved, the icon in the Status column will change to |
|
View Fullscreen: Click to view the invoice as a larger screen display. |
|
Save Invoice: This temporary icon displays when changes are made in the Line Item Edit window. You can click this icon to save changes made to the line items. |


Top Grid
In the upper grid is the general invoice information. Fields are based on the accounting system and may include the vendor number and name, the invoice number, date, due date and discount date. There is an Invoice Total field which may not match the invoice line items in the lower grid if some invoice line items are being reviewed by others. True will display in the Approval Alert field if an approval alert exists. False will display in the Approval Alert field if an approval alert does not exist.
Middle Grid
In the middle of the Detail page the following displays:

INVOICE LINE ITEMS |
Reflects the number of invoice line items that display in the bottom grid. |
NOTES |
Reflects the number of notes that are associated with the invoice. Click NOTES to open a grid to view the notes, when they were created and by whom. The grid will resemble the following:
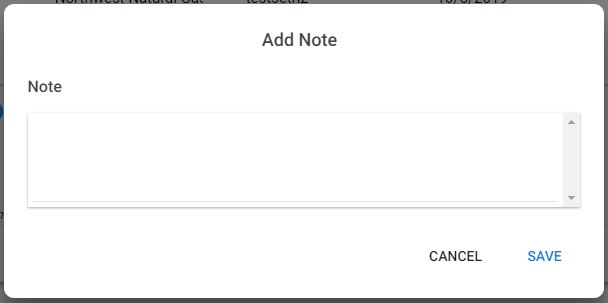
To add a new note, click The following Add Note dialog box will display:
|
INVOICE ISSUES |
Reflects the number of notes that are associated with the invoice. 1.Click INVOICE ISSUES to open a grid to view invoice issues.
2.Resolve the issue. 3.Click the Select check box for one or more of the issue entries. 4.Click
|


Click here for information on the Invoice Line Items.