Sage Paperless Construction includes the functionality to move older files to an “archived” state.
When documents are archived documents are marked as "archived", physical document files may be moved to a new storage location and documents are no longer included in the “production” searches on the search screen.
There are several reasons why documents should be archived:
•Older files from previous years may “clog up” search screens. Archiving older documents takes them out of “production only” searches. Users can specifically choose when to search (and view) archived files.
•IT Administrators may want to move archived documents to a new storage area for backup purposes. They may want to do daily backups of production documents, but only back up archived documents once a month.
•IT Administrators may want to move them for storage reasons. By indicating a document archive path that is different than the Production Folder path moves documents to this alternate location when the document archiving job runs, thus freeing up space for future “production” documents.
•For APFlow™ module purposes, archived document data is not presented on the Document Match screen.
Note: Archiving only impacts document data; it does not impact invoice data.
On each document type, determine the number of months from the indexed date to when a document is to be “archived”.
1.From the ribbon toolbar, click Administration.
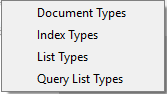
2.Click the Types dropdown,  .
.
3.Click Document Types.
The Document Types window similar to the following displays:
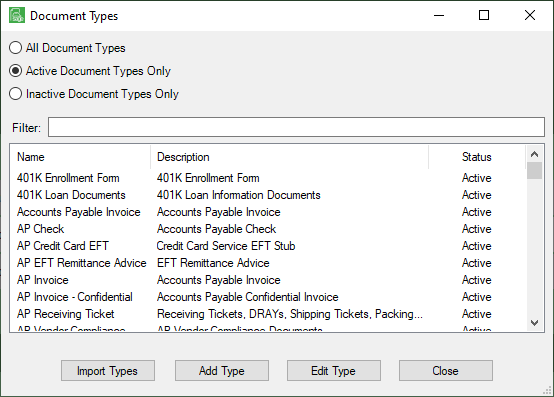
Note that there is a Filter text field where you can start to enter a document type to narrow the list.
4.Start typing in the Filter field to narrow the list similar to the following:
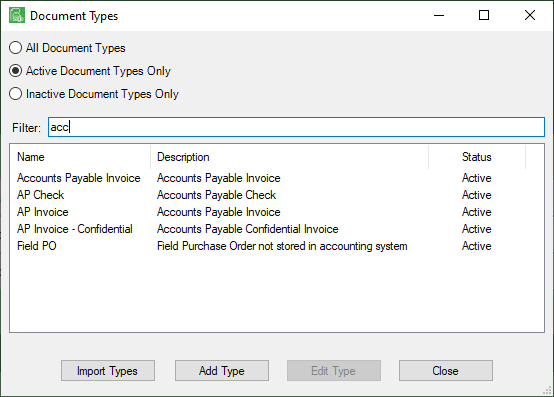
Not only can you filter on the Name column entries, but you can also filter on the Description column entries too.
5.Scroll to locate the document type and click to select it.
6.Click Edit Type.
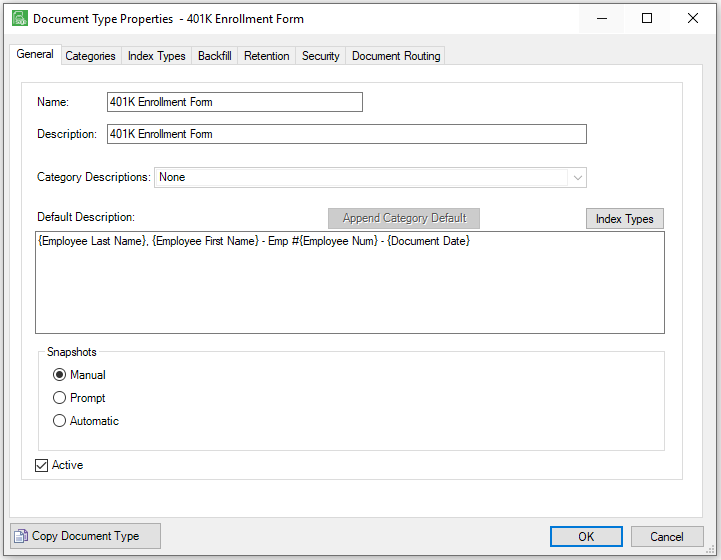
The Document Type Properties window similar to the following displays with the General tab active:
7.Click the Retention tab.
The window similar to the following displays:
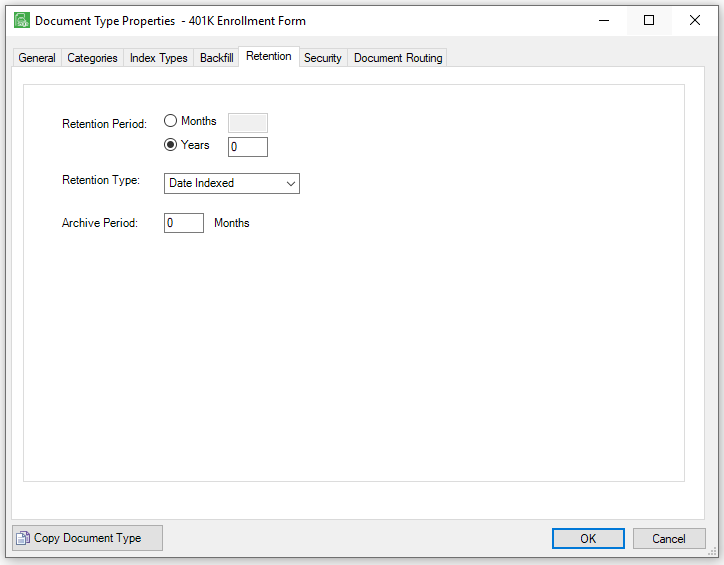
8.For the Retention Period radio buttons, select Months or Years and enter an appropriate number.
9.For the Retention Type, accept Date Indexed (which is the default) or use the dropdown to select from either Calendar Year or Fiscal Year.
10.In the Archive Period, enter the number of Months for this document type.
11.Click OK.
For more information, refer to Editing Document Type Properties).
It is important that the Archive Folder be identified. This is per Vault.
1.From the ribbon toolbar, click Administration.
2.Click Vaults,  .
.
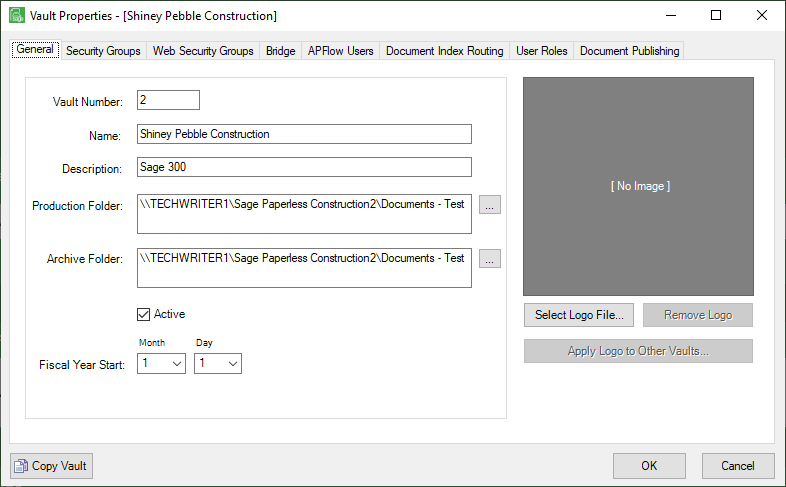
The Vault Properties window similar to the following displays with the General tab active:
Important
To disable the archiving function, leave the Archive Folder field blank.
To leave the archived documents in the same position as production, but mark them as "archived", enter the same document path in both the Production Folder and Archive Folder fields.
When the archive job runs, the files will not move but the document data will be modified to indicate the document is "archived".
Document archiving can be run manually or on an automated schedule. (Refer to Manual Archiving and Automatic Archiving)