Special cases will dictate the need to create Document Classes. These are custom classifications that can be used to further classify invoices or other documents as belonging to a specific location or group.
For example, if a business has multiple locations, they may want to separate invoices by location. So invoices belonging to the location on Main Street are kept separate from those invoices belonging to the location on Broadway. In addition, the document class index can be added to documents other than invoices to further classify them.
Establishing Document Classes are not required. However, for this process to work as designed, it is important that you follow the setup steps as documented.
Adding Document Classes
1.From the ribbon toolbar, click Administration.
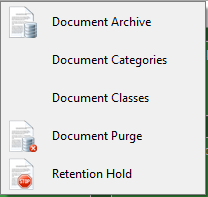
2.Click the Documents dropdown, 
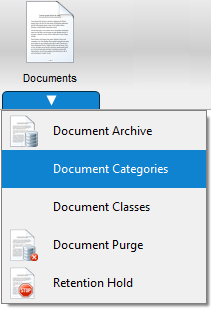
3.Click Document Classes.
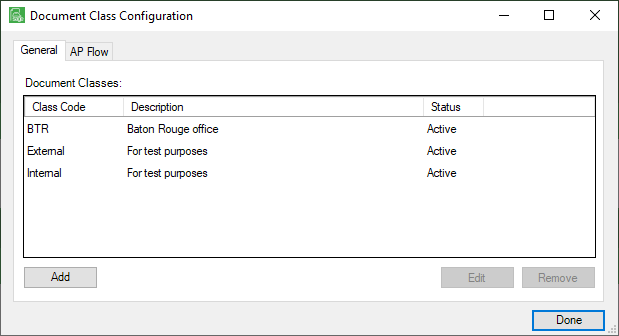
A window similar to the following displays with the General tab active:
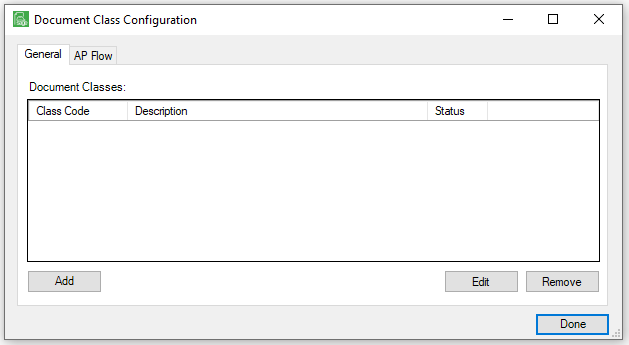
4.Click Add.
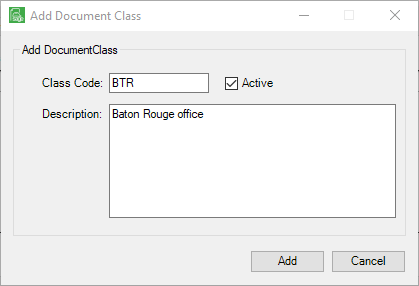
The Add Document Class window similar to the following displays:
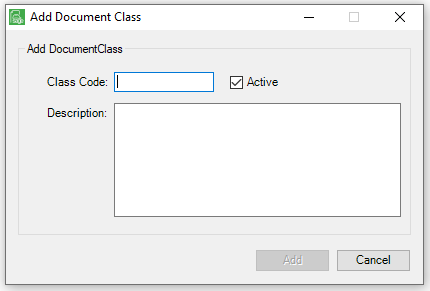
5.In the Class Code field, type a brief code for the document class.
For example: BTR
6.In the Description text box, type a class description.
For example: Baton Rouge office.
7.Click the Active check box if not already checked.
The populated window should resemble the following:
8.Click Add to save the new document class.
The Document Class Configuration window redisplays.
9.Click Done.
Pre APFlow™ Setup
1.From the ribbon toolbar, click APFlow™.
2.Click Manage APFlow™,  .
.
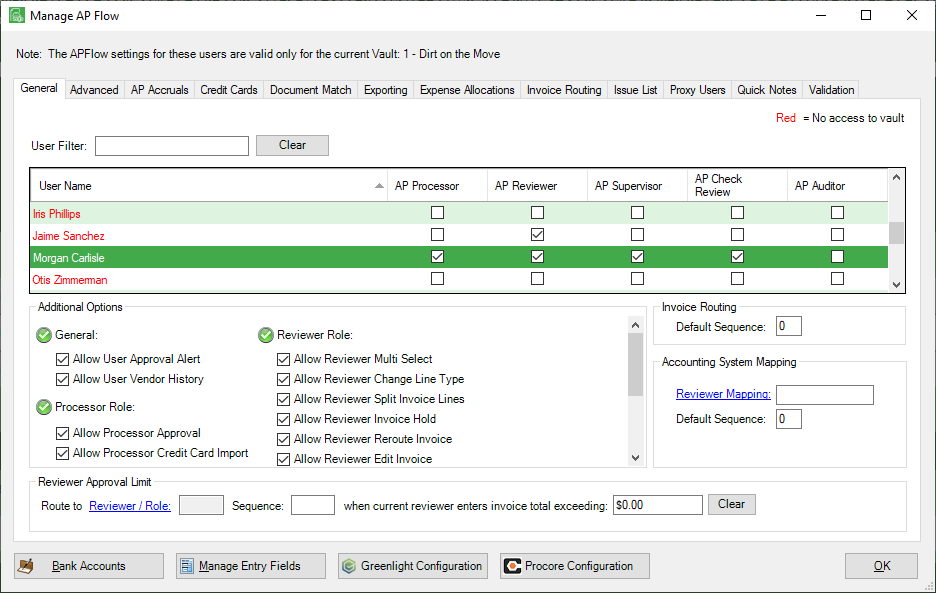
The Manage AP Flow screen similar to the following displays with the General tab active:
3.Click the Invoice Routing tab.
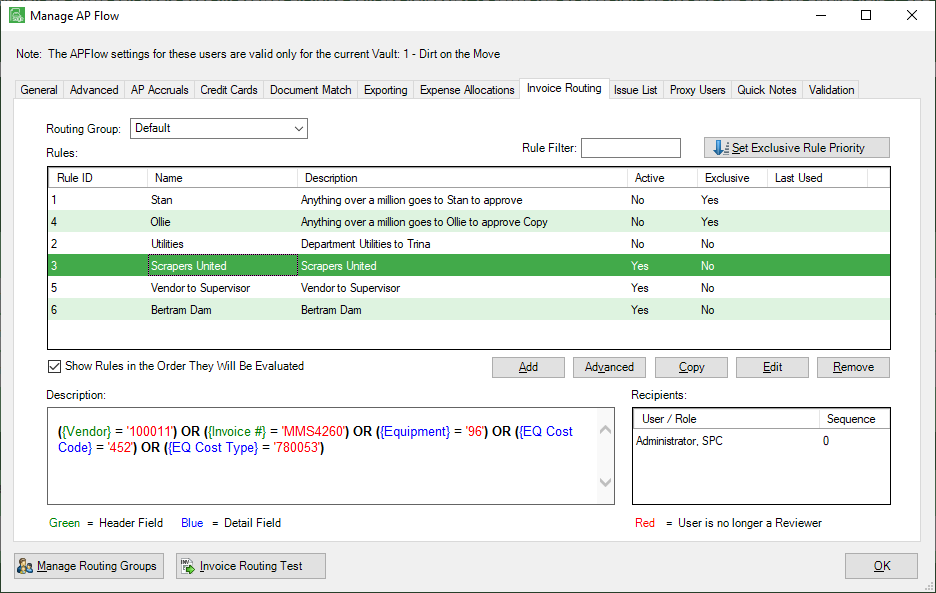
A screen similar to the following displays:
4.Click Manage Routing Groups.
The Manage Routing Rule Groups window similar to the following displays:
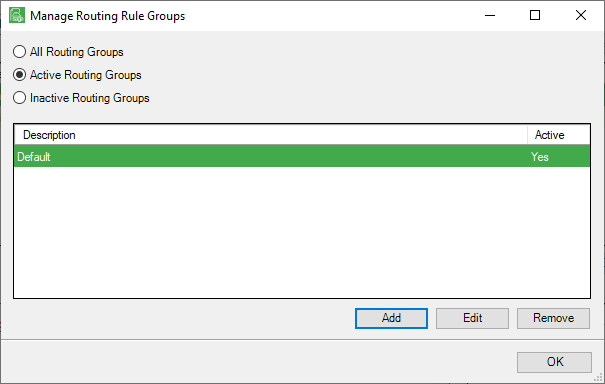
If no routing groups were previously added, only Default will be visible.
5.Click Add.
An Add Routing Group dialog box displays:
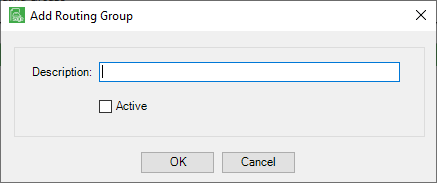
6.In the Description field, type in the name of your routing group.
7.Click the Active check box.
8.Click OK to close the Add Routing Group dialog box.
9.Click OK to close the Manage Routing Rule Groups window.
10.Click OK to close the Manage AP Flow window.
Manage APFlow™ Routing Rule Groups
Invoices with assigned document classes can be routed automatically by the associated AP Routing Rule Group.
1.From the ribbon toolbar, click Administration.
2.Click the Documents dropdown,  .
.
3.Click Document Classes.
A window similar to the following displays with the General tab active:
4.Click the AP Flow tab.
A window similar to the following displays:

5.In the Default Routing Rule Group pane, click to select the newly added Document Class. In this example, click to select BTR Office.
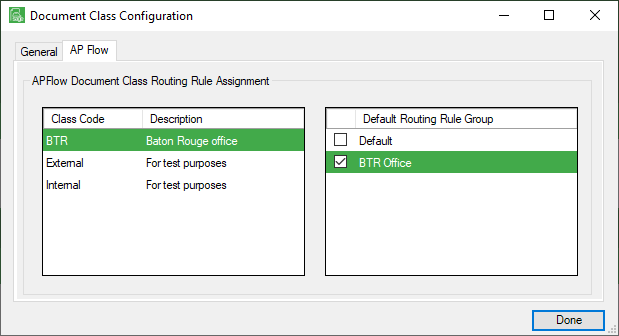
6.Click Done.
With the Document Routing Groups established, you can now associate routing rules with the Routing Rule Groups and then you can associate them with the Document Classes.
Note: For details on invoice routing and routing rules, click here.