|
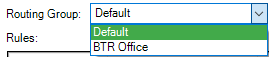
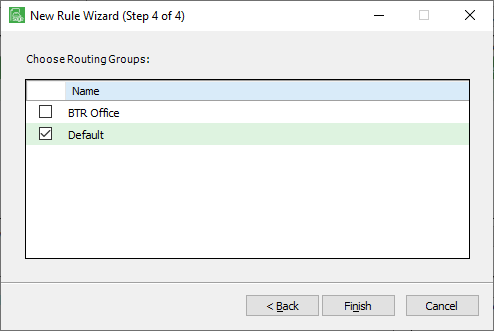
The name in this column was entered in the New Rule Wizard dialog, in the Rule Name field. If the routing group needs to be changed, click the dropdown arrow. The routing group was selected in the New Rule Wizard dialog, Choose Routing Groups:
|
|
In this field, enter in a portion of a word or an entire word to limit the rules that display. For example:
|
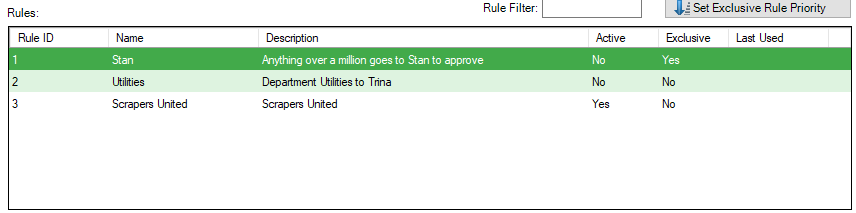
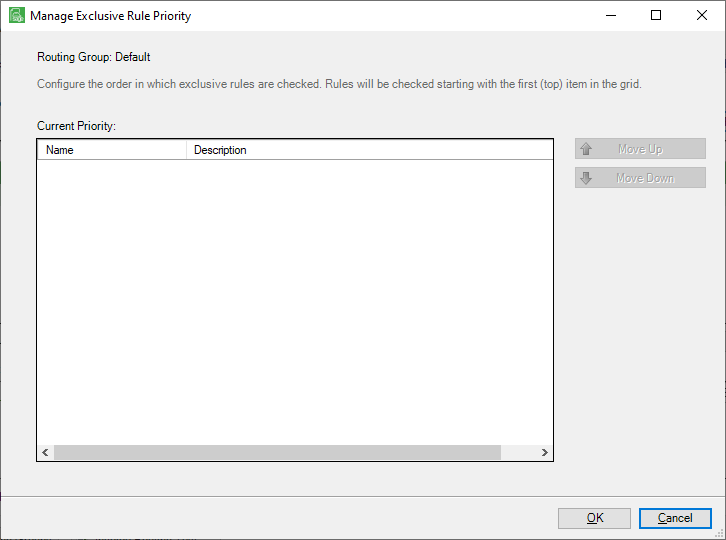
This icon is highlighted if an Exclusive rule exists. Click it to access the Manage Exclusive Rule Priority window similar to the following:
Click Move Up or Move Down to change the order of which rules are checked first. Note: Exclusive rules can be used as exceptions to normal routing. For example, if a company owner wants to see any invoices over a certain dollar amount first, an exclusive rule can be set up based on invoice total. If the invoice gets routed to the owner based on this rule, all non exclusive rules and exclusive rules with a lower priority will be skipped. |
|
|
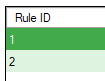
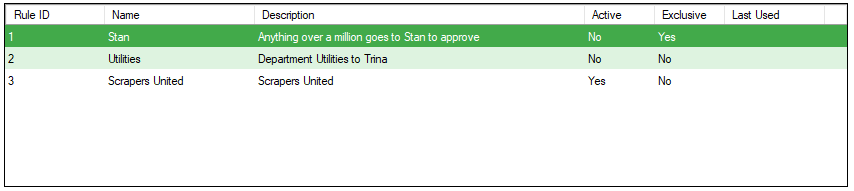
The number that displays in the Rule ID column is system-generated. It cannot be altered. |
|
The name in this column was entered in the New Rule Wizard dialog, in the Rule Name field:
|
|
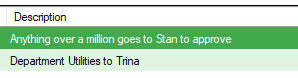
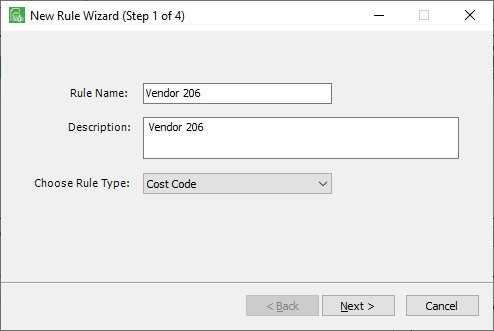
The description in this column was entered in the New Rule Wizard dialog, in the Description field. The system default for this field is to mirror the information entered in the Rule Name field:
|
|
The Active check box is located on the Invoice Routing Rules Properties window. If the Active check box is selected, Yes displays in the Active column. |
|
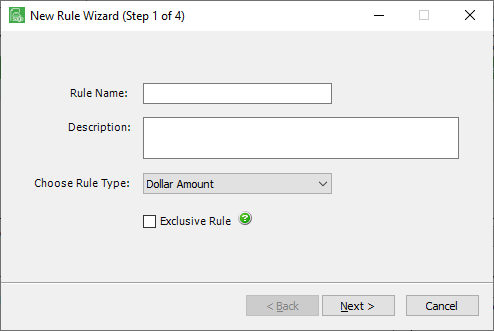
Click this in the New Rule Wizard during routing rule setup if an invoice has an exception to typical routing. The Choose Rule Type field dropdown entry determines if Exclusive Rule is an option.
|
|
Click this in the New Rule Wizard during routing rule setup if an invoice is entered in one vault that will need to be routed against rules configured in another vault. The Choose Rule Type field dropdown entry will determine if Inter Vault is an option. The following will display on the New Rule Wizard (Step 1 of 4) dialog box similar to the Exclusive Rule check box if Inter Vault is an option for the selected Rule Type. If your company does not have multiple vaults, this option will not display, even if the selected Rule Type would allow it.
If the Inter Vault option is not available for your company, the Inter Vault column will not display. |
|
The date and precise time that displays in this column is system-generated and is based on the last time the routing rule was used. Neither the date nor the time cannot be altered. Use the Last Used column to identify routing rules that are no valid or no longer necessary so you can mark them inactive by unchecking the Active check box on the Invoice Routing Rule Properties window. If no date or time displays, the associated routing rule has not run since the Last Used column was added to the grid. |
|
When this check box is selected, the routing rules displaying in the Rules grid display in priority order. Exclusive rules are listed first.
The selected check box is a visual cue. Note: This check box is selected by default. |
|
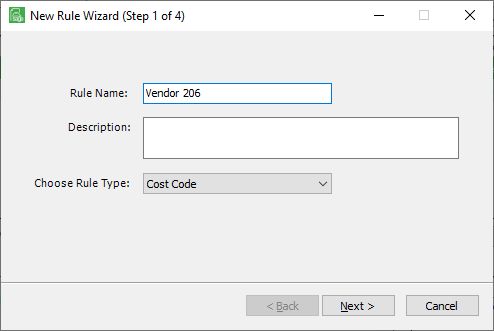
Click Add to access the New Rule Wizard window. This is where you will setup a new invoice routing rule.
Note: The Choose Rule Type field default is Cost Type. The selected rule type will determine if either the Exclusive or the Inter Vault check box--or both--or neither--display and are selectable. |
|
Click here for details. |
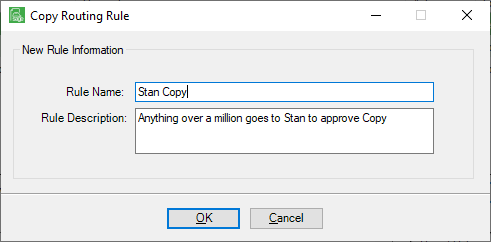
Highlight existing rule that needs to be copied.
Note that the Rule Name field text includes Copy. Make any necessary changes to the Rule Name and Rule Description fields and then click OK. |
|
Click Edit to access the Invoice Routing Rule Properties window for the highlighted routing rule.
|
|
|
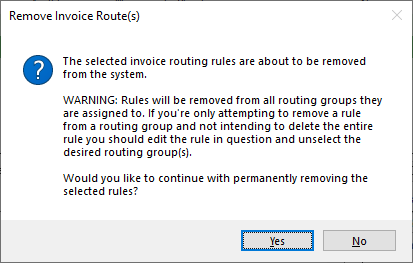
If a routing rule needs to be deleted, click Remove. The following warning prompt displays:
To continue with the removal process, click Yes. If Remove was selected in error, click No. |
|
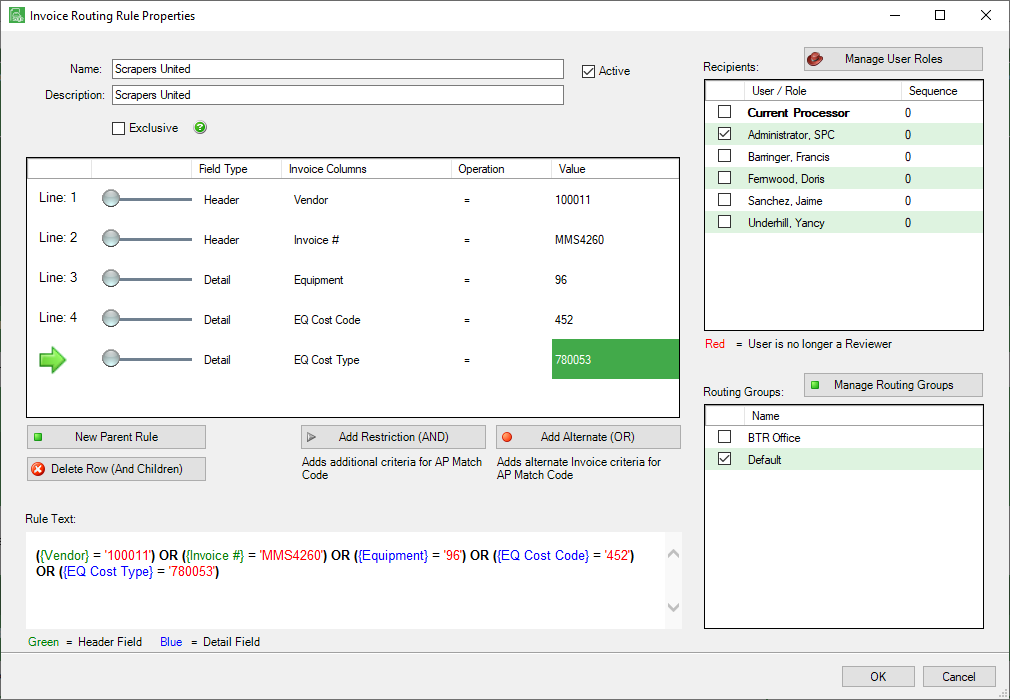
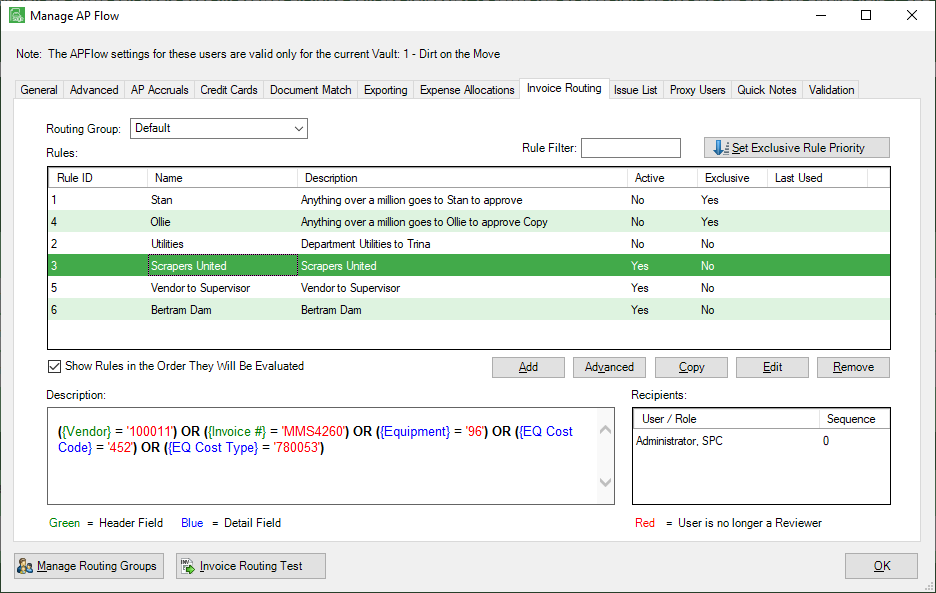
This is a invoice routing rule. The green font indicates that the information is from a specific header field. In this instance, the Vendor and Invoice fields are header fields. The blue font indicates that the information is from a specific detail field. In this instance, the Department, EQ Cost Code and EQ Cost Type fields are detail fields. |
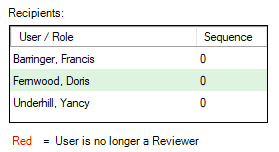
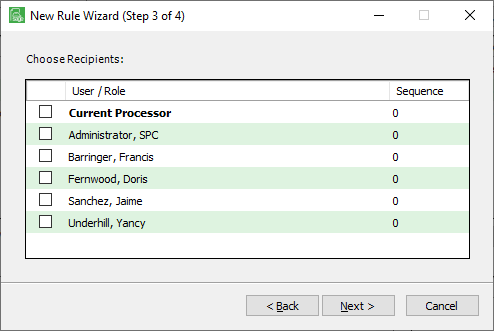
The individuals who display in the Recipients grid are identified in the New Rule Wizard:
Important: Be sure to identify the order (or Sequence) for who receives the routed document first, second, etc. |
|
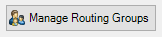
Click to access the Manage Routing Rule Groups dialog box:
This is where you can add, edit or remove your routing rule groups. You can also Manage Routing Groups on the Invoice Routing Rule Properties window. |
|
Click to verify that the invoice routing you create will work as expected. The Invoice Route Test dialog box will display. Click Invoice ID field lookup to populate the field and then click Check. |
|
|
Click to save the information entered on this tab and to close window. |