Administrator, Through Manage APFlow™
Issues can be set up by the Administrator to display in the Invoice Entry sidebar.
1.From the ribbon toolbar, click APFlow™.
2.Click Manage APFlow™, ![]() .
.
The Manage AP Flow screen similar to the following displays with the General tab active:
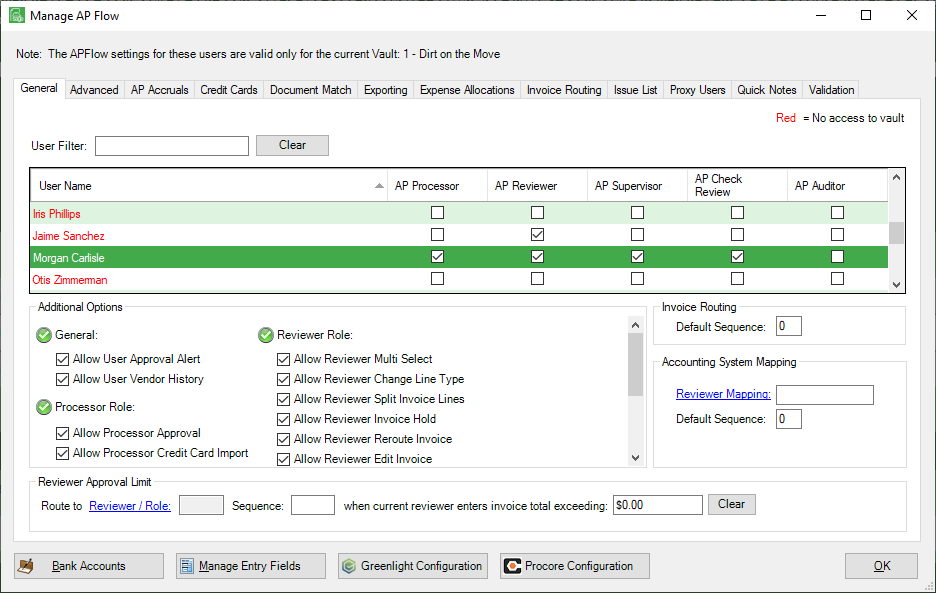
3.Click the Issue List tab.
A window similar to the following will display:
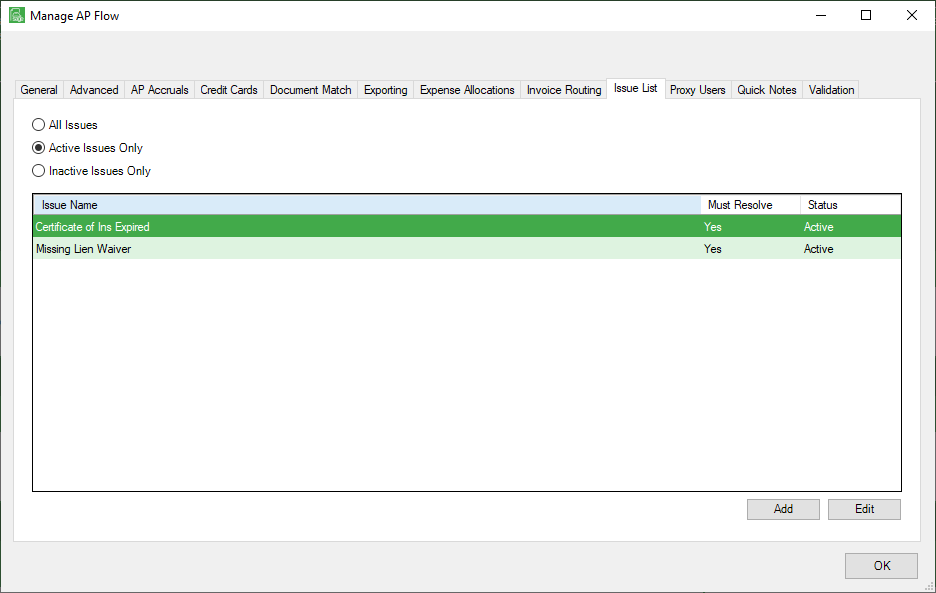
4.Click to select one of the following:
All Issues
Active Issues Only
Inactive Issues Only
This narrows the display of all issues, only active issues, or only inactive issues for the current vault.
The created issue name, if the issue requires resolution (Yes/No), and the issue status (Active/Inactive) displays.
1.From the ribbon toolbar, click APFlow™.
2.Click Manage AP Flow, ![]() .
.
The Manage AP Flow screen similar to the following displays with the General tab active:

3.Click the Issue List tab.
A window similar to the following will display:

4.Click Add.
The following Add Issue dialog box displays:
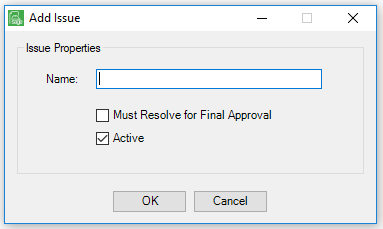
5.In the Name field, type a unique name identifier for the issue being created.
Important: Issues cannot be removed, but they can be deactivated by unchecking Active.
6.If an issue must be handled--and manually clicked to acknowledge--before the invoice can be approved, click Must Resolve for Final Approval.
If an issue is for information purposes only, do not click Must Resolve for Final Approval.
Active is selected. (default)
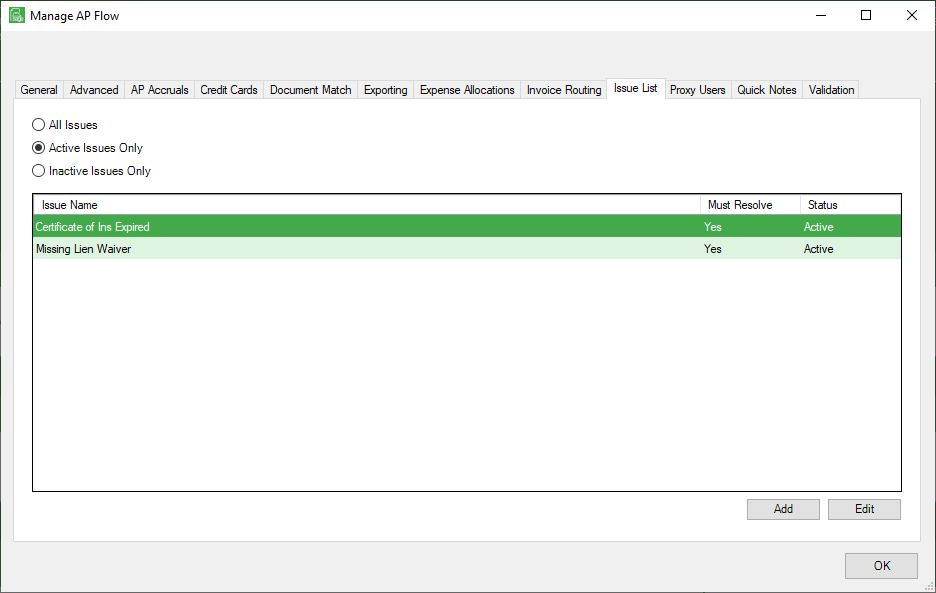
7.Click OK to close the Add Issue dialog box.
8.Click OK to close the Manage AP Flow window.
1.From the ribbon toolbar, click APFlow™.
2.Click Manage AP Flow, ![]() .
.
The Manage AP Flow screen similar to the following displays with the General tab active:

3.Click the Issue List tab.
A window similar to the following displays:

4.Highlight the existing issue to edit.
5.Click Edit or double-click the row.
The following Edit Issue dialog box displays:
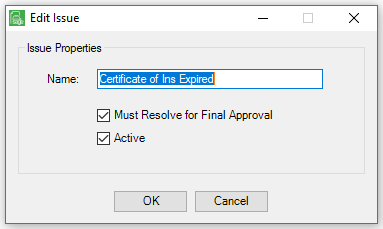
6.Make the necessary revisions.
7.Click OK.
If the issue is no longer necessary, click to remove the Active check mark. This removes the issue from displaying with the other active issues (Active Issues Only).
The issue can still be accessed by clicking to select All Issues or Inactive Issues Only.
Important: Issues cannot be removed, but they can be deactivated by unchecking Active.
Through the Invoice Entry Screen
Refer to Invoice Entry Sidebar for details.