A document may be routed straight from a batch, which is the quickest way to send documents through DocRoute™. This process is called Quick Route.
When you click DocRoute™ from the ribbon toolbar and then click Quick Route,
From this dialog box you can route the documents that display in the Documents grid. |

1.From the ribbon toolbar, click Capture.
2.Click New Batch,  .
.
(For details on creating Sage Paperless Construction batches, click here.)
If the opened batch does not have indexed documents, Sage Paperless Construction will ask whether the document should be indexed before being routed.
3.Click Yes if the documents in the batch should be indexed.
An Index Document window similar to the following will display:
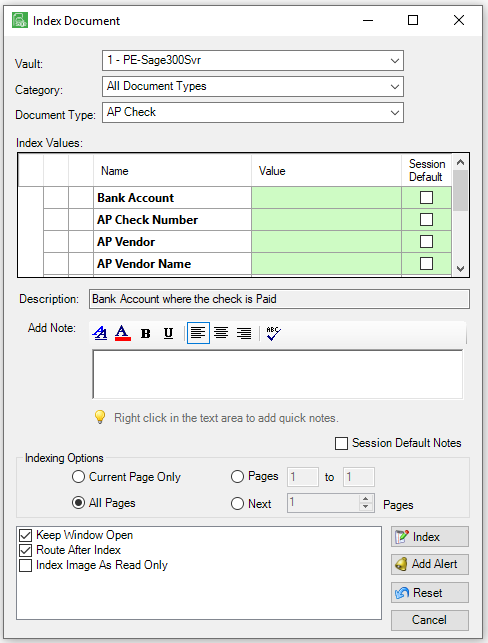
(Click here to read more about indexing documents.)
Click No to display the Select Pages to Route dialog box.
Important: A document does not have to be indexed to be routed.
4.Select the page(s) from the batch to route.
5.Click to Delete these pages from current file when finished, if appropriate.
6.Click OK.
A Quick Route dialog box similar to the following displays:
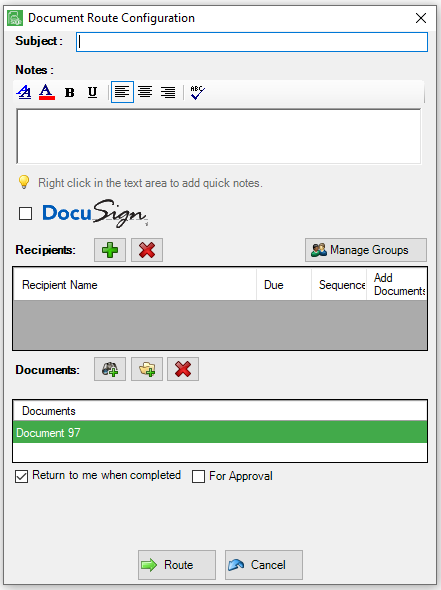
Routing works basically like email.
7.In the Subject field, enter reference information.
8.In the Notes pane, enter notes for the recipient(s).
9.Click DocuSign if the documents will be sent through DocuSign.
(Refer to DocuSign for more information.)
1.In the Recipients pane, click  to add recipients.
The following Add Recipients dialog box similar to the following displays:
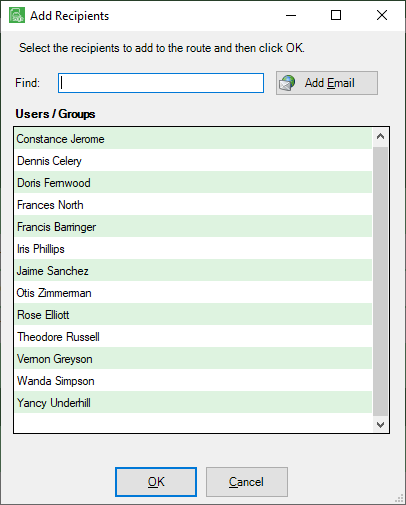
2.To add users, click on the name and click OK.
Note: Those entries listed in bold type are Routing Groups.
3.To delete recipients already listed in the Recipients pane, click the  and any highlighted recipients will be removed from the Recipients pane.
4.If Routing Groups need to be further defined, click Manage Groups.
The Manage Routing Rule Groups window similar to the following displays:
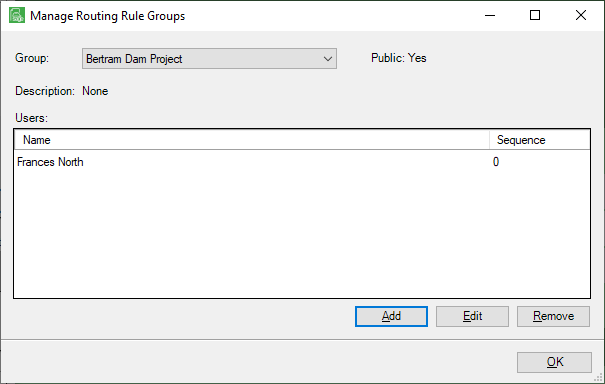
5.Click Add, Edit and/or Remove, as appropriate.
6.Click OK.
Adding Documents
More documents can be added to the Quick Route.
1.Click the add documents icon,  .
.
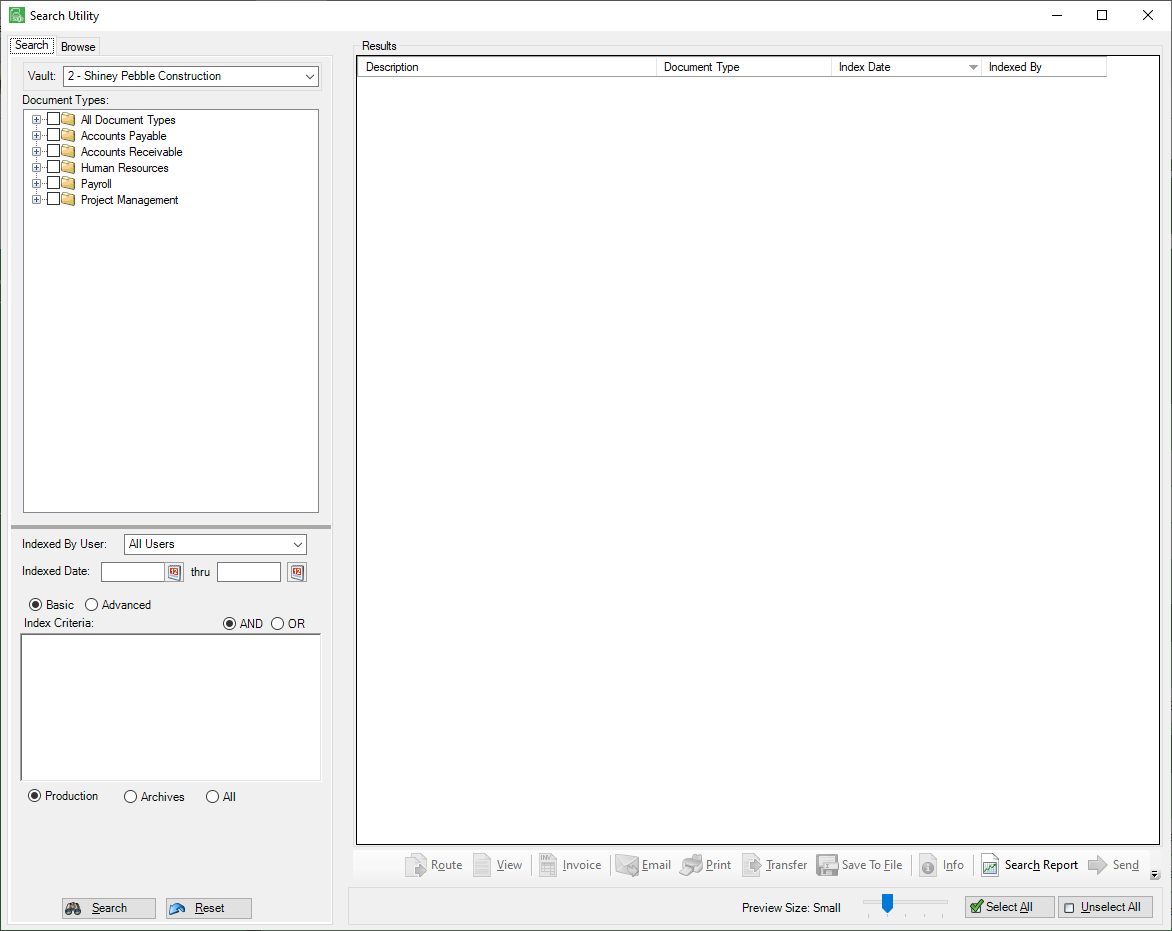
The Search Utility screen similar to the following displays with the Search tab active:
2.Click to highlight the documents to add.
3.Click Send.
Return to me when completed
After identifying any additional documents, click Return to me when completed if the document(s) should return to the sender after moving through the entire reviewer sequence.
If the box is not checked, the document(s) remains with the last reviewer in the sequence.
For Approval
If For Approval is checked, the DocRoute™ screen visible by the reviewers will change to include approval buttons.

When all the preparation is complete, click Route.
The document(s) will display in the recipients’ inbox. They will also receive an incoming documents notification.