The Configuration page provides options for customizing the colors and logo on the created forms.
Upload a company logo so that it displays on the login dialog and in the upper left corner of all other pages for a connected device.
Note: By default, the eForms™ logo displays.
1.Click in the Primary or Secondary color field to change a color. A preferred color’s hex code can be typed directly into the field.
•Primary Color – controls title fields, text fields, progress bars, and the Yes button of a Yes/No question.
•Secondary Color – controls the No button of a Yes/No question.
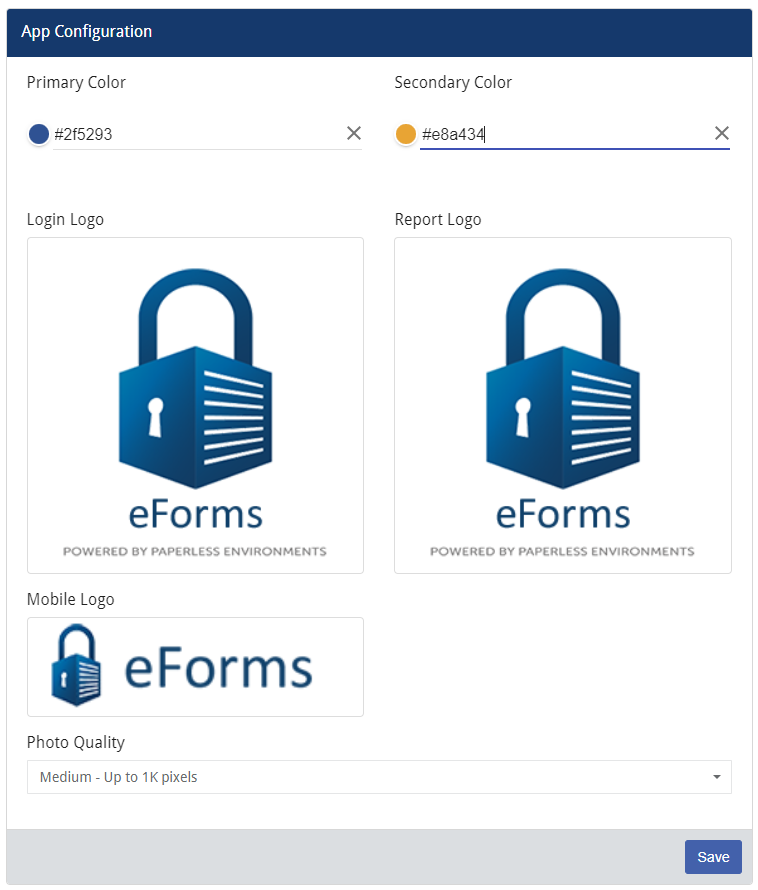
2.To customize a logo, hover the mouse arrow over the logo being changed and click the Upload icon that displays in the top right corner.
3.The Photo Quality field allows the resolution for images to be selected that are uploaded and stored with a completed form. Click the dropdown menu to choose a setting.
Note: Selecting fewer pixels reduces the amount of disk space a stored image uses.

4.Click Save.