Users submitting credit card receipts through the eCapture™ app must have a vendor assigned to them for each credit card.
1.On the Web User Properties dialog, click Credit Card Vendor.
The Credit Card Vendors dialog displays:
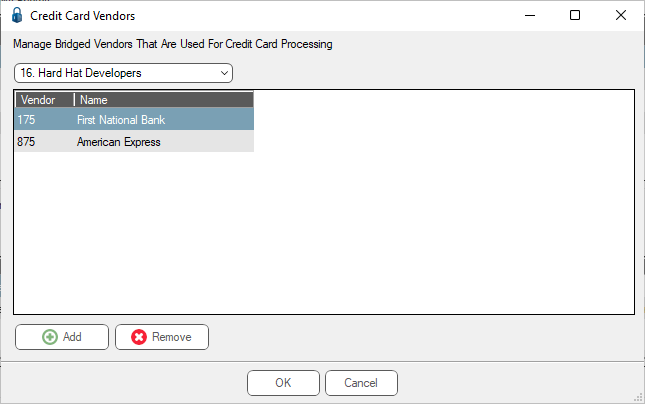
2.If other credit card vendors need to be added, click Add to access the Vendors Lookup Utility.
3.Click to select the credit card vendor(s).
Important: This list will be used for all eCapture users, so make the list as comprehensive as possible.
4.Click on the text in the Name column. Vendor names can be modified to make it easier to distinguish.
5.Type a vendor label in the Name field that makes it more identifiable.
6.Once the credit card vendors are added and modified as appropriate, click OK.
7.Assign one or more credit card vendors to the web user by selecting the vendor in the Available column and clicking the arrow to move it to the Assigned column.
8.Click OK to save the Web User configuration.