Individual user settings for the eCapture application are located on Web User Properties screen.
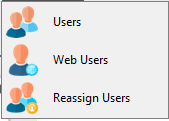
1.From the ribbon toolbar, click Administration.
2.Click the Users dropdown.
3.Click Web Users.
 .
.
The Web User Accounts dialog similar to the following displays:
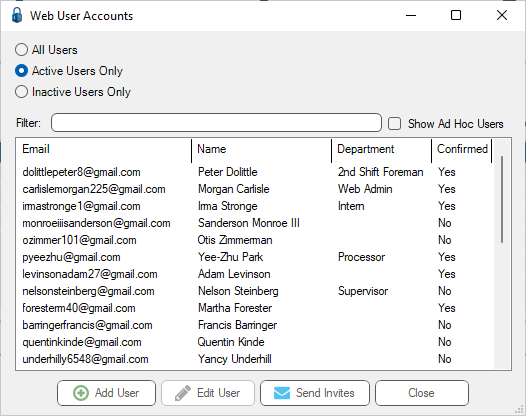
4.Click to highlight the user.
Note: Web users accessing any web based pVault® application must first be set up on the Web Users configuration screen. See Adding Web Users.
5.Click Edit User.
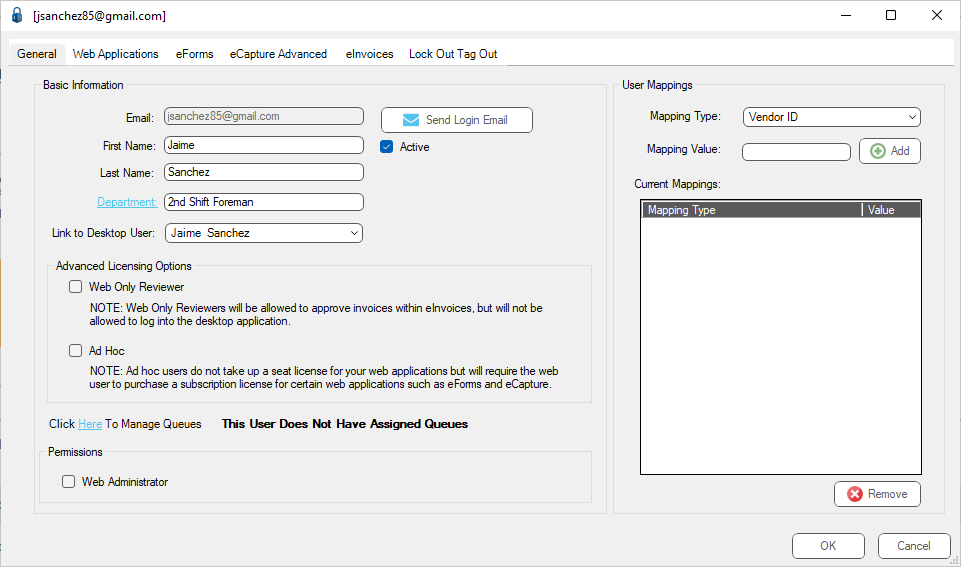
The Web User Properties screen similar to the following displays with the General tab active:
6.Click the Web Applications tab.
The dialog similar to the following displays:
 e
e
7.Assign the eCapture application to the user by selecting eForms™ in the Available applications section and clicking the arrow to move it to the Assigned applications section.
There are two versions of eCapture: eCapture and eCapture Advanced.
eCapture is capable of capturing four different document types: AP Invoices, AP Receiving Tickets, Credit Card Receipts and Job Photos.
eCapture Advanced can capture all document types, in addition to the four listed for eCapture™. eCapture™ Advanced includes OCR functionality for Credit Card Receipts. After taking a picture of a Credit Card Receipt, click the ID Receipt button.
Important: For the user to access the document types on their device, they must first have security rights for those particular pVault document types.
8.Assign the web user to the web security groups that gives them access to the document type(s) by selecting the security group(s) in the Available security group section.
9.Click the arrow to move them to the Assigned section on the right.
Note: If a new web security group is needed, click New Web Group. See Web Security Groups Tab.
10. Click the eCapture Advanced tab to display the eCapture user options.
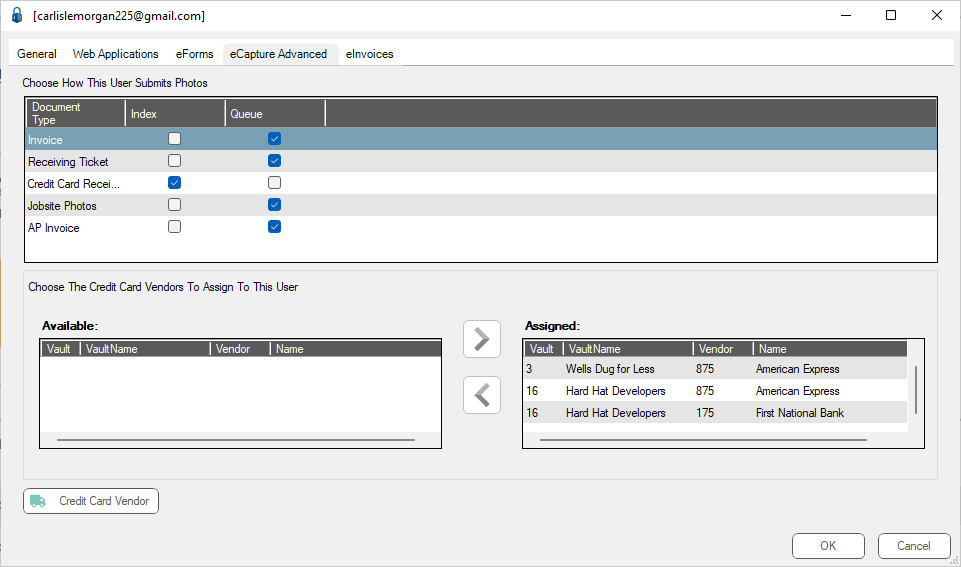
11. Documents submitted from eCapture can be indexed or stored in a user queue. For each document type, select the storage option by checking the Index or Queue check box next to each document type.
12. If the user is submitting credit card receipts, see Credit Card Receipt Configuration.
If the user is not submitting credit card receipts, click OK to save the web user configuration settings.