This is where the Named Locations folder(s) setup for the Splitter utility occurs.
Administrator Setup
1.From the ribbon toolbar, click Administration.
2.Click Named Locations.
The Named Locations dialog displays:
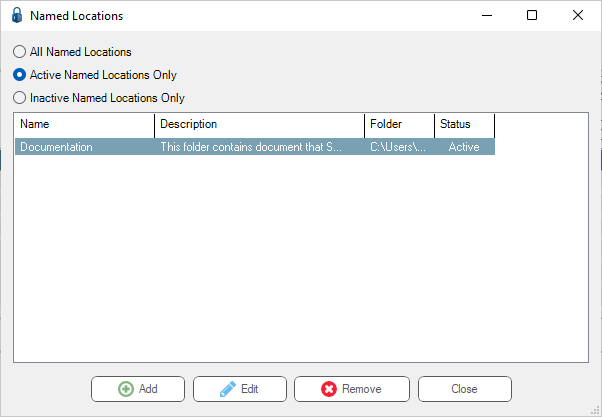
3.Click Add.
The Named Location Properties dialog displays with the General tab active:

4.In the Name field, enter the "alias" that users look for when trying to locate this folder.
5.In the Description field, enter a description of the folder contents or other applicable text.
6.In the Folder field, click the ellipsis to locate the folder and double click the folder to populate this field.
7.Click Active if not already selected.
8.Click the Vaults tab.
The dialog similar to the following displays:
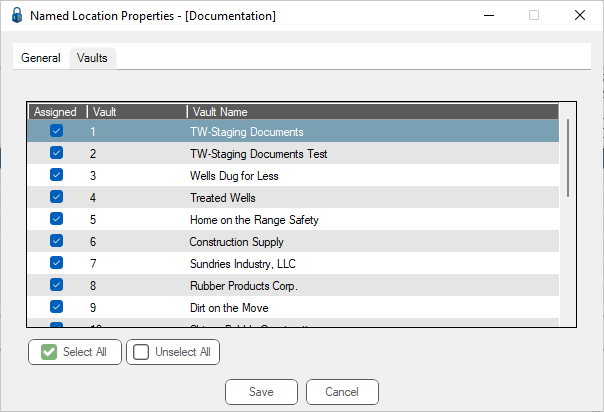
9.In the Assigned column, click to select through which vault(s) this named location is accessible.
If all listed vaults, click Select All.
10. Click Save.
The Named Locations dialog redisplays with the information added in the Named Location Properties dialog.
11. Click Close.
Using with the Splitter Utility
Click here to read more.