You can record a signed vendor waiver in either the Job Waiver tab or Vendor Waiver tab.
1.From the ribbon toolbar, click Greenlight™.
2.Click Greenlight.
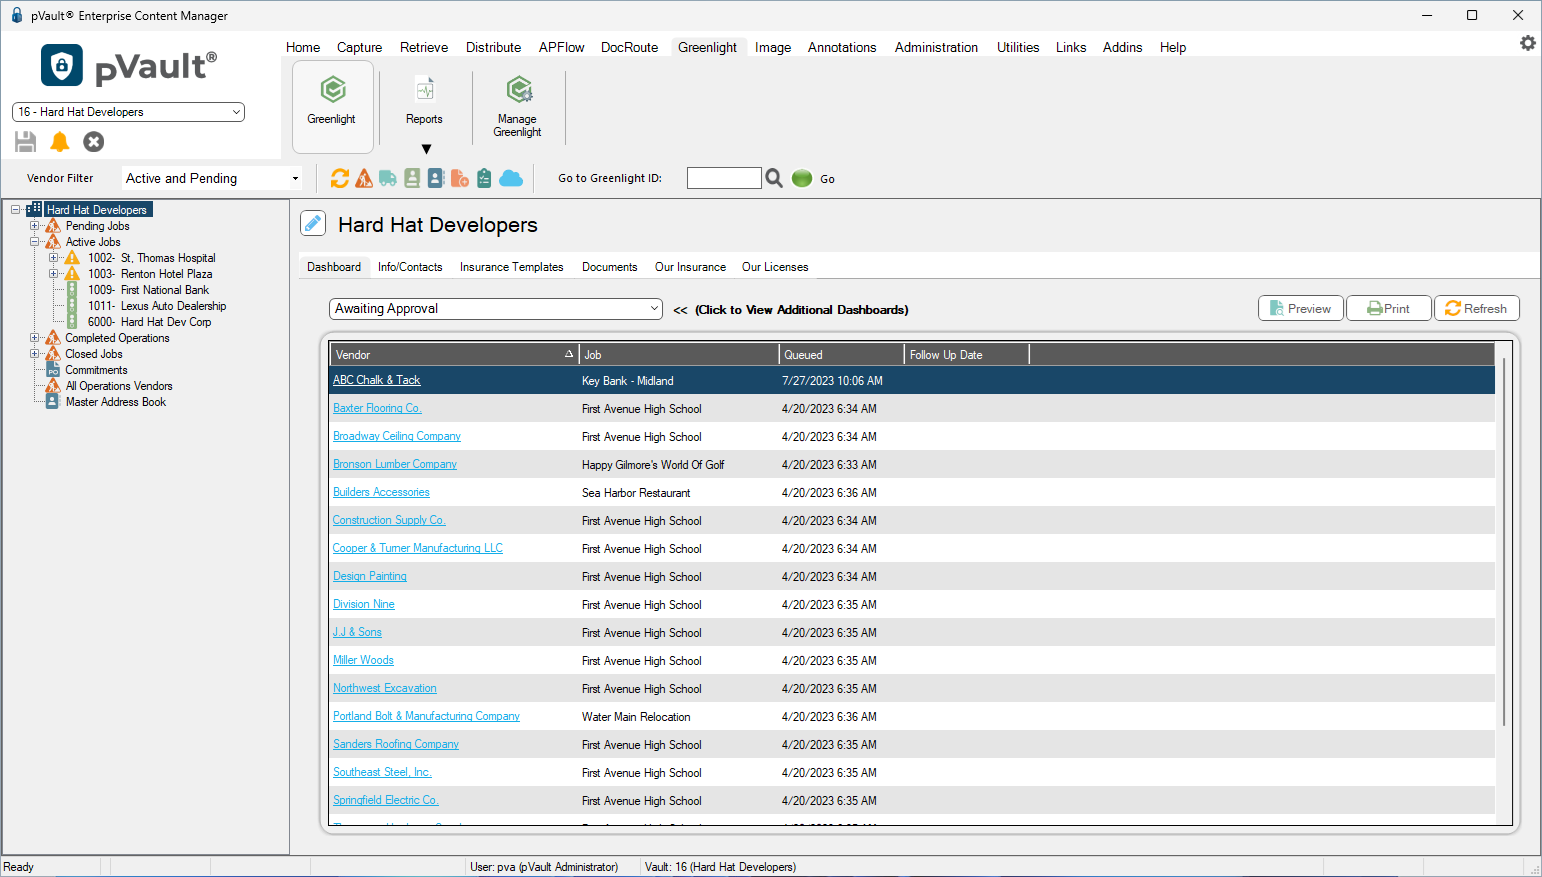
The main screen displays with the Dashboard tab active:
3.In the left navigation bar, click on a vendor.
The following screen displays with the Vendor Info tab active:
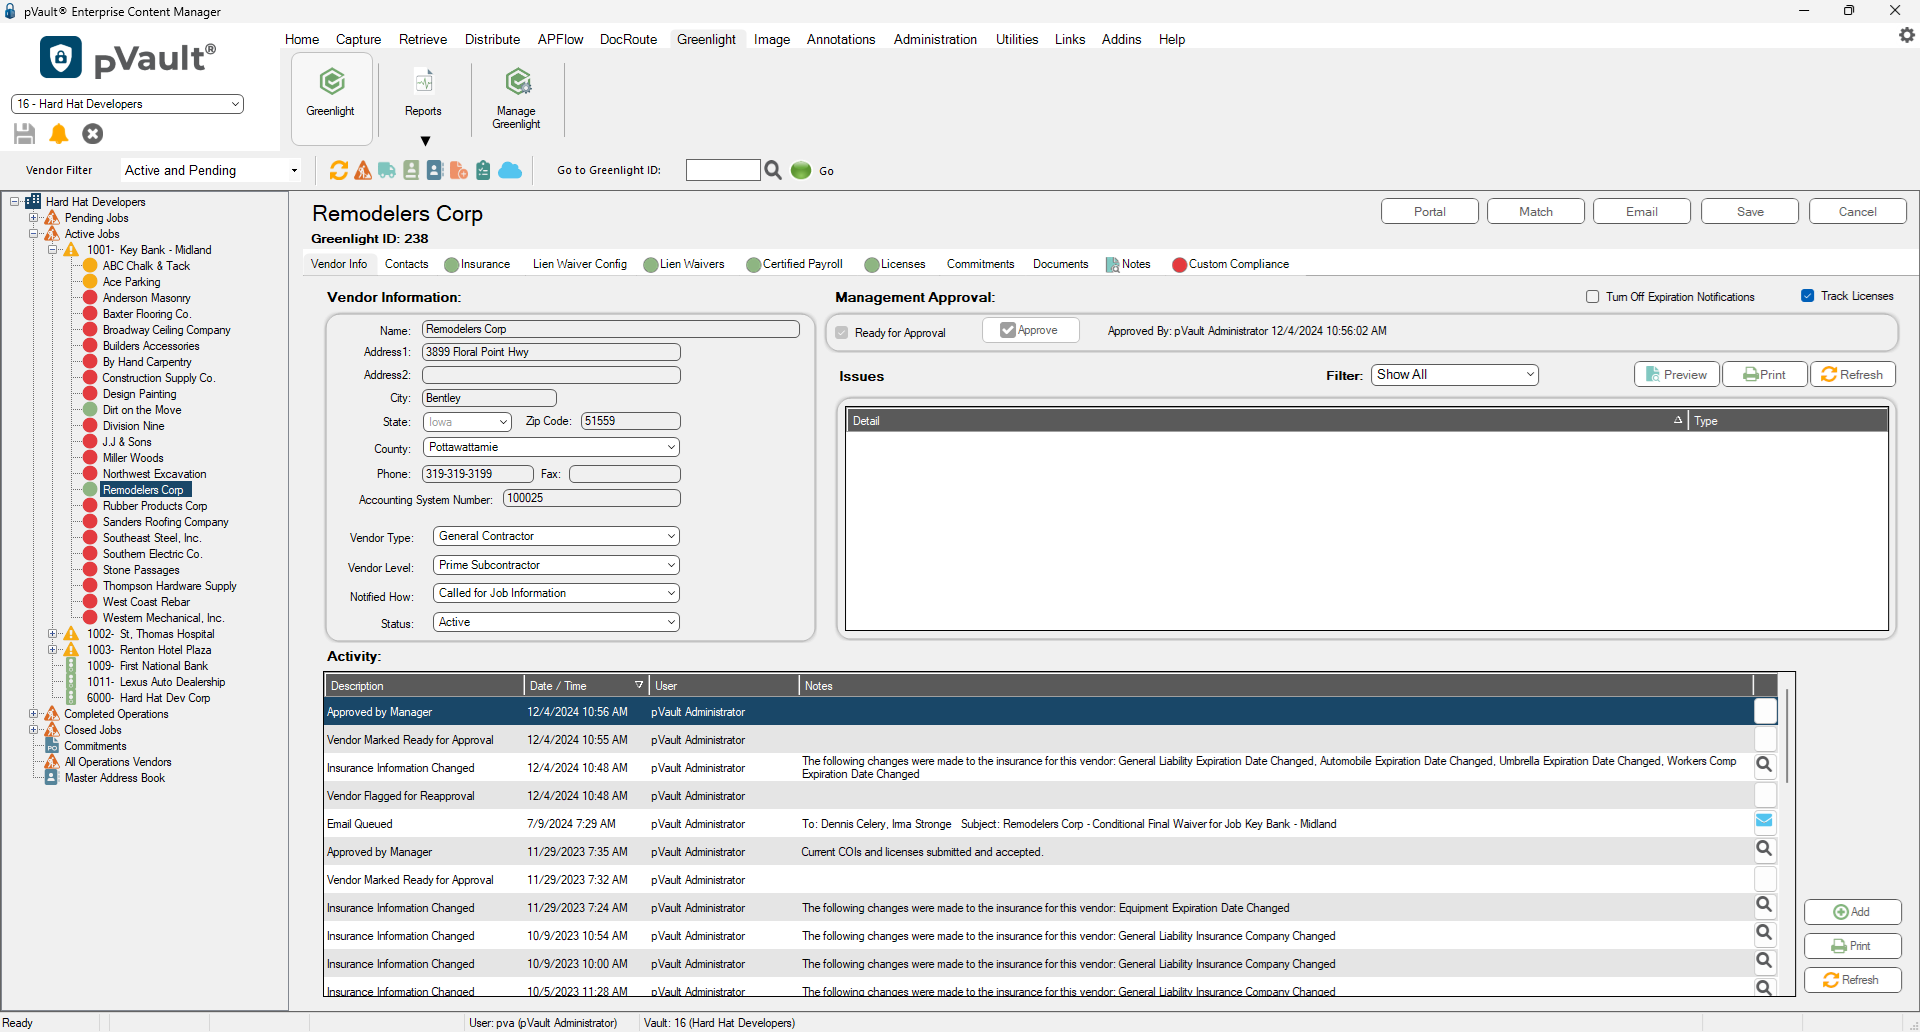
4.Click the Lien Waivers tab.
The following screen displays:

5.Click the Show Only Outstanding check box to narrow the list in the grid.
Only those liens not received displays in the grid.
6.Locate the vendor and lien waiver in the grid.
7.In the Date Received column, enter the date the lien was received.
8.Click the Attach Waiver icon, located at the end of each row in the grid, to access the Attach Waiver Documents dialog.

9. At the end of the Filename field, click the ellipsis to locate the file.
The Description field systematically pre-fills with the lien waiver type, through date and receive date.
10. Use the Document Type field dropdown to select the appropriate document type.
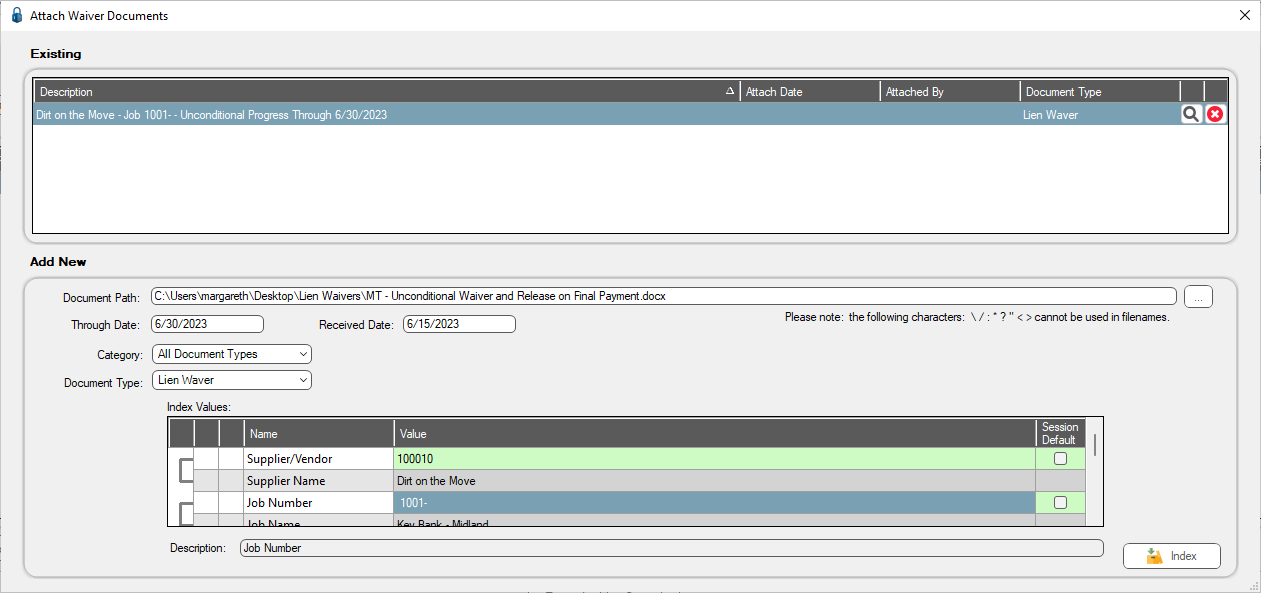
11. Click Index.
The Attach Waivers Document dialog updates.
12. Close the dialog.
13. Click Save.